**输入图片,一键大片,兄弟,闺蜜,家人,客户,一键,带他们进入AI摄影写真的世界。** 下面,我将简单介绍下我们DUB制作的AI摄影写真工作流V1.0版本。 我们通过案例来演示说明: 先上网,找一张小姐姐的照片,随机找,同时我想生成的图是黑寡妇。如下图示:  黑寡妇小姐姐面部照如下: 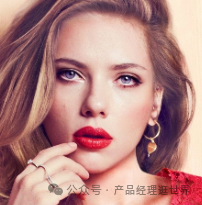 最后效果如下。 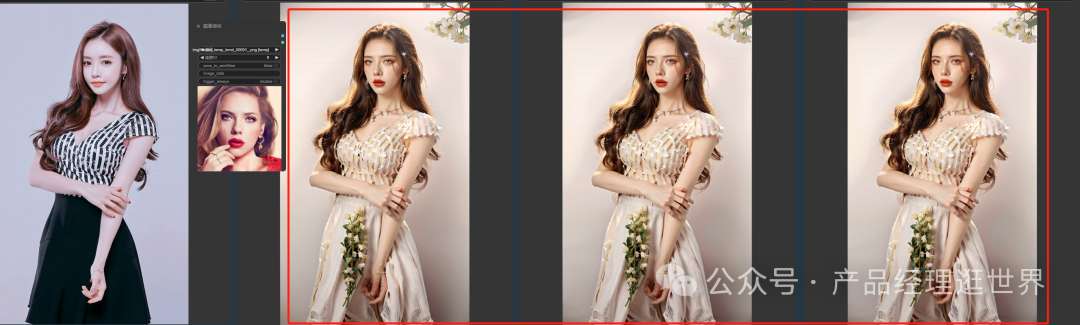 这是第一次生图效果,可见,它的效果已经不错了。 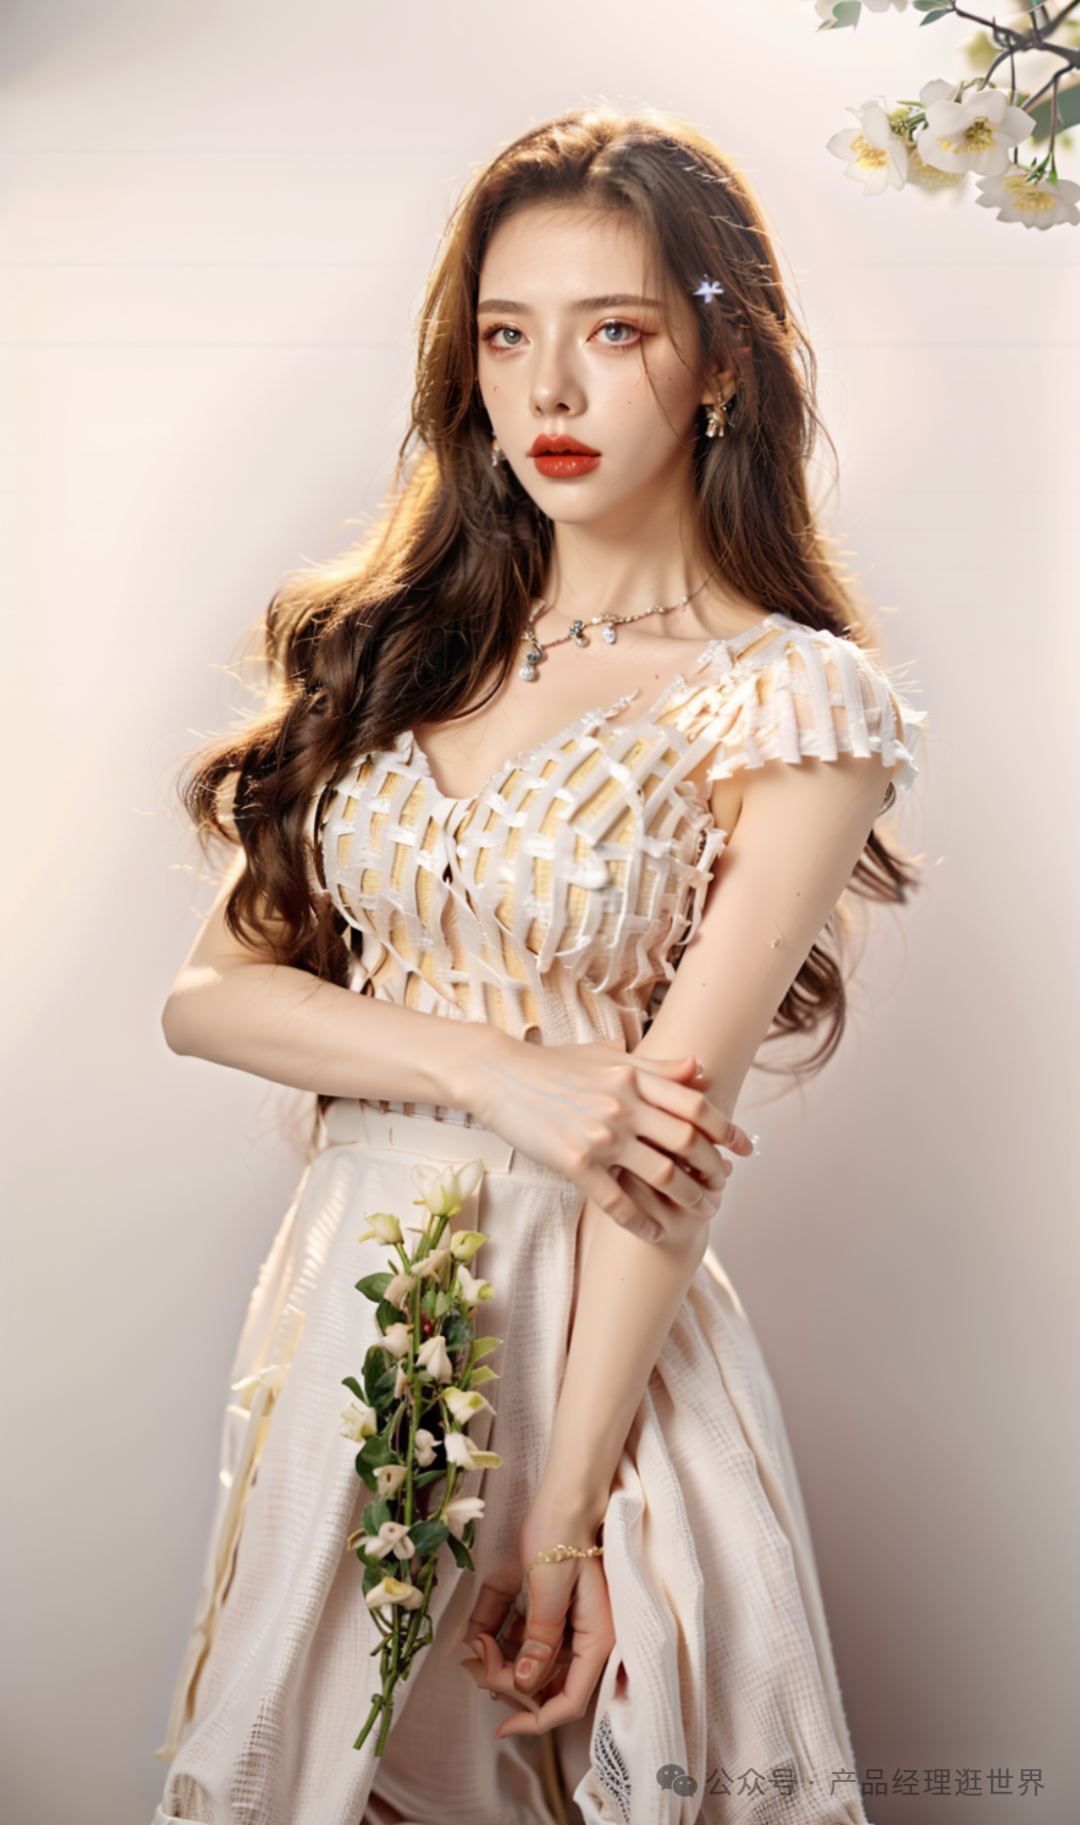 这是修复了面部的图。 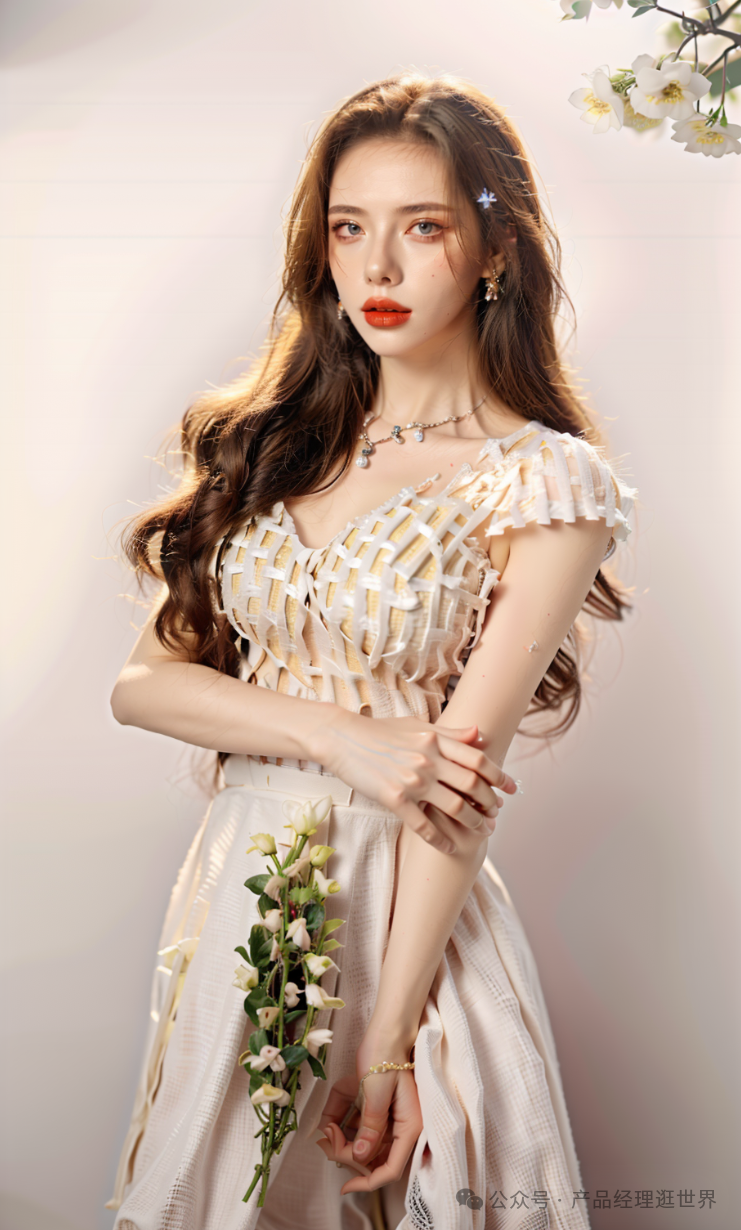 无论是服装、妆容、光线、明暗,效果都不错。 下面是整体摄影工作流的各个部分介绍: 首先是主要工作流模块,我们搭建了图生图模块,给大家搭建了4个Lora加载器,满足服饰、妆容、光线、场景等。同时是提示词模块,我们加入反推提示词的功能。 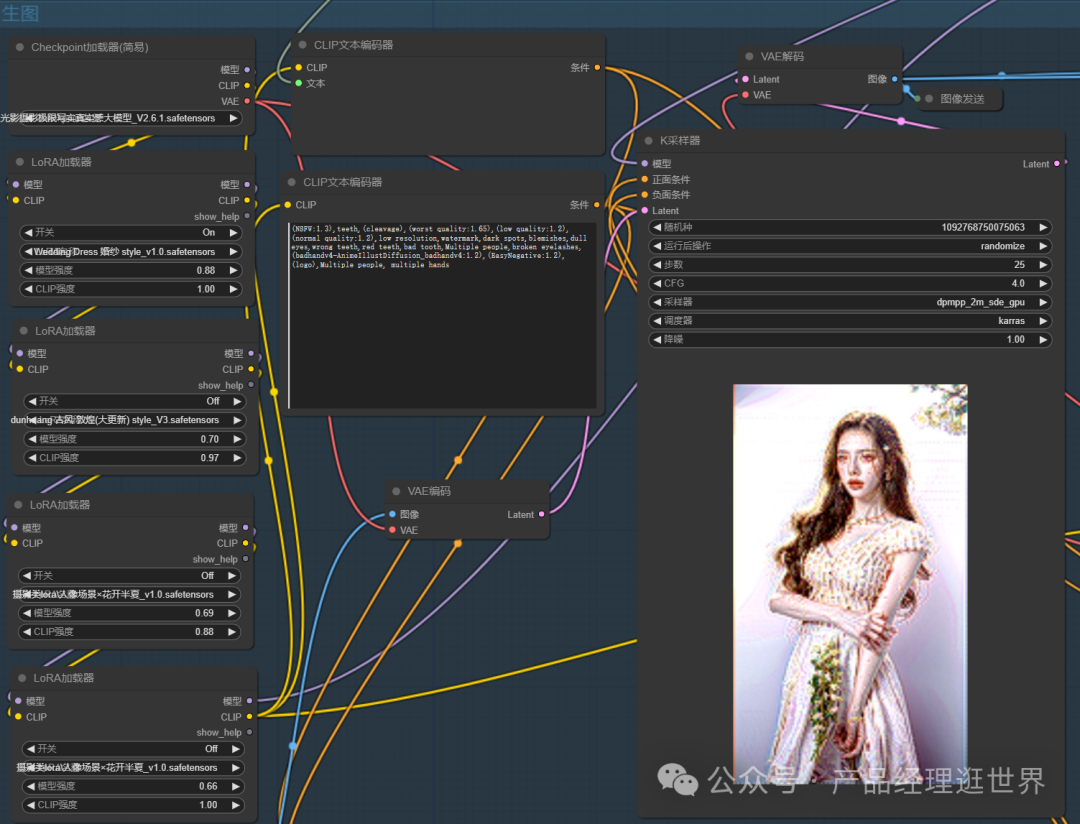 下面是WD14的提示词反推模块,当然,反推只能参考,大家根据自己的想法再添加 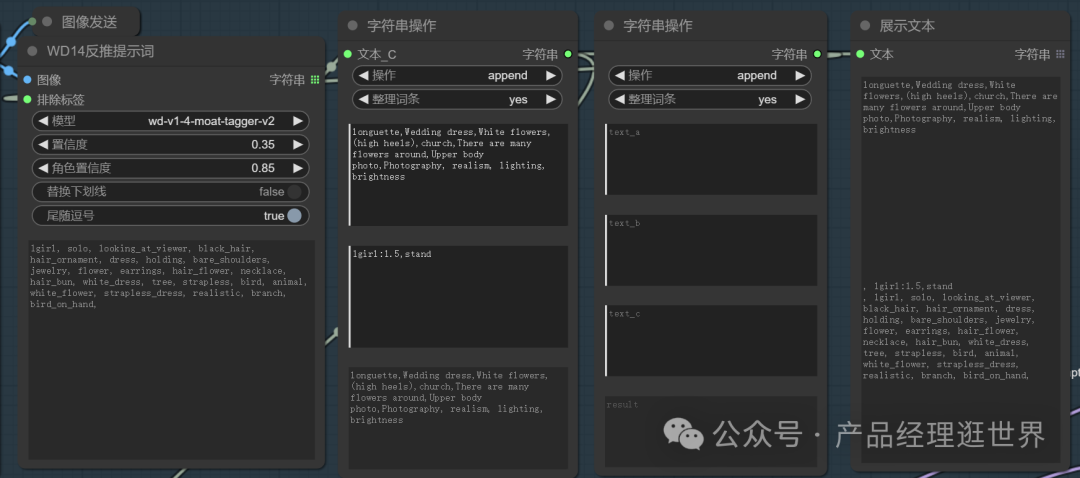 加入面部与风格识别模块 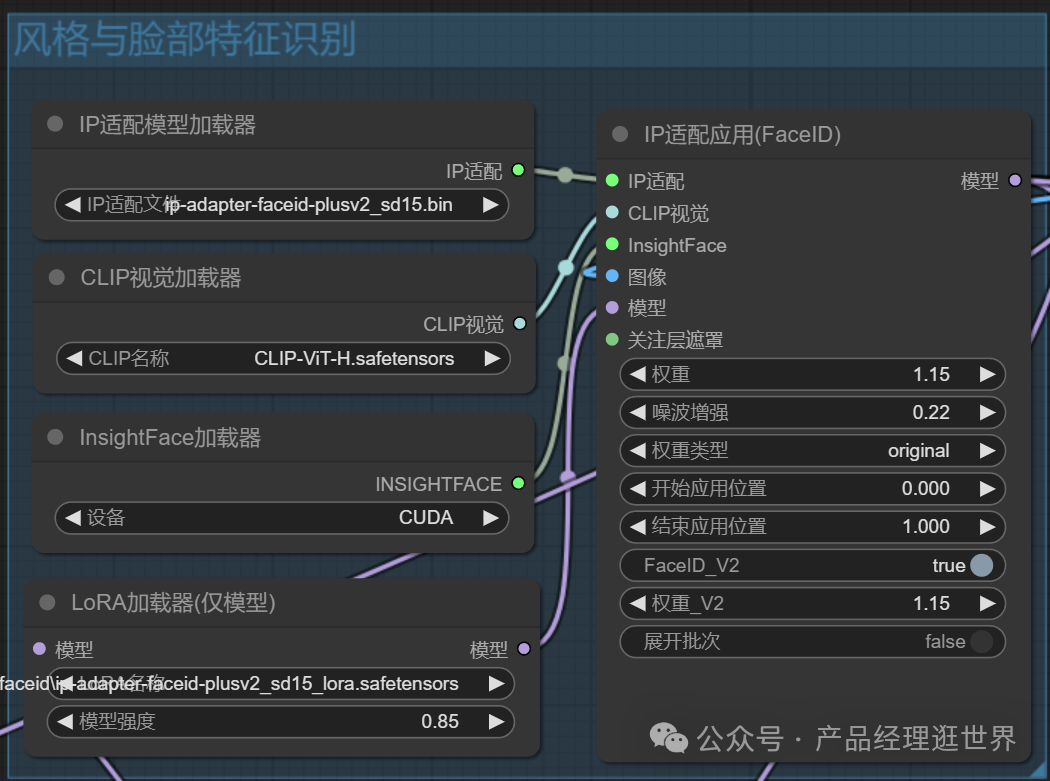 使用tile模型,丰富细节 : 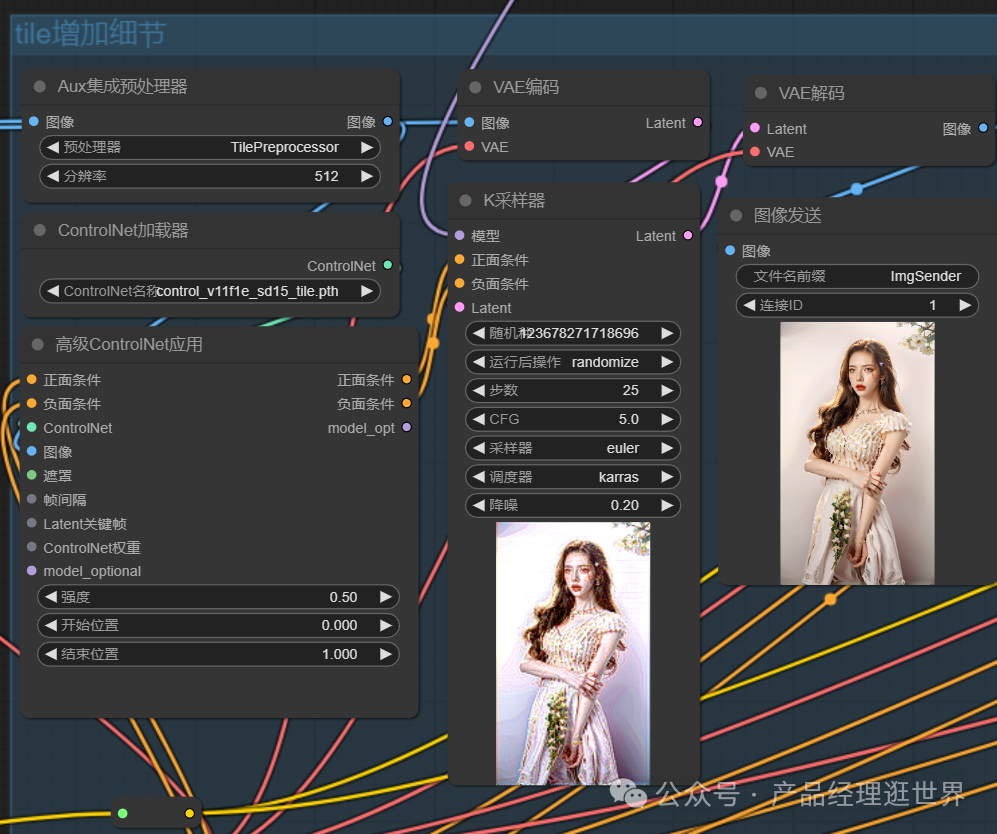 加入修脸模块 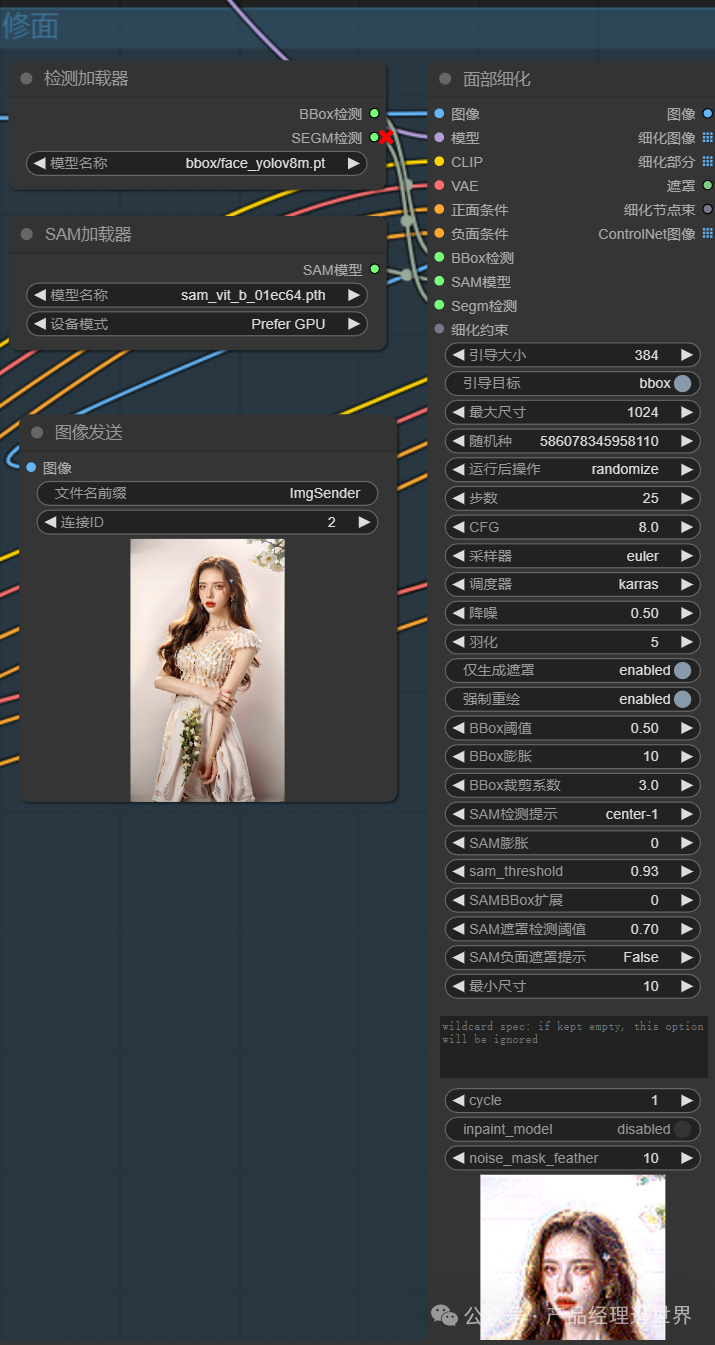 最后是修手和高清放大 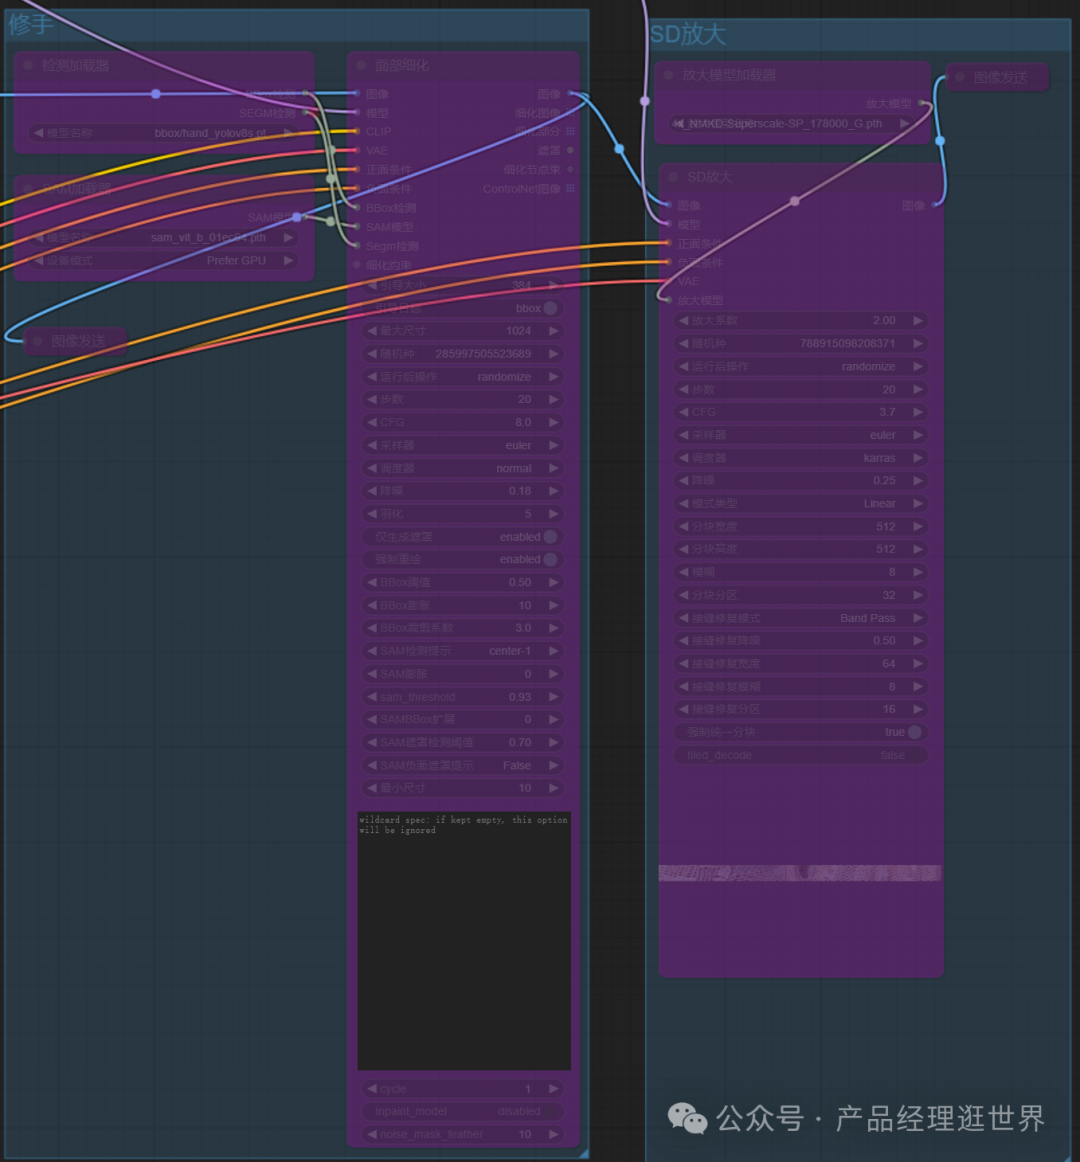 下面是我们工作流的概览,相关参数帮大家设置好,但也可以自己调整。 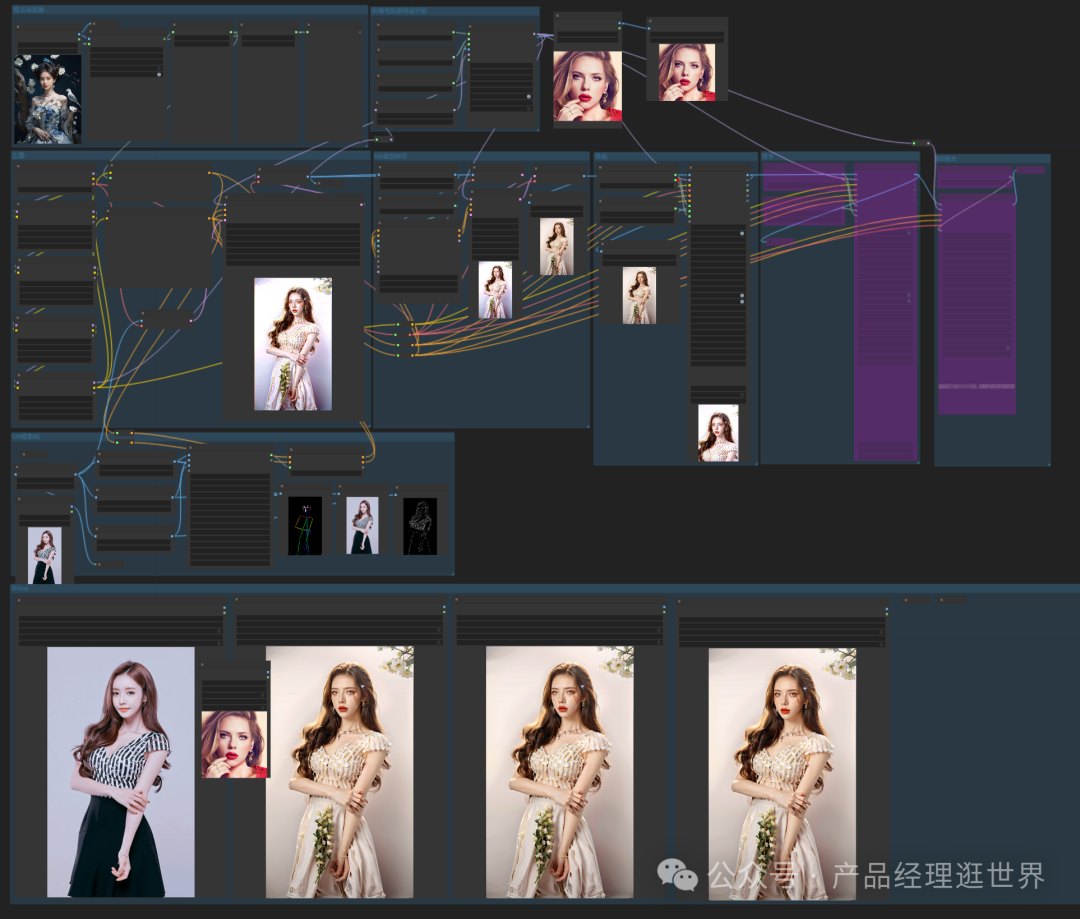 以上是DUB AI摄影写真工作流的介绍。
**输入图片,一键大片,兄弟,闺蜜,家人,客户,一键,带他们进入AI摄影写真的世界。** 下面,我将简单介绍下我们DUB制作的AI摄影写真工作流V1.0版本。 我们通过案例来演示说明: 先上网,找一张小姐姐的照片,随机找,同时我想生成的图是黑寡妇。如下图示:  黑寡妇小姐姐面部照如下:  最后效果如下。  这是第一次生图效果,可见,它的效果已经不错了。  这是修复了面部的图。  无论是服装、妆容、光线、明暗,效果都不错。 下面是整体摄影工作流的各个部分介绍: 首先是主要工作流模块,我们搭建了图生图模块,给大家搭建了4个Lora加载器,满足服饰、妆容、光线、场景等。同时是提示词模块,我们加入反推提示词的功能。  下面是WD14的提示词反推模块,当然,反推只能参考,大家根据自己的想法再添加  加入面部与风格识别模块  使用tile模型,丰富细节 :  加入修脸模块  最后是修手和高清放大  下面是我们工作流的概览,相关参数帮大家设置好,但也可以自己调整。  以上是DUB AI摄影写真工作流的介绍。