# (一)概述 {#一-概述}
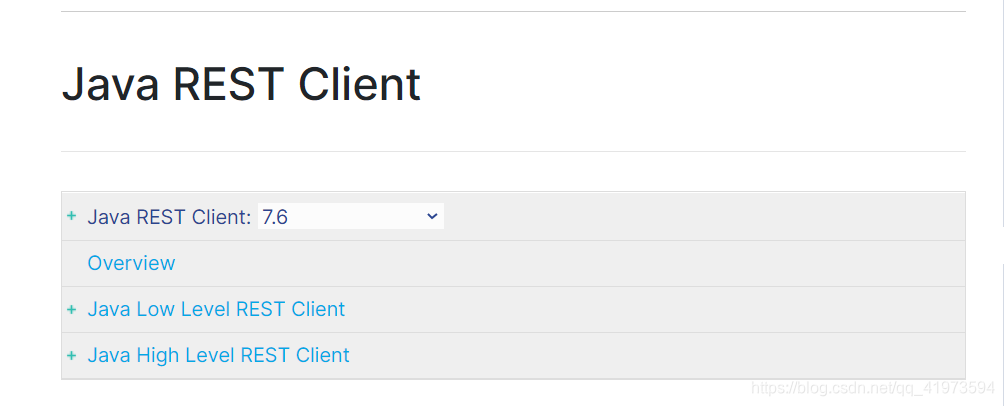
有人说学习一项技术最好的资料是官方文档,对大部分技术来说确实是这样的。但是官方文档不一定适合每个人去看,比如一个初学者,直接让他看Spring的官方文档,其实是不合适的。今天我会结合ElasticSearch的一个客户端官方文档介绍ES在Java中的API应用。
官方文档不一定好找,这里直接给出地址:
https://www.elastic.co/guide/en/elasticsearch/client/java-rest/7.6/index.html
你可以选择自己对应版本的文档来参考,我这里选择的是7.6版本,选用的是Java High Level REST Client。
# (二)项目搭建 {#二-项目搭建}
# 2.1 引入依赖 {#_2-1-引入依赖}
首先需要创建一个项目,创建项目就不介绍了,引入ES核心依赖:
<dependency>
    <groupId>org.springframework.boot</groupId>
    <artifactId>spring-boot-starter-data-elasticsearch</artifactId>
</dependency>
1
2
3
4
为了防止版本问题导致服务器客户端冲突,尽量将ES的版本设置的和自己安装的服务器端版本一致:
<properties>
    <java.version>1.8</java.version>
    <elasticsearch.version>7.6.1</elasticsearch.version>
</properties>
1
2
3
4
后续还会用一些json和web以及测试的操作,引入这些依赖:
<dependency>
    <groupId>org.springframework.boot</groupId>
    <artifactId>spring-boot-starter-web</artifactId>
</dependency>
<dependency>
    <groupId>org.projectlombok</groupId>
    <artifactId>lombok</artifactId>
    <optional>true</optional>
</dependency>
<dependency>
    <groupId>org.springframework.boot</groupId>
    <artifactId>spring-boot-starter-test</artifactId>
    <scope>test</scope>
</dependency>
<dependency>
    <groupId>com.alibaba</groupId>
    <artifactId>fastjson</artifactId>
    <version>1.2.76</version>
</dependency>
1
2
3
4
5
6
7
8
9
10
11
12
13
14
15
16
17
18
19
# 2.2 项目基本配置 {#_2-2-项目基本配置}
编写个配置类注入restHighLevelClient对象:
@Configuration
public class ElasticSearchConfig {
    @Bean
    public RestHighLevelClient restHighLevelClient(){
        RestHighLevelClient client=new RestHighLevelClient(
                RestClient.builder(
                        new HttpHost("192.168.78.128",9200,"http")
                )
        );
        return client;
    }
}
1
2
3
4
5
6
7
8
9
10
11
12
后续会用到实体类,这里先提供了:
@Data
@AllArgsConstructor
public class User {
    private String name;
    private String address;
}
1
2
3
4
5
6
接下来的操作都在SpringBootTest中进行,首先通过@Autowired注入
RestHighLevelClient 对象
@SpringBootTest
class ElasticsearchdemoApplicationTests {
    @Autowired
    private RestHighLevelClient restHighLevelClient;
}
1
2
3
4
5
6
# (三)索引API {#三-索引api}
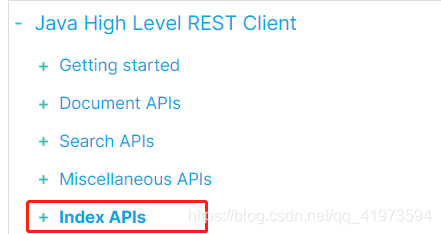
还是按照学习ES语法的顺序学习语法,找到索引API ,API中的操作很多,我主要选一些重要的讲一下
# 3.1 创建索引 {#_3-1-创建索引}
创建索引的主要对象是CreateIndexRequest
@Test
public void testCreateIndex() throws IOException {
    //创建索引
    CreateIndexRequest request=new CreateIndexRequest("test_index");
    CreateIndexResponse createIndexResponse = restHighLevelClient.indices().create(request, RequestOptions.DEFAULT);
    System.out.println(createIndexResponse.isAcknowledged());
}
1
2
3
4
5
6
7
创建CreateIndexRequest对象,设置相关属性,比如切片数,副本数,超时时间等等,然后通过restHighLevelClient创建索引,获得一个结果响应。
//设置分片和副本
request.settings(Settings.builder()
    .put("index.number_of_shards", 3)
    .put("index.number_of_replicas", 2)
);
1
2
3
4
5
# 3.2 获取索引 {#_3-2-获取索引}
获取一个索引,主要对象是GetIndexRequest
@Test
public void testGetIndex() throws IOException {
    //获取索引
    GetIndexRequest request=new GetIndexRequest("test_index");
    GetIndexResponse getIndexResponse = restHighLevelClient.indices().get(request, RequestOptions.DEFAULT);
    System.out.println(getIndexResponse);
}
1
2
3
4
5
6
7
# 3.3 判断索引是否存在 {#_3-3-判断索引是否存在}
用的也是GetIndexRequest
@Test
public void testExistsIndex() throws IOException {
    //获取索引
    GetIndexRequest request=new GetIndexRequest("test_index");
    boolean exists = restHighLevelClient.indices().exists(request, RequestOptions.DEFAULT);
    System.out.println(exists);
}
1
2
3
4
5
6
7
# 3.4 删除索引 {#_3-4-删除索引}
删除索引的请求对象是DeleteIndexRequest
@Test
public void testDeleteIndex() throws IOException {
    DeleteIndexRequest request=new DeleteIndexRequest("test_index");
    AcknowledgedResponse delete = restHighLevelClient.indices().delete(request, RequestOptions.DEFAULT);
    System.out.println(delete.isAcknowledged());
}
1
2
3
4
5
6
对索引的操作可以通过图形化界面来实现,了解增删改即可。
# (四)文档API {#四-文档api}
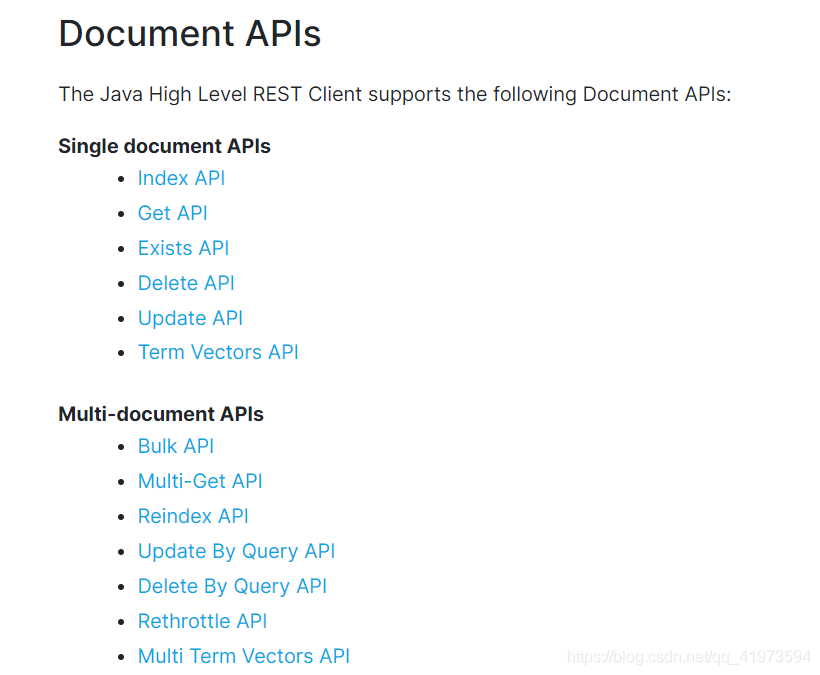
文档的API分为单个文档处理和批量文档处理,我会介绍单个文档的增删改查和一个批量文档API
# 4.1 创建文档 {#_4-1-创建文档}
在用语法创建文档的时候,是这样的:
PUT http://ip:port/索引名/类型名/文档id
{
    "name":"javayz",
    "address":"hz"
}
1
2
3
4
5
使用代码是这样的:请求对象为IndexRequest
@Test
public void testCreateDoc() throws IOException {
    // PUT http://ip:port/索引名/类型名/文档id
    User user=new User("javayz","hz");
    IndexRequest request=new IndexRequest("text_index");
    request.id("1");
    request.source(JSON.toJSONString(user), XContentType.JSON);
    IndexResponse index = restHighLevelClient.index(request, RequestOptions.DEFAULT);
    System.out.println(index.status());
}
1
2
3
4
5
6
7
8
9
10
其实两者十分相似,这也是学技术要先学基础的原因。有了基础一看就懂。
# 4.2 获取文档 {#_4-2-获取文档}
获取文档和判断是否存在这里放在一起写,请求对象都是GetRequest :
@Test
public void testGetDoc() throws IOException{
    GetRequest request=new GetRequest("text_index");
    request.id("1");
    boolean exists = restHighLevelClient.exists(request, RequestOptions.DEFAULT);
    if (exists){
        GetResponse documentFields = restHighLevelClient.get(request, RequestOptions.DEFAULT);
        String sourceAsString = documentFields.getSourceAsString();
        System.out.println(sourceAsString);
    }else{
        System.out.println(exists);
    }
}
1
2
3
4
5
6
7
8
9
10
11
12
13
# 4.3 更新文档 {#_4-3-更新文档}
更新文档的请求对象是UpdateRequest
@Test
public void testUpdateDoc() throws IOException{
    UpdateRequest request=new UpdateRequest("text_index","1");
    User user=new User("javayz2","hz");
    request.doc(JSON.toJSONString(user),XContentType.JSON);
    UpdateResponse response = restHighLevelClient.update(request, RequestOptions.DEFAULT);
    System.out.println(response.status());
}
1
2
3
4
5
6
7
8
# 4.4 删除文档 {#_4-4-删除文档}
删除文档的请求对象是DeleteRequest
@Test
public void testDeleteDoc() throws IOException{
    DeleteRequest request=new DeleteRequest("text_index","1");
    DeleteResponse deleteResponse = restHighLevelClient.delete(request, RequestOptions.DEFAULT);
    System.out.println(deleteResponse.status());
}
1
2
3
4
5
6
# 4.5 批量创建文档 {#_4-5-批量创建文档}
批量创建文档用到了BulkRequest ,具体的使用方式和单体很相似,只不过是把多个请求聚合到一个bulk中一起提交。
@Test
public void testBulkRequest() throws IOException{
    BulkRequest request=new BulkRequest();
    request.timeout("10s");
    ArrayList<User> list=new ArrayList<>();
    list.add(new User("javayz1","hz"));
    list.add(new User("javayz2","hz"));
    //往BulkRequest对象中add文档
    list.stream().forEach(x->{
        request.add(new IndexRequest("text_index").source(JSON.toJSONString(x),XContentType.JSON));
    });

    BulkResponse bulk = restHighLevelClient.bulk(request, RequestOptions.DEFAULT);
    System.out.println(bulk.status());
}
1
2
3
4
5
6
7
8
9
10
11
12
13
14
15
# (五)查询API {#五-查询api}
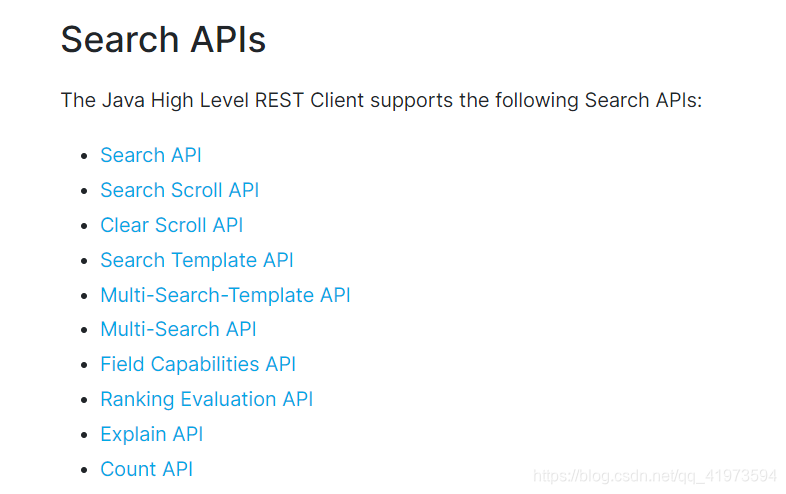
查询操作用最常用的就是match(模糊查询)和term(精确查询),介绍最常用的查询方式:
@Test
public void testSearch() throws IOException {
    SearchRequest request = new SearchRequest("text_index");
    SearchSourceBuilder searchSourceBuilder = new SearchSourceBuilder();
    //匹配条件
    MatchQueryBuilder matchQueryBuilder = QueryBuilders.matchQuery("name", "javayz1");
    searchSourceBuilder.query(matchQueryBuilder);
    request.source(searchSourceBuilder);
    SearchResponse search = restHighLevelClient.search(request, RequestOptions.DEFAULT);
    System.out.println(search);
}
1
2
3
4
5
6
7
8
9
10
11
# (六)总结 {#六-总结}
从上面的用法中可以看出,ES对API的封装使用还算是比较容易,并且官方文档写的也比较清除。下一篇文章我会用上面的这些API实现一个博客系统的搜索功能,我是鱼仔,我们下期再见!
 51工具盒子
