此篇文章主要介绍为CentOS 6.x-7.x系列升级内核,参考 elrepo(官网)提供的内核源来升级内核,有需要的朋友可以参考下
CentOS 6.x升级内核
1)查看内核版本与系统版本
[root@localhost ~]# cat /etc/redhat-release
[root@localhost ~]# uname -r
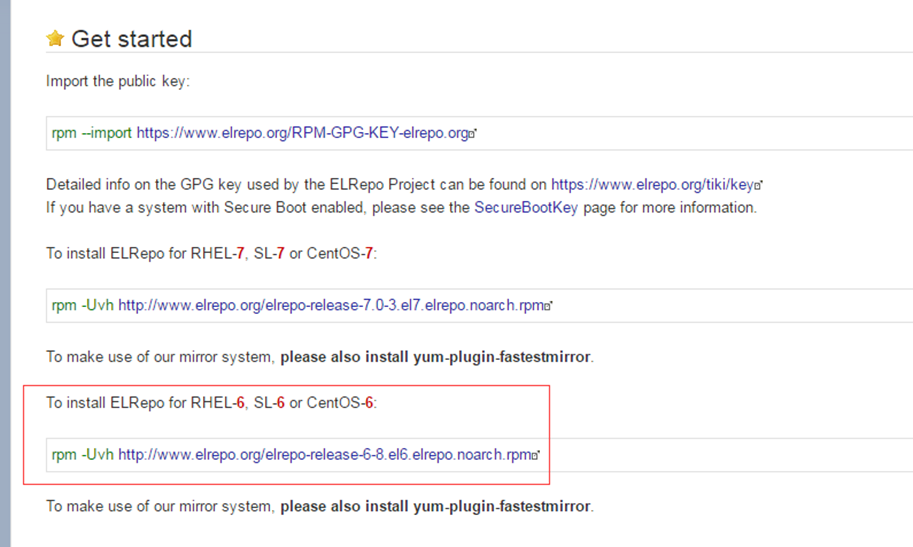
2)导入公钥
[root@localhost ~]# rpm --import http://www.elrepo.org/RPM-GPG-KEY-elrepo.org
3)导入官网内核源
[root@localhost ~]# rpm -Uvh http://www.elrepo.org/elrepo-release-6-8.el6.elrepo.noarch.rpm
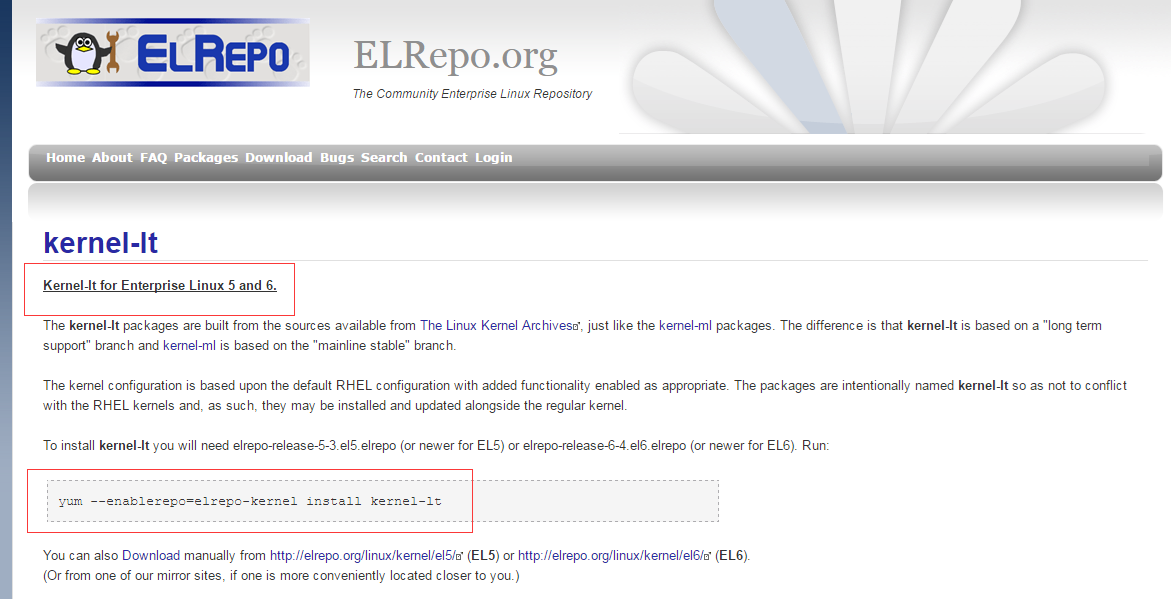
4)安装kernel-lt(lt=long-term)
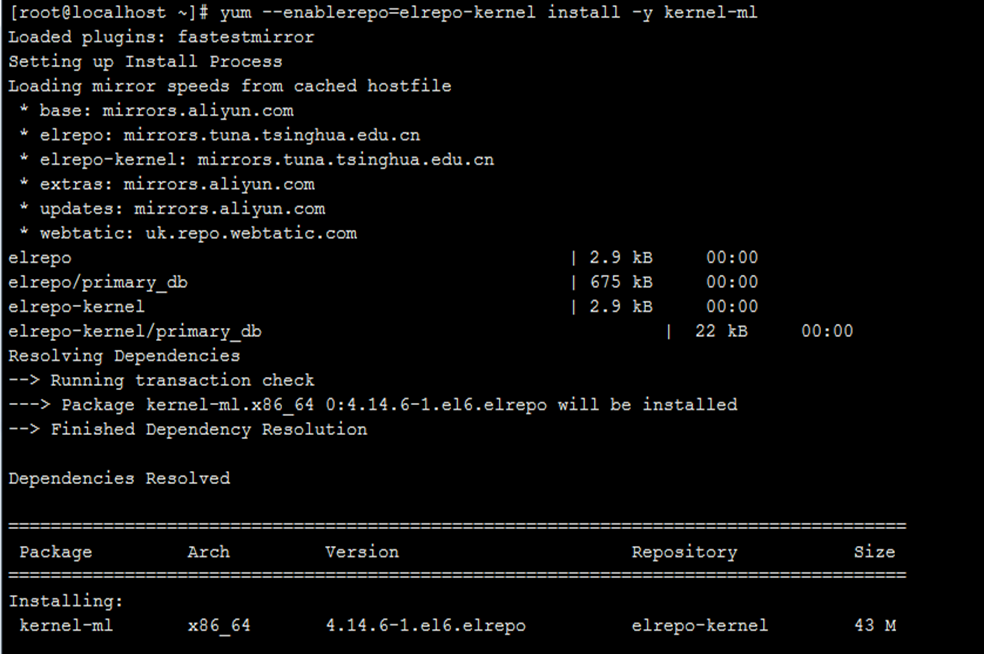
[root@localhost ~]# yum --enablerepo=elrepo-kernel install kernel-lt -y
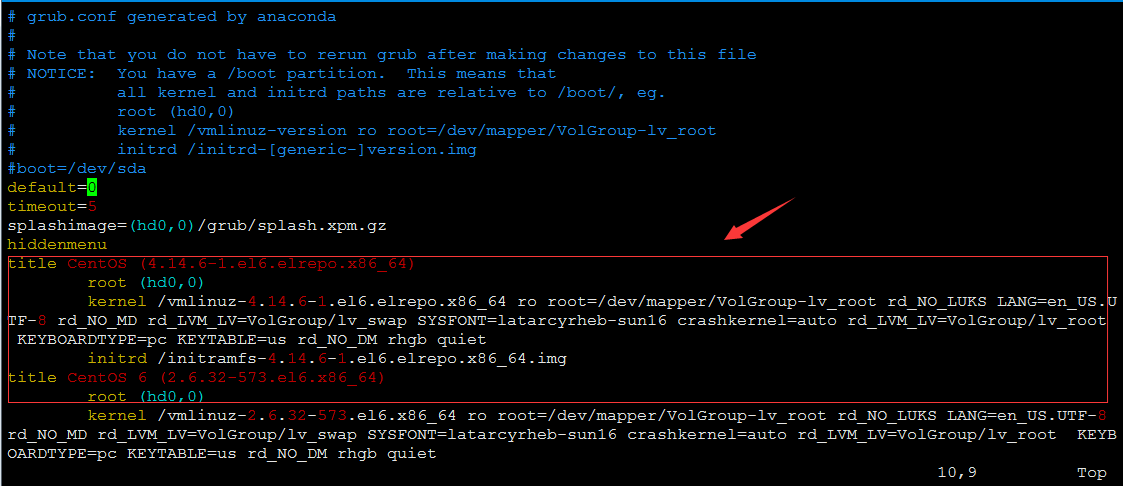
5)编辑grub.conf文件,修改Grub引导顺序
[root@localhost ~]# vim /etc/grub.conf
title顺序从上往下 0,1,2
默认新装的排在最上面
所以把default值改成0
6)保存退出,重启系统
[root@localhost ~]# reboot
7)查看内核版本
[root@localhost ~]# uname -a
至此,CentOS 6.x内核升级成功。
CentOS 7.x升级内核
1)查看内核版本与系统版本
[root@localhost ~]# cat /etc/redhat-release
[root@localhost ~]# uname -a
2)导入公钥
[root@localhost ~]# rpm --import http://www.elrepo.org/RPM-GPG-KEY-elrepo.org
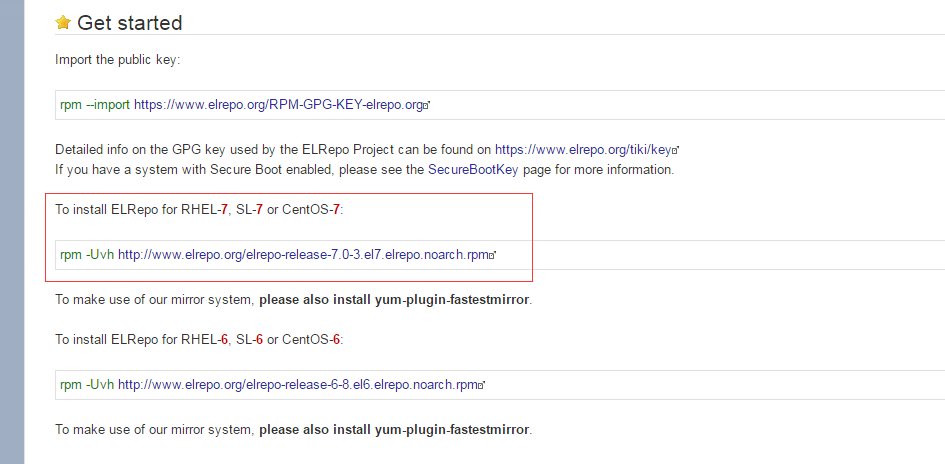
3)导入官网内核源
[root@localhost ~]# rpm -Uvh http://www.elrepo.org/elrepo-release-7.0-3.el7.elrepo.noarch.rpm
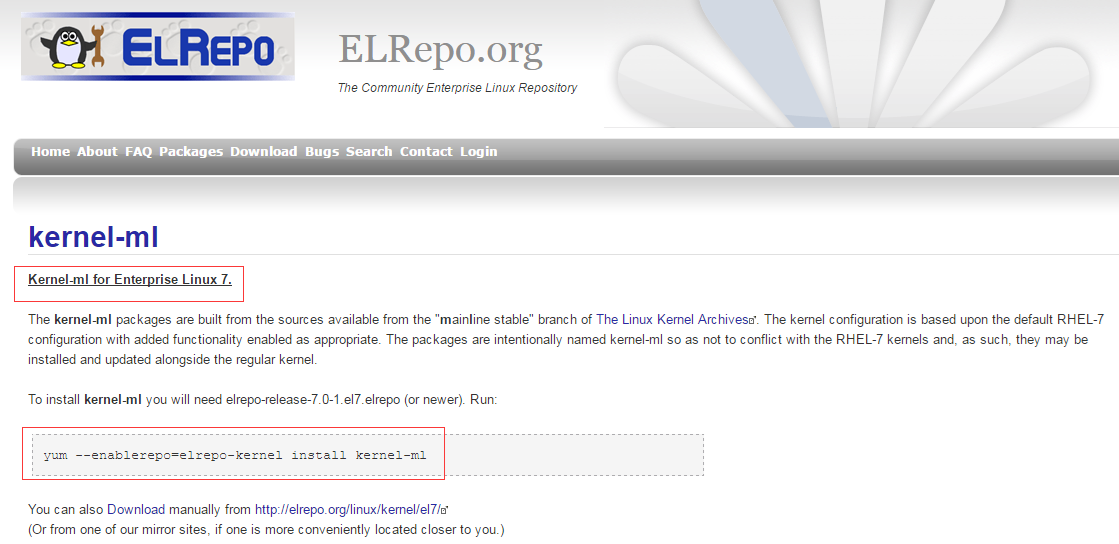
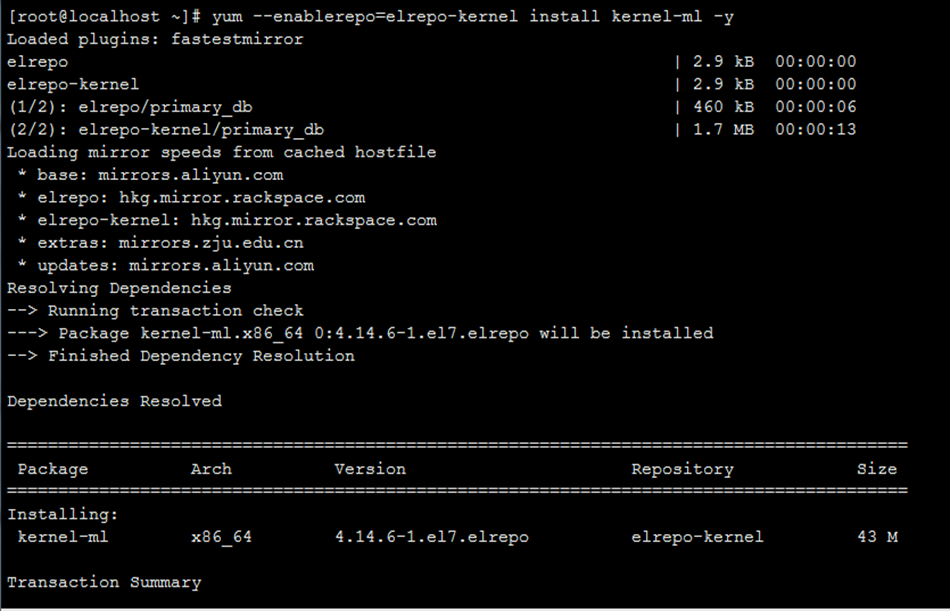
4)安装kernel-ml(ml=mainline)
[root@localhost ~]# yum --enablerepo=elrepo-kernel install kernel-ml -y
5)Centos 7的系统和6就不一样了,Centos7是通过grub2为引导程序。
查看默认启动内核
[root@localhost ~]# grub2-editenv list
默认启动的顺序是从0开始,但我们新内核是从头插入(目前位置在0,而3.10的是在1),所以需要选择0,如果想生效最新的内核,需要执行以下命令:
[root@localhost ~]# grub2-set-default 0
[root@localhost ~]# grub2-editenv list
6)重启系统
[root@localhost ~]# reboot
7)查看内核版本
[root@localhost ~]# cat /etc/redhat-release
[root@localhost ~]# uname -r
至此,CentOS 7.x内核升级成功。
继续阅读
历史上的今天
12 月
16
- 2020Docker搭建Portainer可视化界面
- 2020Docker开启2375端口,提供外部访问Docker Linux最后更新:2024-1-24
 51工具盒子
