英文:
Device provisioned with DPS always shown as "X509 self-signed" instead of "Certificate Authority"
问题 {#heading}
我尝试设置一个使用身份验证类型为"x509 CA证书"的Azure DPS。除了IoT Hub显示通过DPS配置的设备为"X509自签名"而不是"证书颁发机构"之外,一切都正常。
使用直接在IoT Hub上创建的设备(而不是通过DPS创建)时,身份验证类型设置为"证书颁发机构"。这是我想要在通过DPS创建的设备上复制的行为。
我的DPS注册组设置如下:
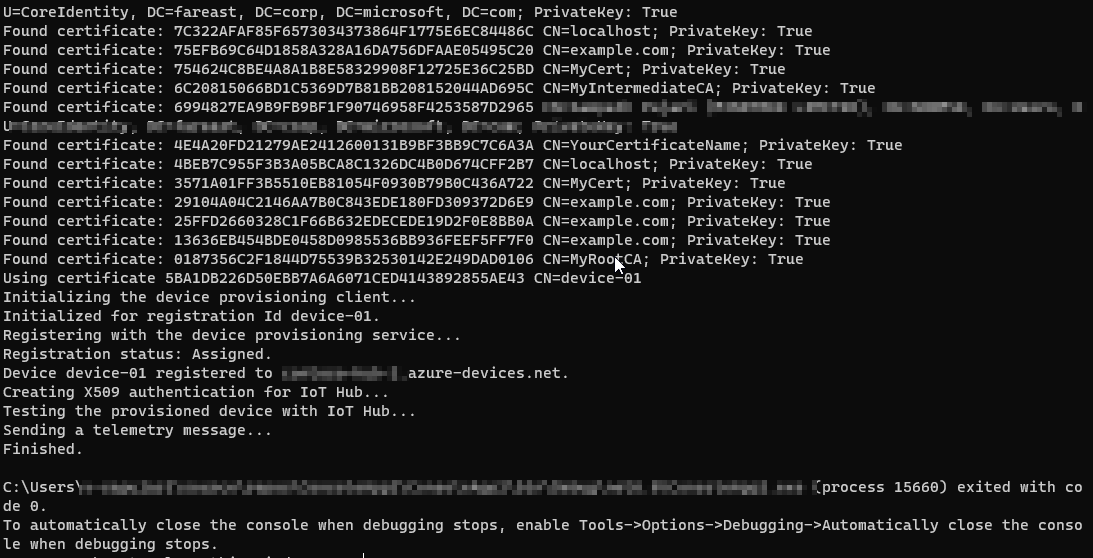
进行测试时,我正在使用IoT-Sdk-CSharp,并遵循此示例。
您知道我需要在DPS中做哪些更改,以使我的设备以"证书颁发机构"的身份验证类型显示吗?
谢谢您的帮助。
祝你有一个愉快的一天。
英文:
I try to set an Azure DPS with the authentication type "x509 CA certificate".
Everything works except the IoT hub shows devices provisioned with DPS as "X509 self-signed" instead of "Certificate Authority".
With devices directly created on IoT Hub (NOT via DPS), authenticated types are set to Certificate Authority. This is the behavior I want to reproduce with devices created from DPS.
My DPS enrollment group settings:
For testing, I'm using the IoT-Sdk-CSharp and follow this sample.
Do you know what I have to change in DPS for my devices to appear with the "Certificate Authority" authentication type?
Thank you for your help.
Have a nice day.
答案1 {#1}
得分: 0
设备的身份验证将显示为"X509 CA Signed",而不是"Self-Signed X509 Certificate",一旦您从可靠的认证机构获得合法的证书。请参考此资源X.509证书证明。或者,我们需要将根CA证书添加到IoT Hub。您可以在IoT Hub的证书部分选择+添加,然后上传根CA证书文件。请确保在上传时选择旁边的"设置证书状态为已验证"复选框。如果您没有在上传过程中选择自动验证证书,您可以通过生成验证代码并创建包含验证代码的证书来手动证明拥有权。然后,您可以在证书详细信息对话框中将验证证书上传到您的配置服务,并选择验证。
-
通过DPS注册组将X.509设备配置到Azure IoT Hub的示例示例
-
使用MSDOC中的
az iot dps enrollment-group来自这个链接。 -
替换您的
resourcegroupname、dpsname、enrollment_id、registration_id。它会提供derived-device-key或PROVISIONING_SYMMETRIC_KEY。
az iot dps enrollment-group compute-device-key -g {resourcegroupname} --dps-name {dpsname} --enrollment-id {enrollmentid} --registration-id {registrationid}

- 请参考此链接获取azure-docs/articles/iot-dps/tutorial-custom-hsm-enrollment-group-x509.md的主要文档。
英文:
The authentication for the devices will show as "X509 CA Signed" rather than "Self-Signed X509 Certificate" once you obtain a legitimate certificate from a reliable Certified Authority. Please refer to this resource X.509 certificate attestation. (or) We need to add the root CA certificate to the IoT Hub. You can add the root CA certificate by selecting + Add in the Certificates section of the IoT Hub and uploading the root CA certificate file. Make sure to select the box next to Set certificate status to verified on upload. If you didn't choose to automatically verify the certificate during upload, you can manually prove possession by generating a verification code and creating a certificate that contains the verification code. You can then upload the verification certificate to your provisioning service in the Certificate Details dialog and select Verify.
-
Sample example Provision X.509 devices to Azure IoT Hub using a DPS enrollment group
-- Used this link foraz iot dps enrollment-groupfrom MSDOC. -
Replace the your resourcegroupname, dpsname, enrollment_id, registration_id. It gives
derived-device-keyorPROVISIONING_SYMMETRIC_KEY.
az iot dps enrollment-group compute-device-key -g {resourcegroupname} --dps-name {dpsname} --enrollment-id {enrollmentid} --registration-id {registrationid}
-
Above steps are for Provision a simulated symmetric key device
-
Code reference Provision multiple X.509 devices using enrollment groups

- Refer to this for azure-docs/articles/iot-dps/tutorial-custom-hsm-enrollment-group-x509.md at main.
 51工具盒子


