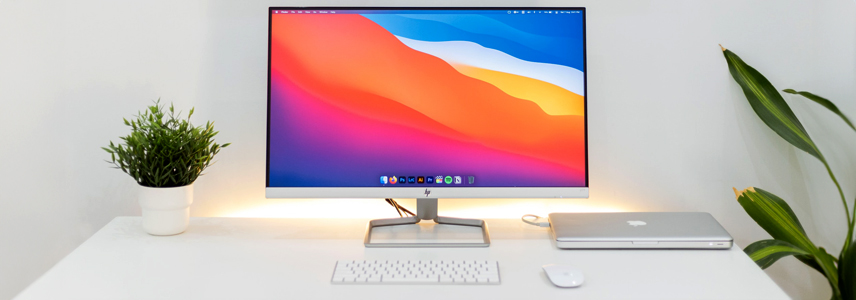
如果您的 Mac 恢复分区损坏或者想在额外的分区上安装 macOS,制作一个可启动的 macOS 安装 U 盘会很方便。本文将为您介绍如何下载 macOS 安装文件,并使用其创建可引导安装程序的详细步骤。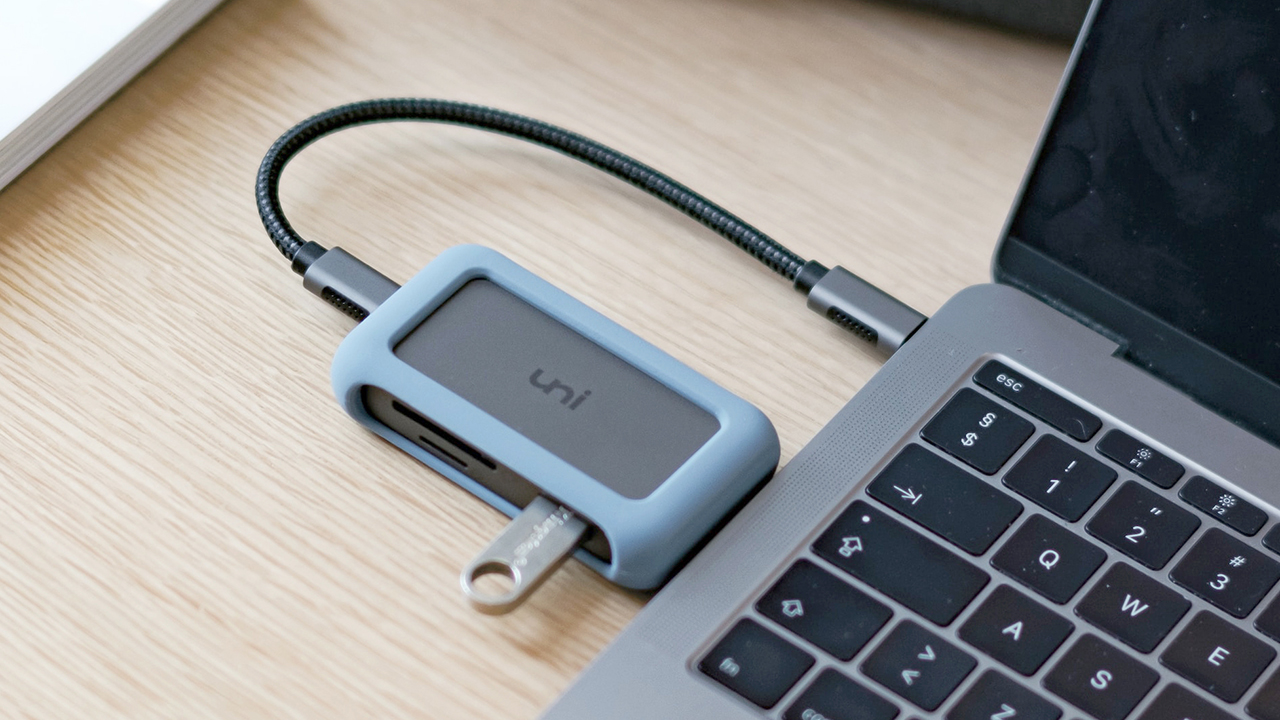
推荐阅读:如何制作 Ubuntu 安装 U 盘
下载 macOS 安装程序
要为 MacBook、iMac、Mac mini 或 Mac Studio 等设备创建一个可引导的安装 U 盘,首先需要一个完整的 macOS 安装文件。下载 macOS 的特定版本取决于设备兼容性和要实现的目标,可以通过 App Store 获取。
macOS 安装程序通常占用大约 10-15GB 的空间,在开始下载之前,请确保 Mac 有足够的硬盘空间。
下载特定版本的 macOS 安装程序相对简单,只需按照以下步骤操作:
1在 macOS 中打开 App Store。
2搜索要下载的 macOS 版本,例如 Ventura。
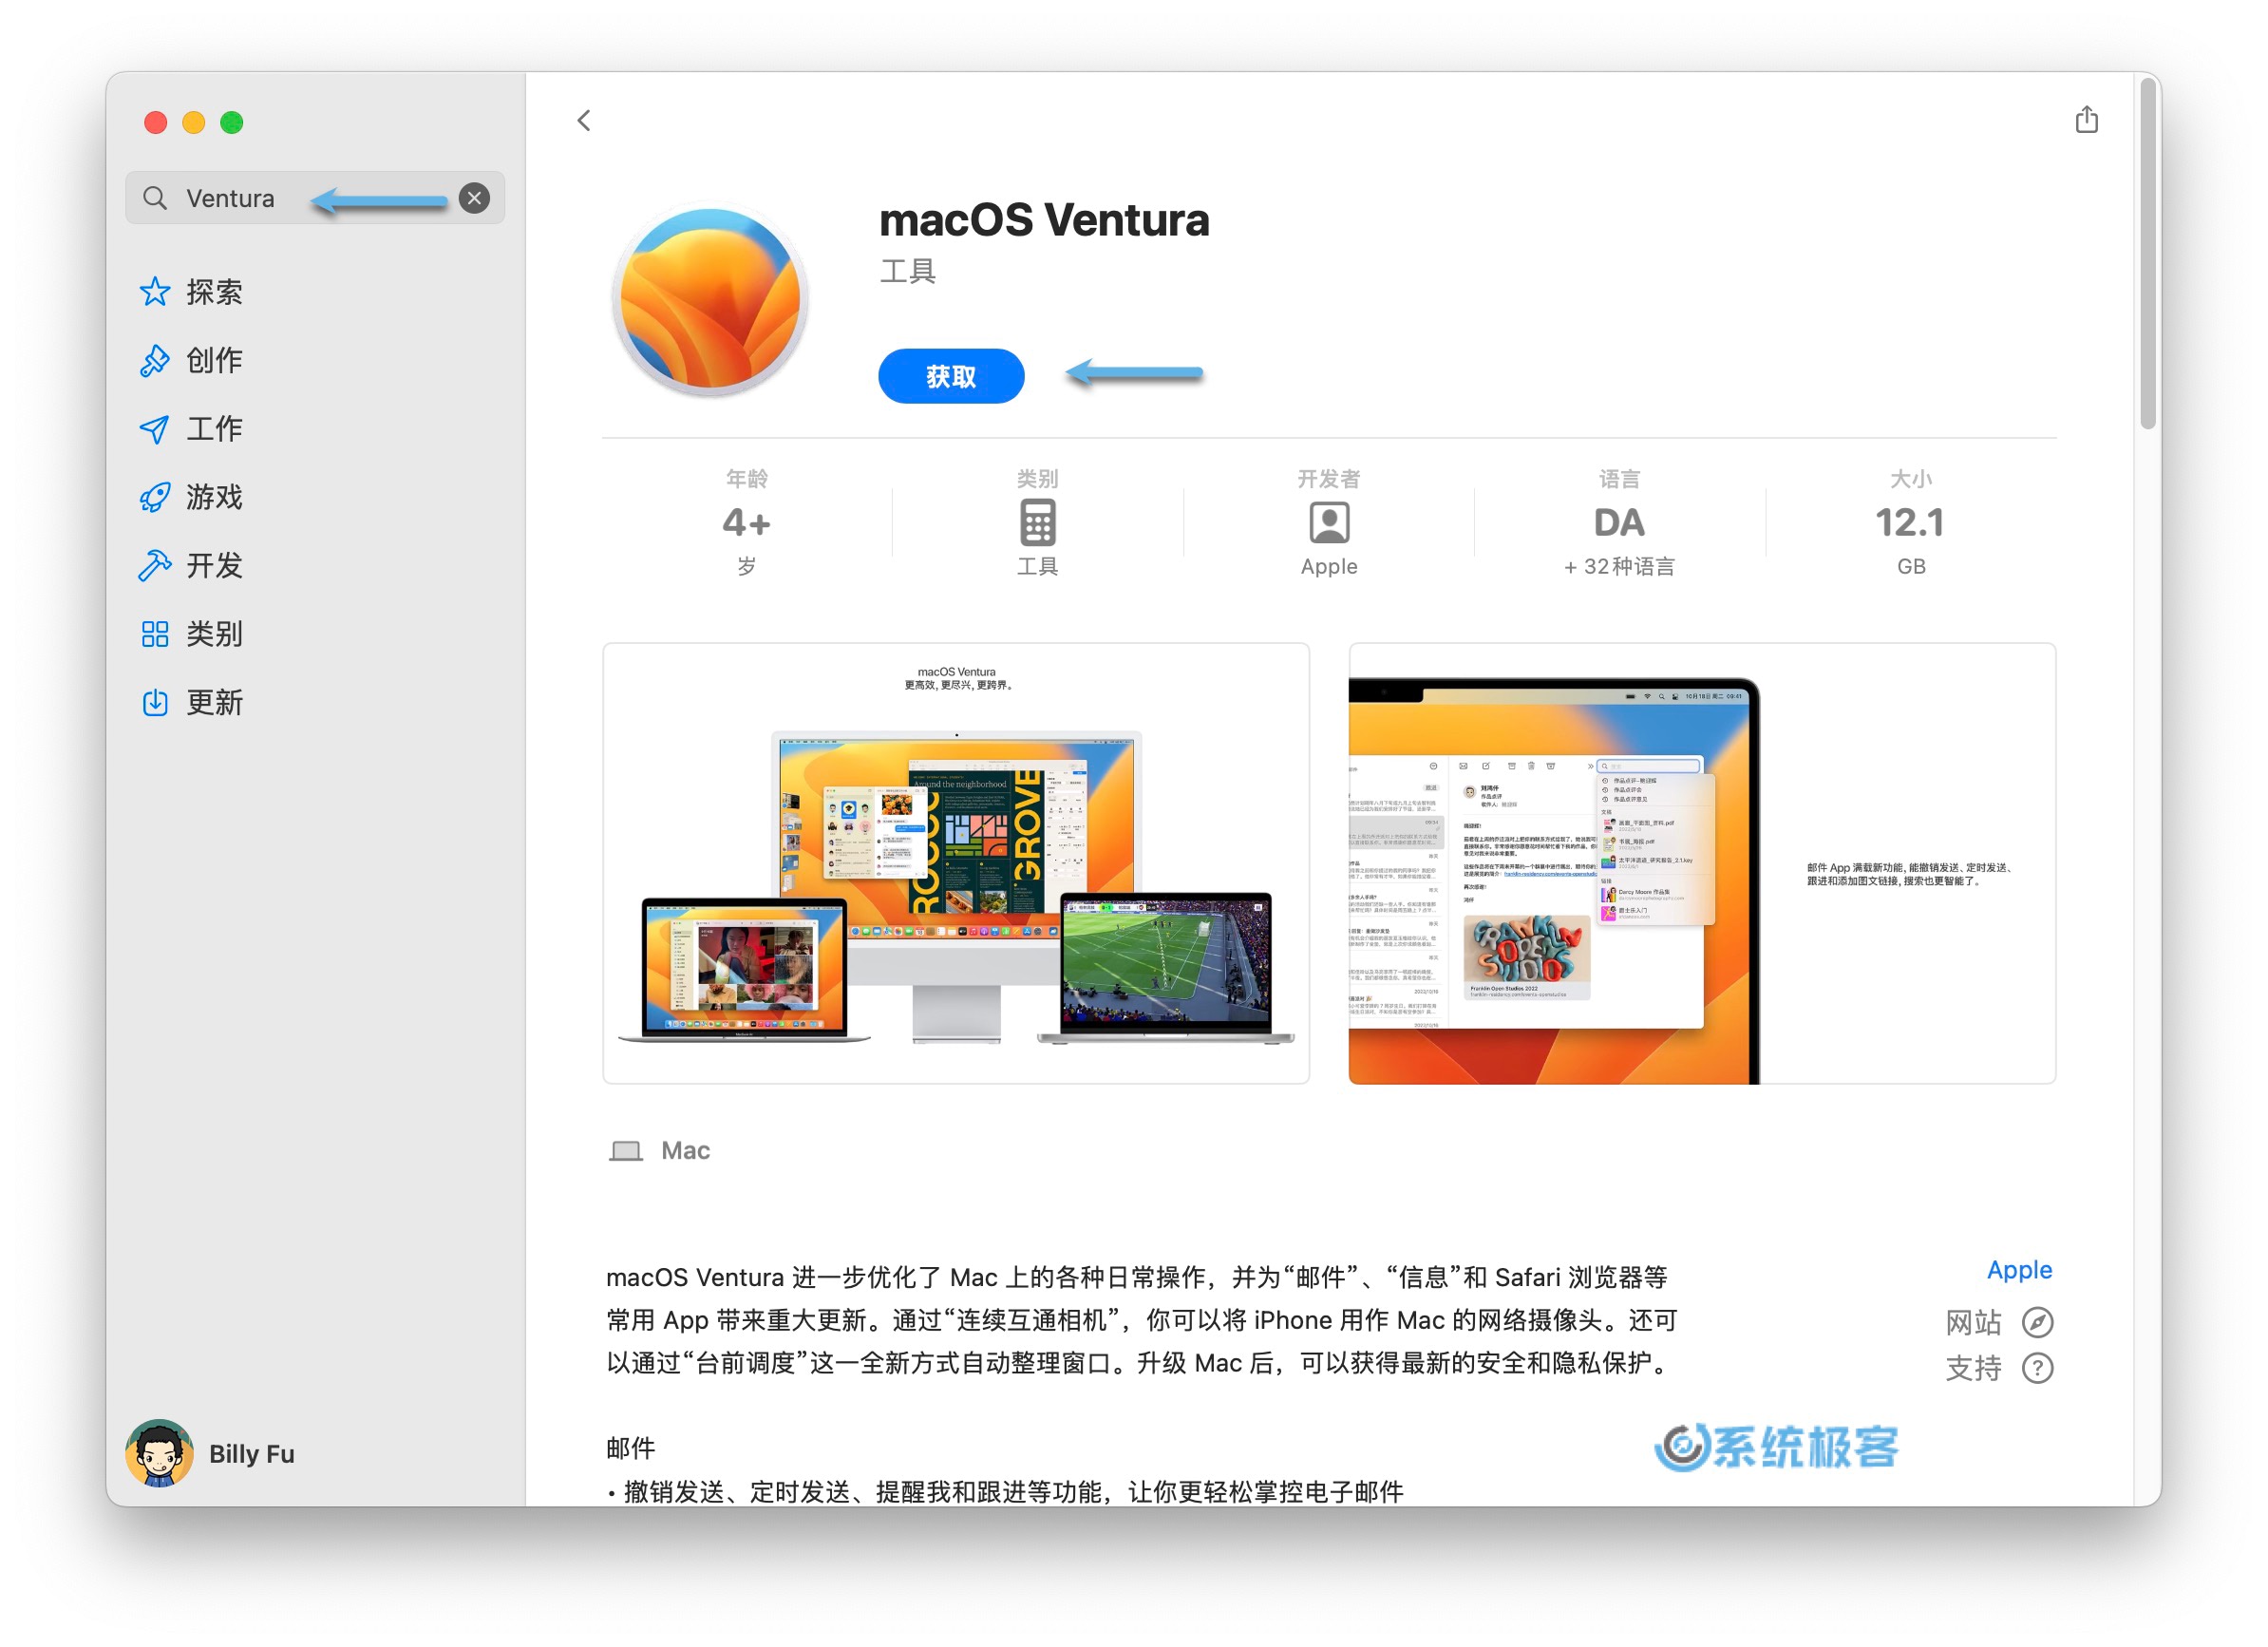 下载 macOS 安装程序
3点击「获取」按钮 -- 在自动弹出的「软件更新」窗格中选择「下载」。
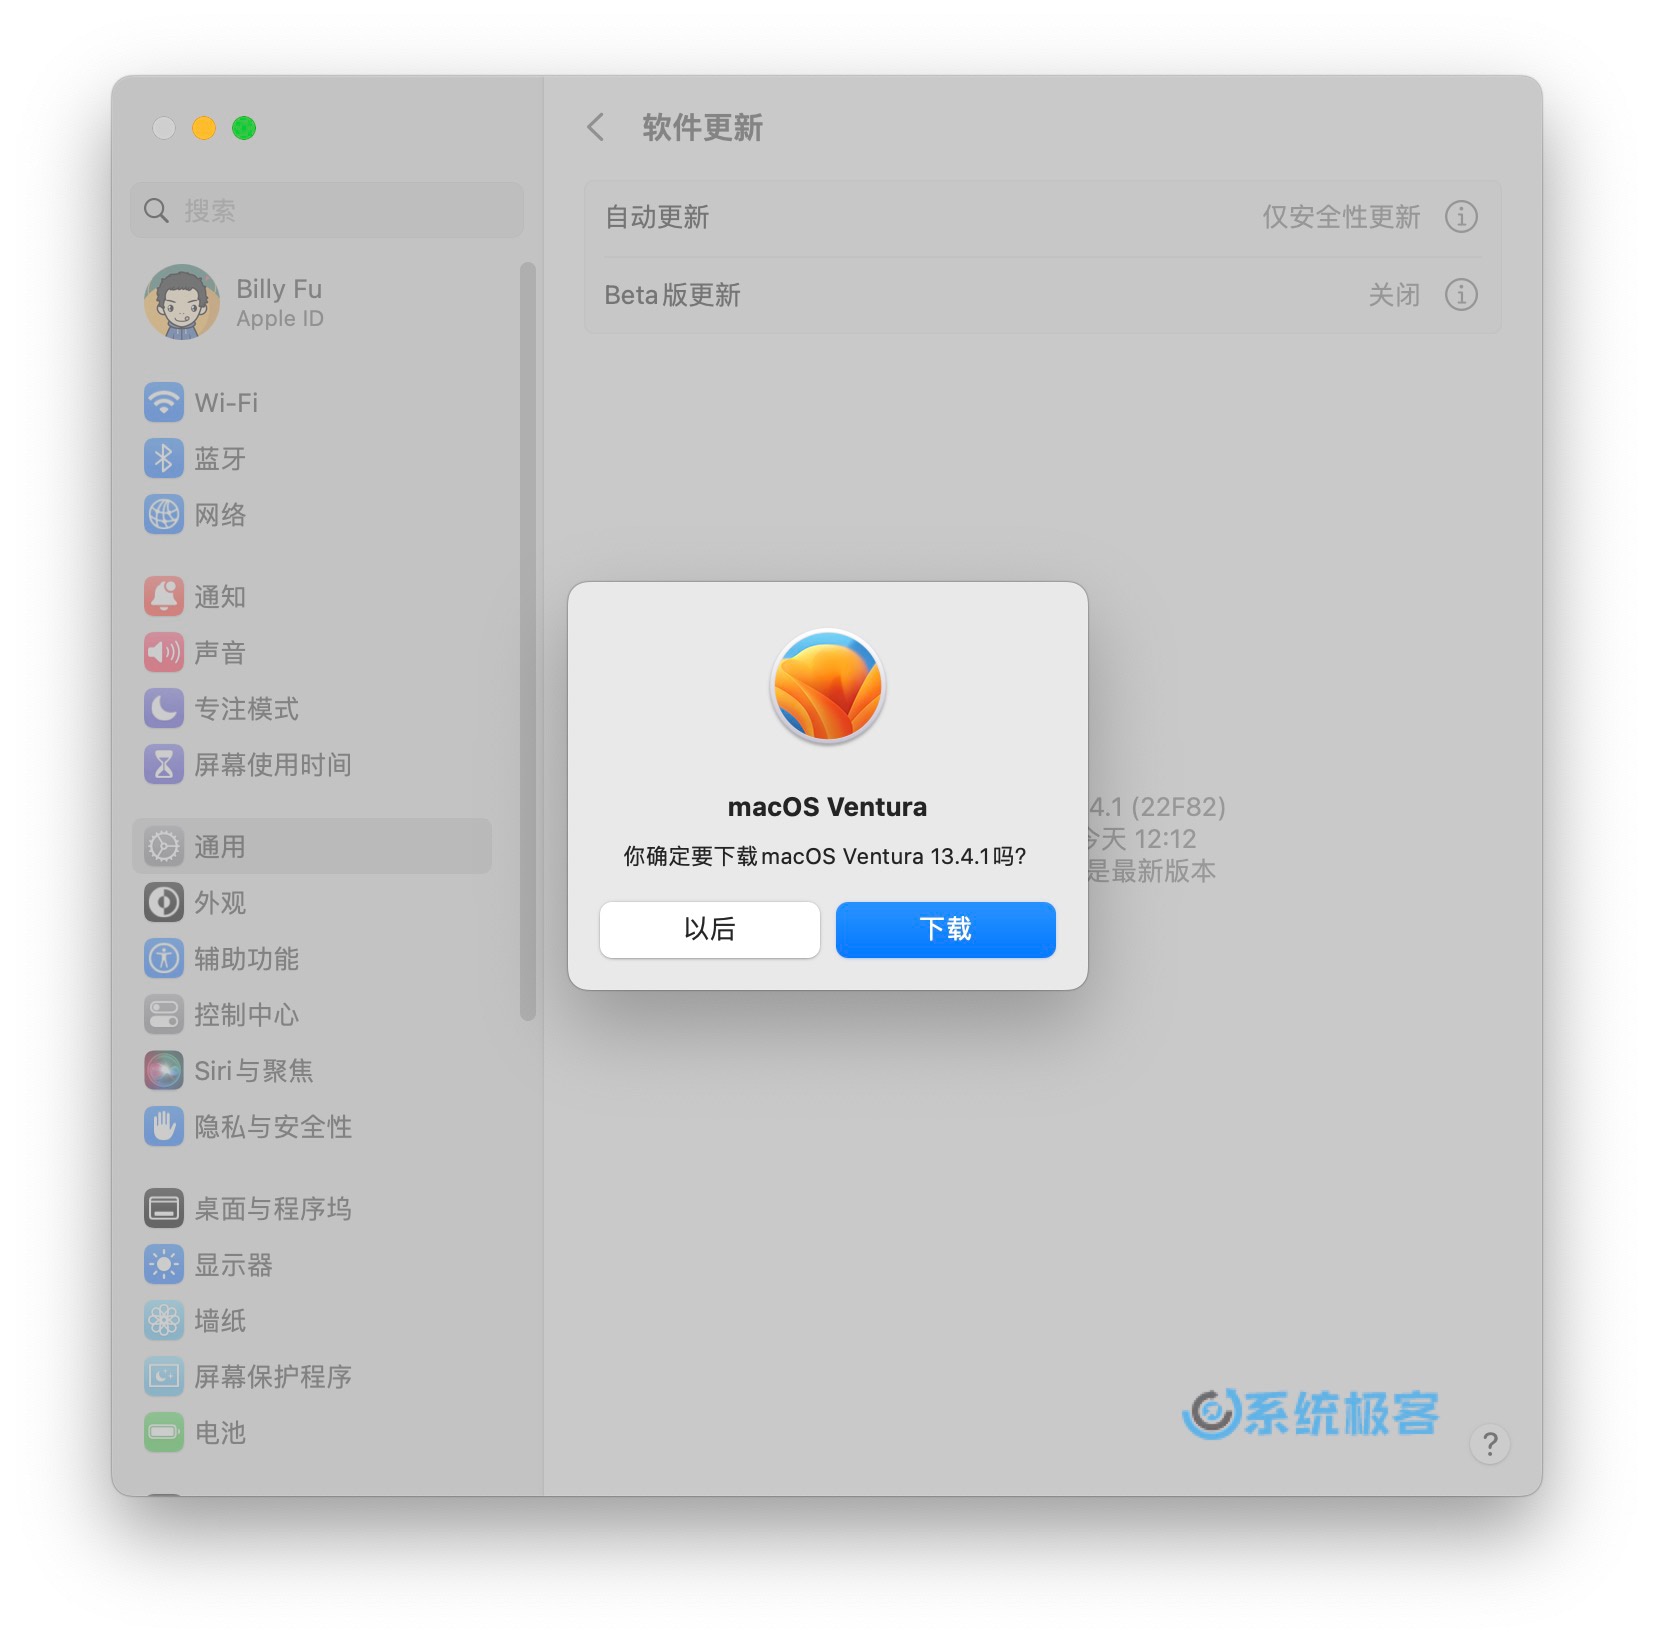 下载 macOS 安装程序
如果您的 Mac 有未完成的更新,请先完成更新安装,再重复上述步骤重新下载 macOS 安装程序。
4等待 macOS 安装程序下载到「应用程序」文件夹中,下载时间取决于网速。
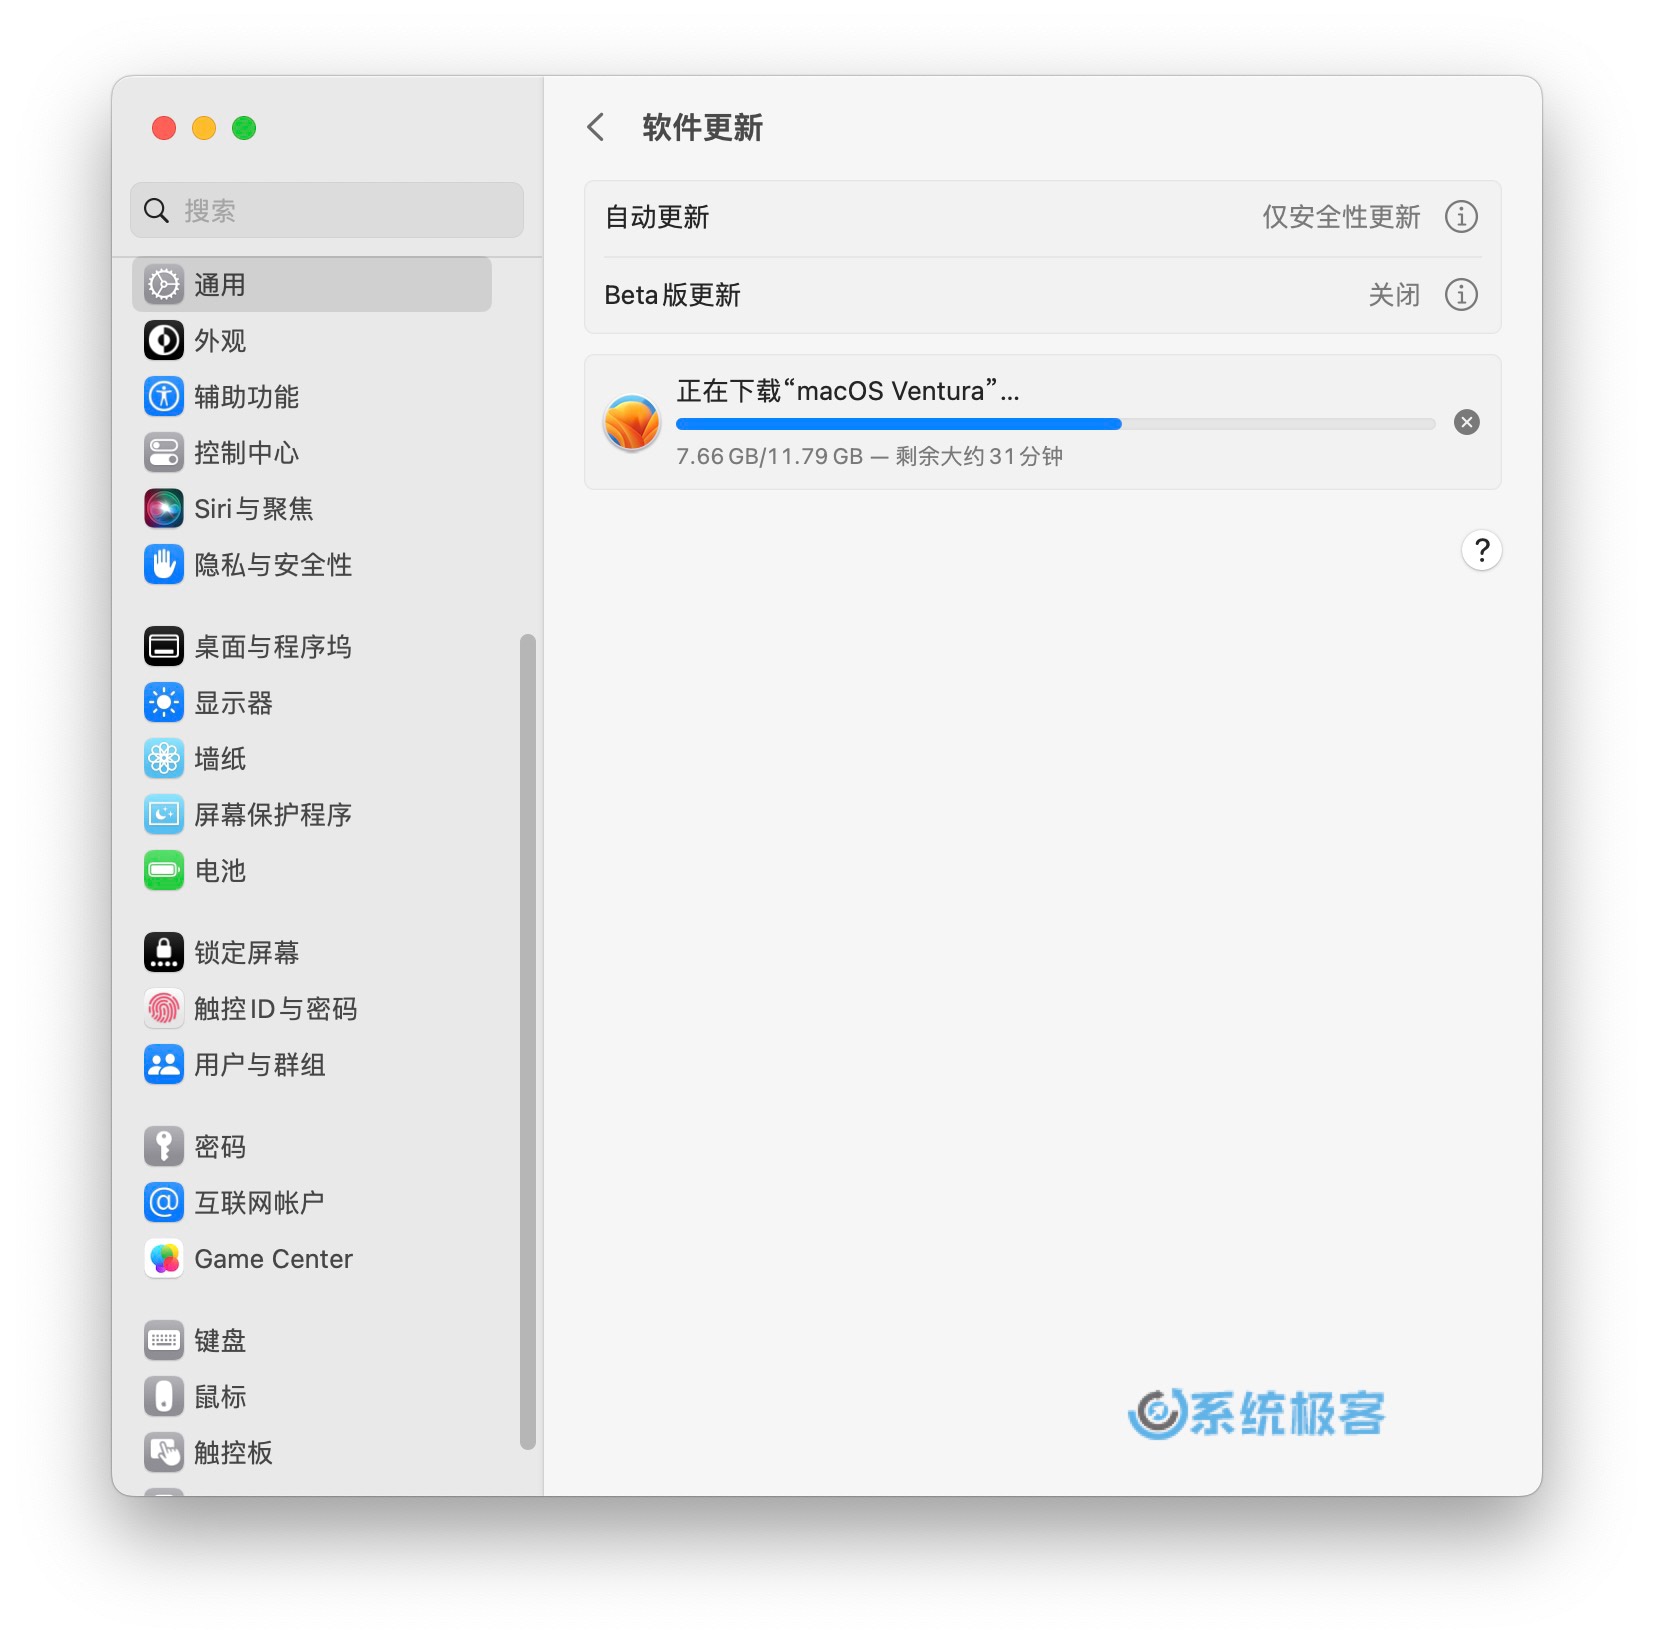 下载 macOS 安装程序
5下载完成后安装程序将自动启动,可以在菜单栏上选择「退出安装 macOS」来退出它。
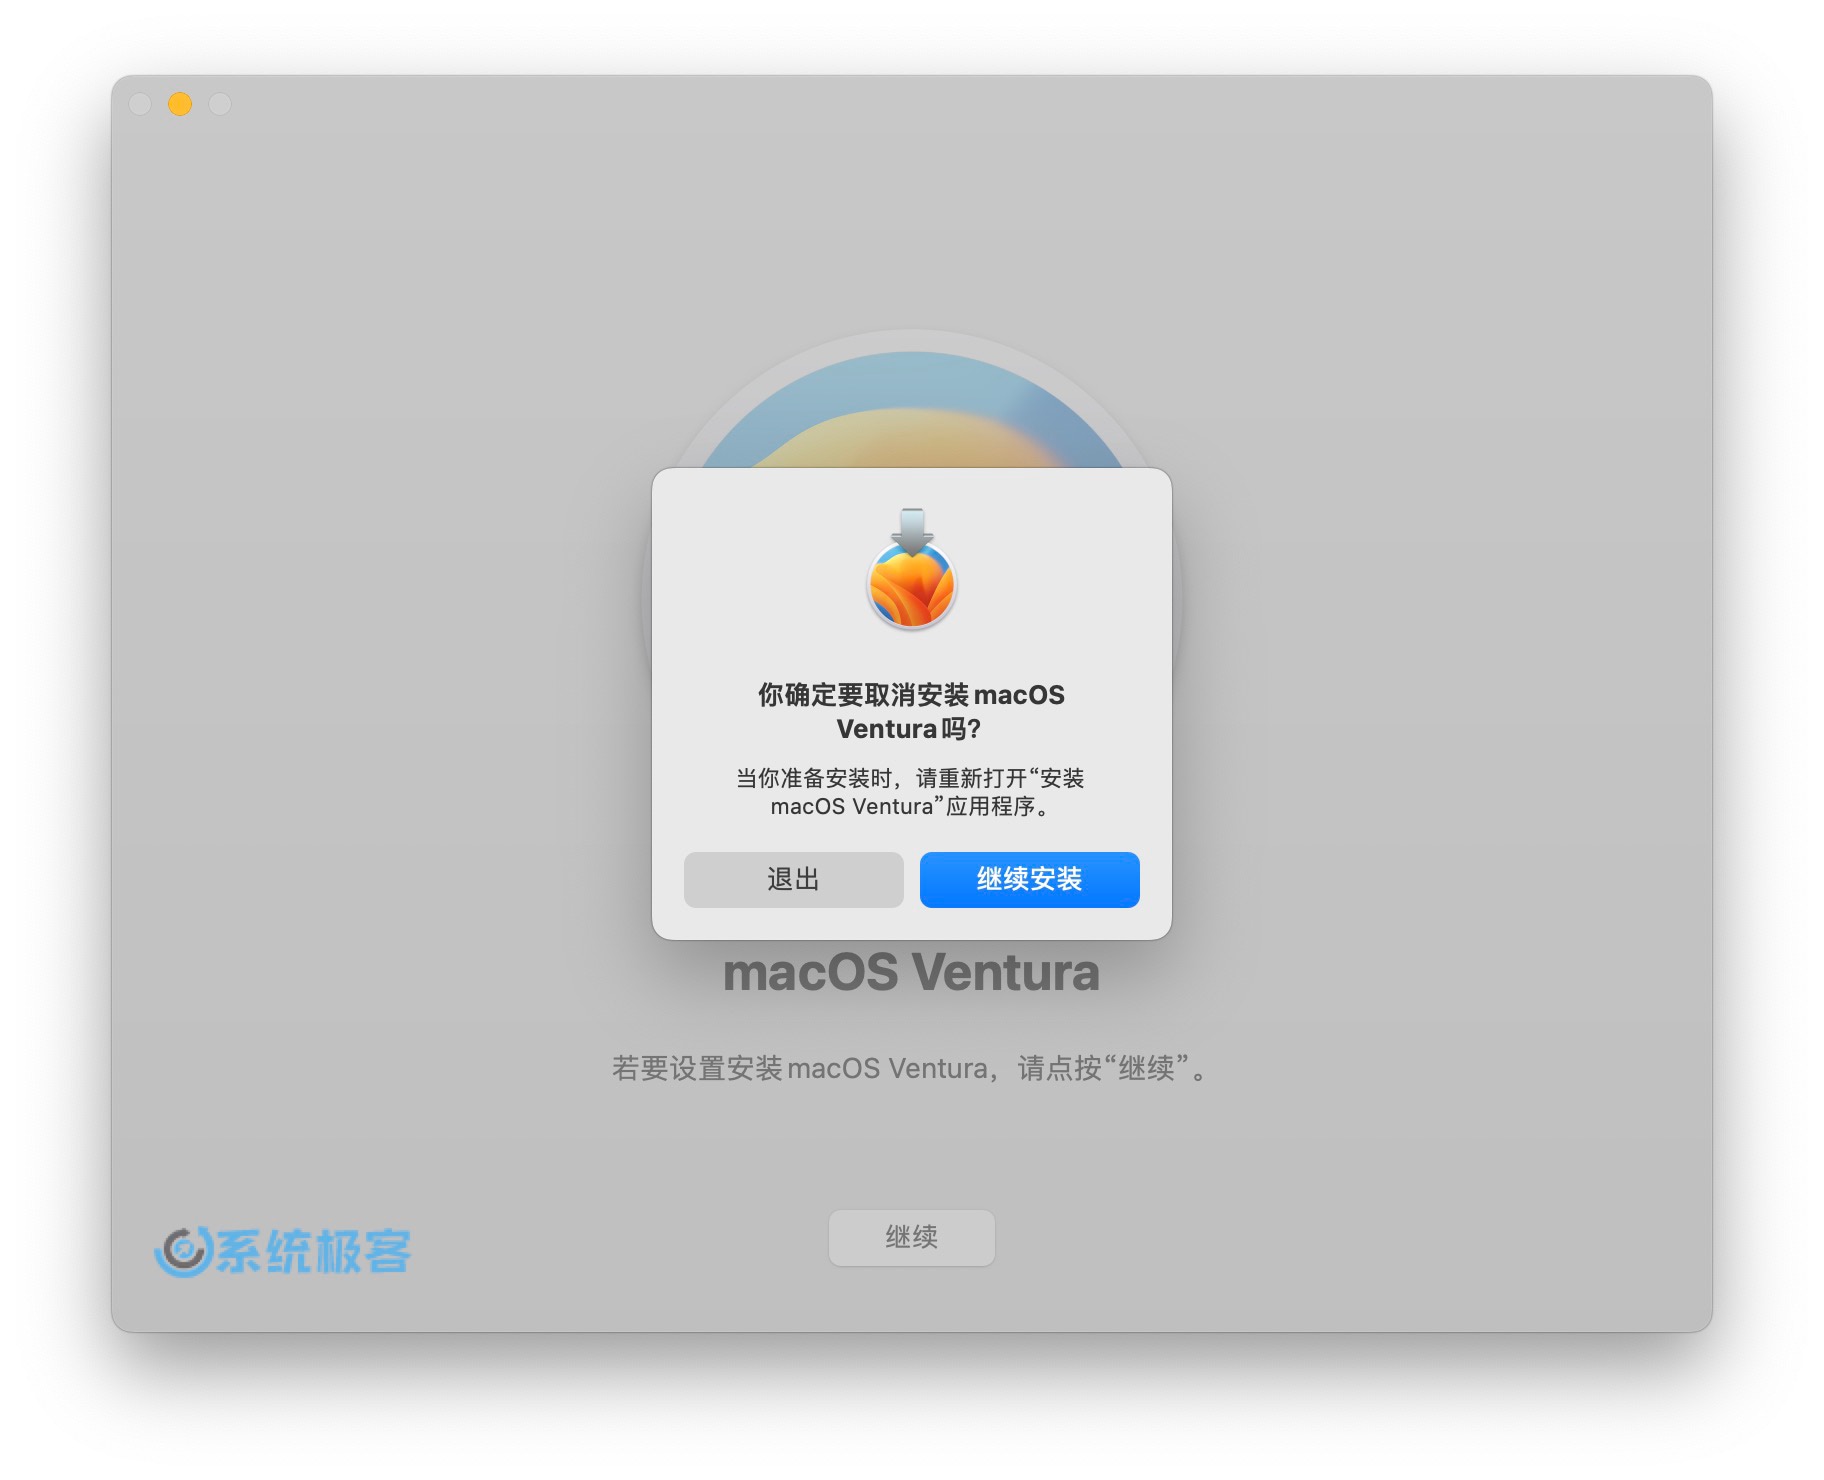 退出 macOS 安装程序
App Store 里面搜索不到旧版本 macOS 安装程序,可以点击下载链接,获取需要的 macOS 版本:
要下载更早版本的 macOS 或 Mac OS X,可以使用 Apple 提供的直接下载链接:
较旧版本的 macOS 安装程序包含在 DMG 文件中。请双击挂载 DMG 文件 -- 运行其中的 PKG 文件 -- 并按照屏幕上的指示将安装程序解压到「应用程序」文件夹中。
制作可引导 macOS 安装 U 盘
要创建可启动 macOS 安装 U 盘,只需在「终端」中执行一条命令:
1U 盘存储容量至少要 16GB,低于容量将无法使用。
2将 U 盘插入 Mac -- 打开「访达」- 记录下侧边栏中的 U 盘驱动器名称。
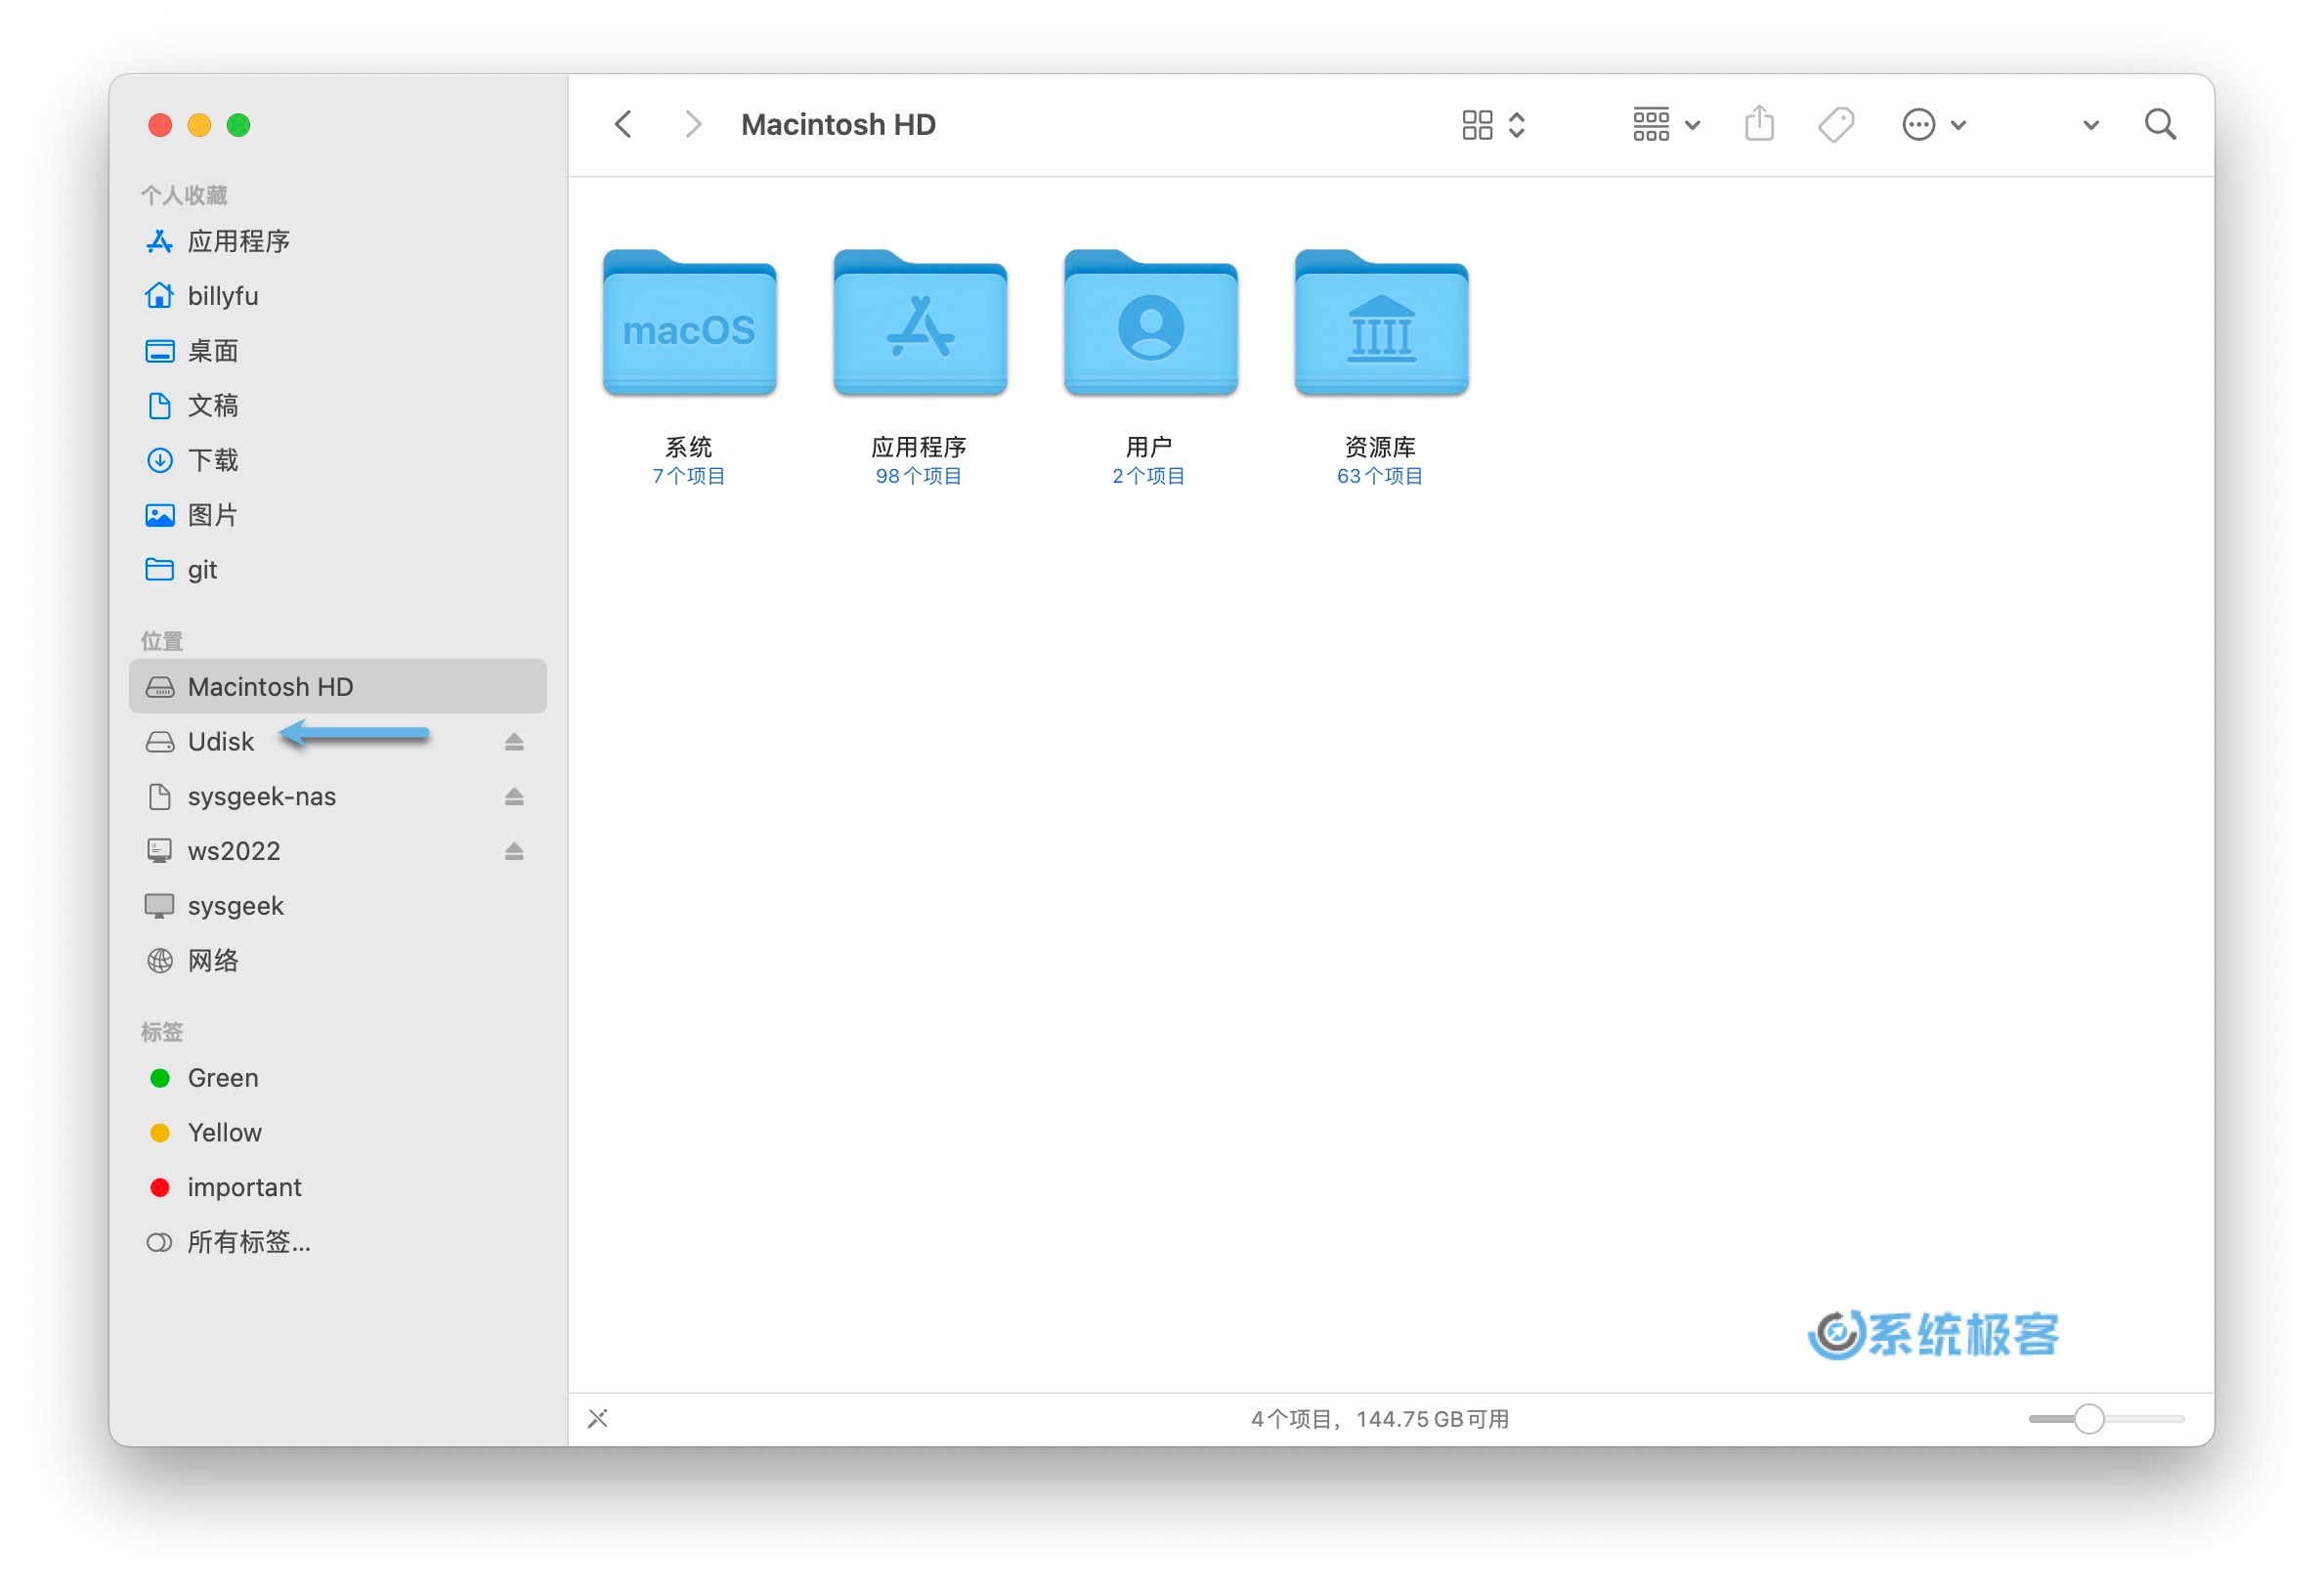 在「访达」中查看 U 盘驱动器名称
U 盘写入过程会擦除内部数据,请在继续下一步之前备份重要文件。
3打开 Launchpad 启动台 -- 选择「其他」-「终端」,以打开命令行界面。
4执行下面列表中与您下载的 macOS 安装程序相匹配的命令,将命令中的 Udisk 替换为您实际的 U 盘驱动器名称:
| macOS版本 | 命令 |
|:-------------|:-----------------------------------------------------------------------------------------------------------------------------------------------------------------------------------|
| Sonoma(beta) | sudo /Applications/Install\ macOS\ Sonoma\ beta.app/Contents/Resources/createinstallmedia --volume /Volumes/Udisk |
| Ventura | sudo /Applications/Install\ macOS\ Ventura.app/Contents/Resources/createinstallmedia --volume /Volumes/Udisk |
| Monterey | sudo /Applications/Install\ macOS\ Monterey.app/Contents/Resources/createinstallmedia --volume /Volumes/Udisk |
| Big Sur | sudo /Applications/Install\ macOS\ Big\ Sur.app/Contents/Resources/createinstallmedia --volume /Volumes/Udisk |
| Catalina | sudo /Applications/Install\ macOS\ Catalina.app/Contents/Resources/createinstallmedia --volume /Volumes/Udisk |
| Mojave | sudo /Applications/Install\ macOS\ Mojave.app/Contents/Resources/createinstallmedia --volume /Volumes/Udisk |
| High Sierra | sudo /Applications/Install\ macOS\ High\ Sierra.app/Contents/Resources/createinstallmedia --volume /Volumes/Udisk |
| Sierra | sudo /Applications/Install\ macOS\ Sierra.app/Contents/Resources/createinstallmedia --volume /Volumes/Udisk --applicationpath /Applications/Install\ macOS\ Sierra.app |
| El Capitan | sudo /Applications/Install\ OS\ X\ El\ Capitan.app/Contents/Resources/createinstallmedia --volume /Volumes/Udisk --applicationpath /Applications/Install\ OS\ X\ El\ Capitan.app |
| Yosemite | sudo /Applications/Install\ OS\ X\ Yosemite.app/Contents/Resources/createinstallmedia --volume /Volumes/Udisk --applicationpath /Applications/Install\ OS\ X\ Yosemite.app |
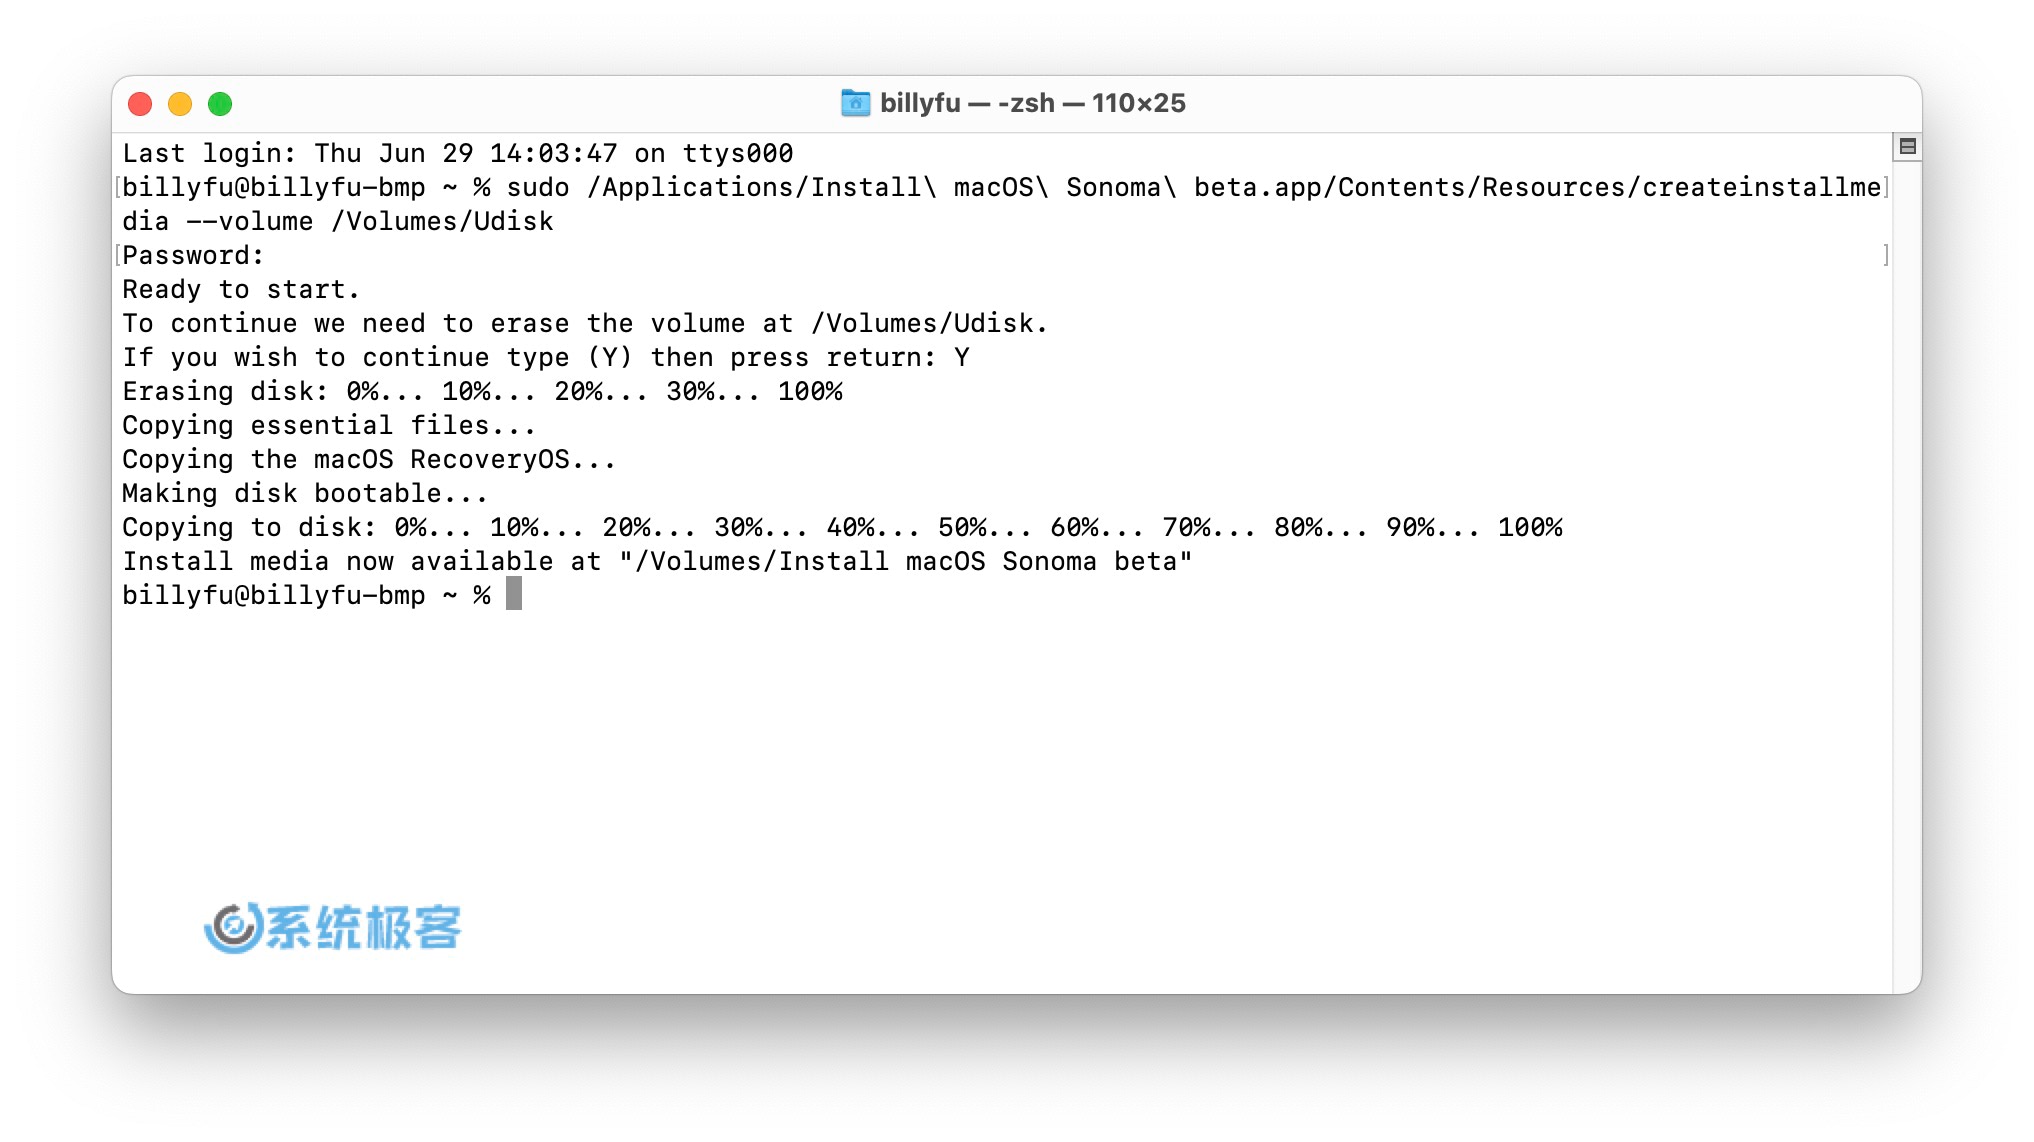 写入 macOS 启动 U 盘
5输入您的 macOS 管理员密码,然后按「回车」键。
6按下 Y 键确认开始写入,然后选择「回车」键。
7请等待「终端」创建安装 U 盘。
如果在写入 U 盘时遇到:
「APFS disks may not be used as bootable install media. An error occurred erasing the disk.」
可以在「磁盘工具」中将 U 盘格式化成「Mac OS 扩展(日志式)」格式。
8写入完成后退出「终端」- 打开「访达」并推出 U 盘。
无论是升级 Mac 操作系统还是解决 macOS 系统的严重问题,创建可引导的 macOS 安装 U 盘都是一项很实用的技能。通过本文介绍的步骤,您应该能够轻松完成此任务。
推荐阅读:如何在 VMware 中安装 macOS Sonoma
 51工具盒子
