一、GitLab简介
GitLab:是一个基于Git实现的在线代码仓库托管软件,你可以用gitlab自己搭建一个类似于Github一样的系统,一般用于在企业、学校等内部网络搭建git私服。
功能:Gitlab 是一个提供代码托管、提交审核和问题跟踪的代码管理平台。对于软件工程质量管理非常重要。
版本:GitLab 分为社区版(CE)和企业版(EE)。
二、Gitlab服务构成
Nginx:静态web服务器。
gitlab-shell:用于处理Git命令和修改authorized keys列表。(Ruby)
gitlab-workhorse: 轻量级的反向代理服务器。(go)
GitLab Workhorse是一个敏捷的反向代理。它会处理一些大的HTTP请求,比如文件上传、文件下载、Git push/pull和Git包下载。其它请求会反向代理到GitLab Rails应用,即反向代理给后端的unicorn。
logrotate:日志文件管理工具。
postgresql:数据库。
redis:缓存数据库。
sidekiq:用于在后台执行队列任务(异步执行)。(Ruby)
unicorn:An HTTP server for Rack applications,GitLab Rails应用是托管在这个服务器上面的。(Ruby Web Server,主要使用Ruby编写)
三、Gitlab安装
操作系统:CentOS 7.4
服务器IP:192.168.0.3
配置:建议CPU2核,内存2G以上。
1、下载软件包,这里用的是10.0.6
[root@localhost ~]# wget -c https://mirrors.tuna.tsinghua.edu.cn/gitlab-ce/yum/el7/gitlab-ce-10.0.6-ce.0.el7.x86_64.rpm
2、安装依赖
[root@localhost ~]# yum -y install curl curl-devel openssh-server openssh-clients postfix cronie policycoreutils-python
3、安装Gitlab
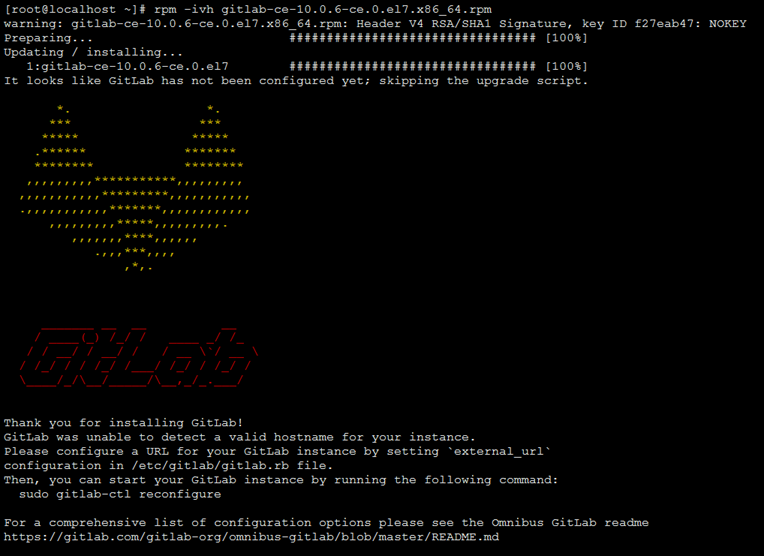
[root@localhost ~]# rpm -ivh gitlab-ce-10.0.6-ce.0.el7.x86_64.rpm
4、配置Gitlab
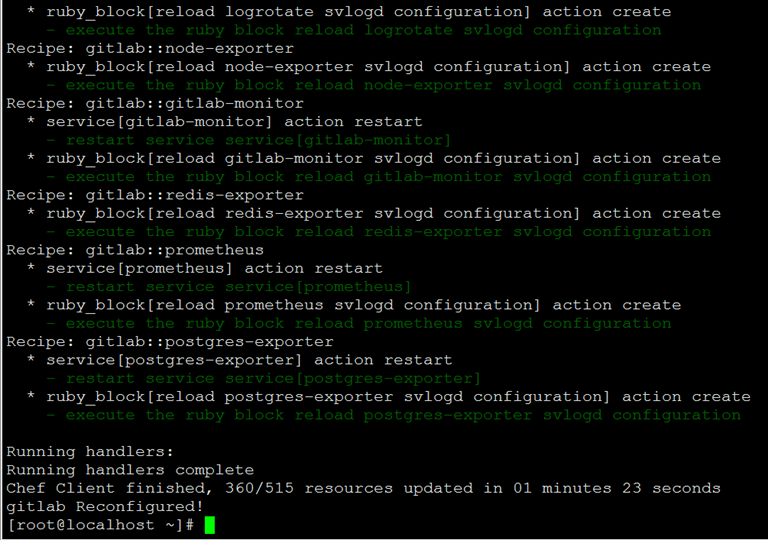
[root@localhost ~]# gitlab-ctl reconfigure
5、启动Gltlab
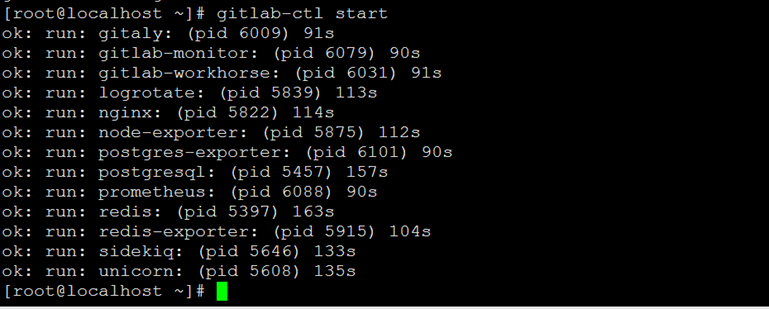
[root@localhost ~]# gitlab-ctl start
6、访问Gitlab
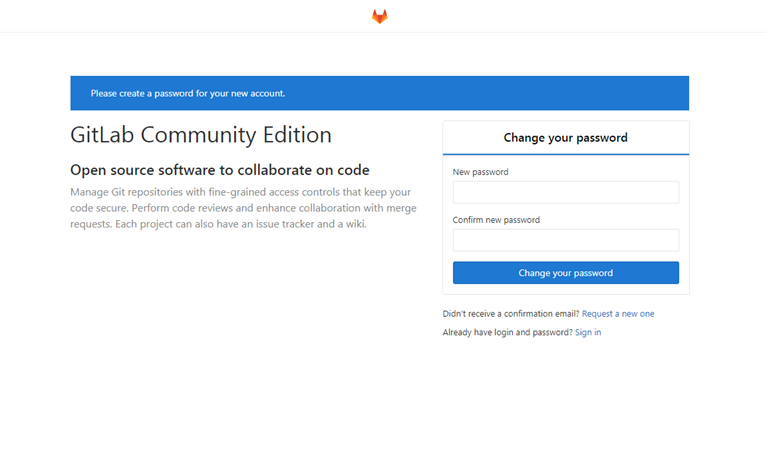
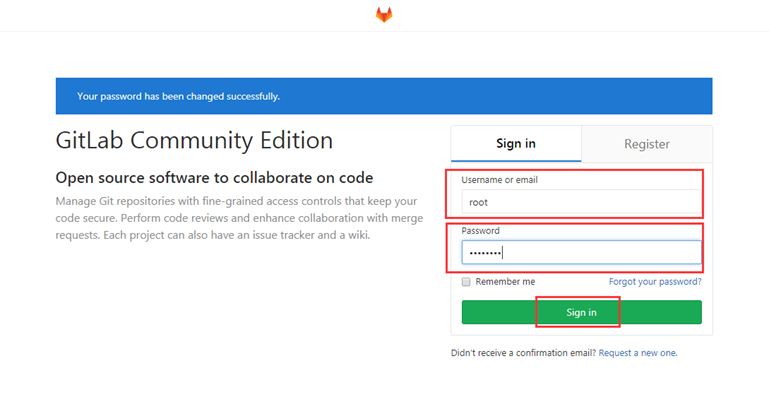
#浏览器访问服务器IP,http://192.168.0.3
设置密码后,点击Change your password
7、登录Gitlab
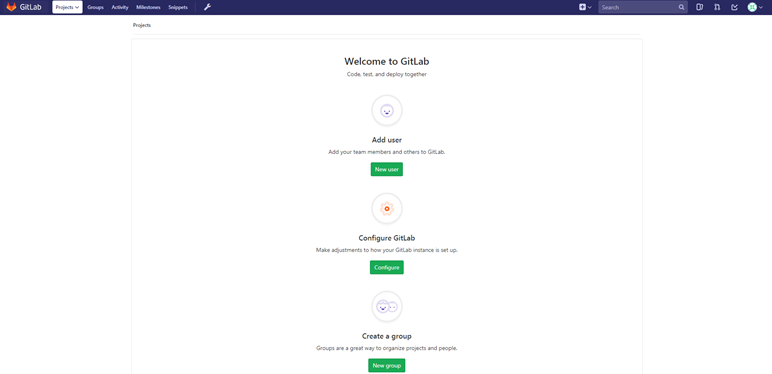
登录后,出现如下界面
8、安装汉化版
#下载汉化包
[root@localhost ~]# wget -c https://mirrors.yangxingzhen.com/archive_Sinization.tar.gz
#解压汉化包
[root@localhost ~]# tar zxf archive_Sinization.tar.gz
9、备份之前英文样式
[root@localhost ~]# cd /opt/gitlab/embedded/service
[root@localhost service]# cp -a gitlab-rails/ gitlab-rails.ori
10、替换汉化样式
[root@localhost service]# \cp -a /root/gitlab-10-0-stable-zh-0d96f892e11b76c311f66131e7bae7ce9485f06a/* /opt/gitlab/embedded/service/gitlab-rails
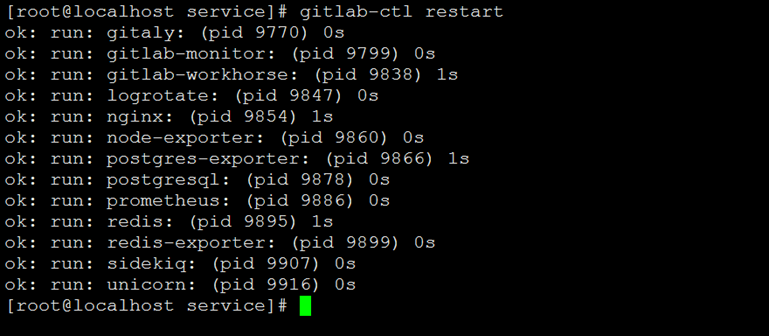
11、重启Gitlab服务
[root@localhost service]# gitlab-ctl restart
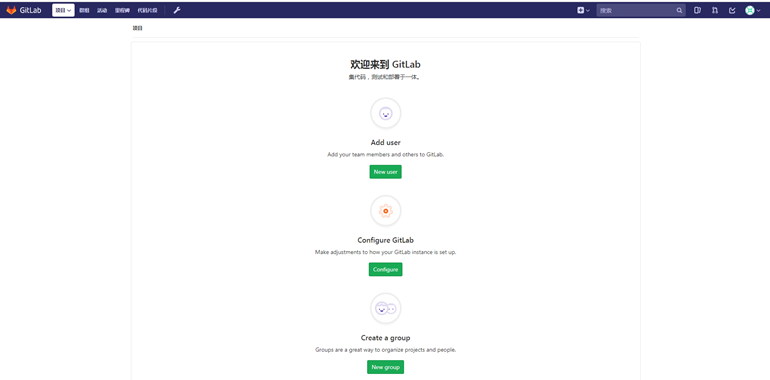
#出现以下界面,代表汉化成功
继续阅读
Gitlab最后更新:2024-1-23
 51工具盒子