本文基于wlnmp一键安装包来部署lnmp环境,zabbix-server通过官方提供的源使用yum方式安装,方便后期update升级,本文基于zabbix5.0版本,其他版本不一定适用,请自行测试。
在zabbix5.0版本中yum源安装zabbix-server不会强制安装系统默认的apache、php、mysql,可以单独安装zabbix-server、zabbix-web,这样后期通过update升级相对会比较方便了。
当前系统环境及软件版本:CentOS7.x、php7.4、mysql5.7、nginx1.18.0
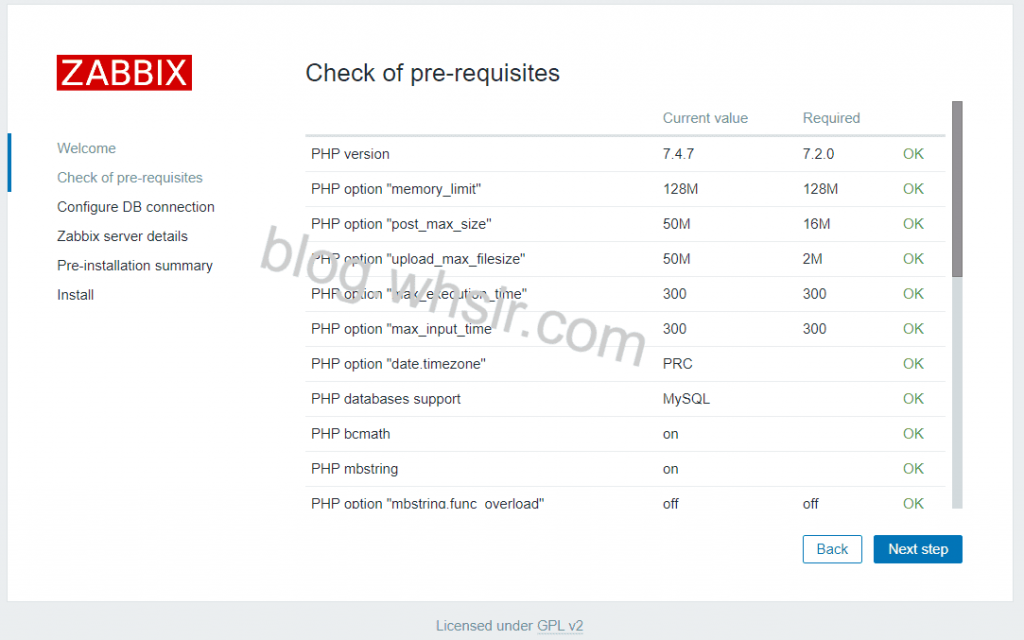
注意:zabbix5.0要求php版本必须要大于7.2
1、添加epel源
yum install epel-release -y
|---|-----------------------------| | 1 | yum install epel-release -y |
2、添加wlnmp一键包源
rpm -ivh http://mirrors.wlnmp.com/centos/wlnmp-release-centos.noarch.rpm
|---|--------------------------------------------------------------------------| | 1 | rpm -ivh http://mirrors.wlnmp.com/centos/wlnmp-release-centos.noarch.rpm |
3、添加zabbix阿里镜像源(强烈建议)
vi /etc/yum.repos.d/zabbix.repo
|---|---------------------------------| | 1 | vi /etc/yum.repos.d/zabbix.repo |
[zabbix] name=Zabbix Official Repository - $basearch baseurl=https://mirrors.aliyun.com/zabbix/zabbix/5.0/rhel/7/$basearch/ enabled=1 gpgcheck=0 gpgkey=file:///etc/pki/rpm-gpg/RPM-GPG-KEY-ZABBIX-A14FE591 [zabbix-frontend] name=Zabbix Official Repository frontend - $basearch baseurl=https://mirrors.aliyun.com/zabbix/zabbix/5.0/rhel/7/$basearch/frontend enabled=1 gpgcheck=0 gpgkey=file:///etc/pki/rpm-gpg/RPM-GPG-KEY-ZABBIX-A14FE591 [zabbix-debuginfo] name=Zabbix Official Repository debuginfo - $basearch baseurl=https://mirrors.aliyun.com/zabbix/zabbix/5.0/rhel/7/$basearch/debuginfo/ enabled=0 gpgkey=file:///etc/pki/rpm-gpg/RPM-GPG-KEY-ZABBIX-A14FE591 gpgcheck=0 [zabbix-non-supported] name=Zabbix Official Repository non-supported - $basearch baseurl=https://mirrors.aliyun.com/zabbix/non-supported/rhel/7/$basearch/ enabled=1 gpgkey=file:///etc/pki/rpm-gpg/RPM-GPG-KEY-ZABBIX gpgcheck=0
|-------------------------------------------------------------------------|---------------------------------------------------------------------------------------------------------------------------------------------------------------------------------------------------------------------------------------------------------------------------------------------------------------------------------------------------------------------------------------------------------------------------------------------------------------------------------------------------------------------------------------------------------------------------------------------------------------------------------------------------------------------------------------------------------------------------------------------------------------------------------------------------------------------------------------------------------------------------------------------------------------------------------------| | 1 2 3 4 5 6 7 8 9 10 11 12 13 14 15 16 17 18 19 20 21 22 23 24 25 26 27 | [zabbix] name=Zabbix Official Repository - $basearch baseurl=https://mirrors.aliyun.com/zabbix/zabbix/5.0/rhel/7/$basearch/ enabled=1 gpgcheck=0 gpgkey=file:///etc/pki/rpm-gpg/RPM-GPG-KEY-ZABBIX-A14FE591 [zabbix-frontend] name=Zabbix Official Repository frontend - $basearch baseurl=https://mirrors.aliyun.com/zabbix/zabbix/5.0/rhel/7/$basearch/frontend enabled=1 gpgcheck=0 gpgkey=file:///etc/pki/rpm-gpg/RPM-GPG-KEY-ZABBIX-A14FE591 [zabbix-debuginfo] name=Zabbix Official Repository debuginfo - $basearch baseurl=https://mirrors.aliyun.com/zabbix/zabbix/5.0/rhel/7/$basearch/debuginfo/ enabled=0 gpgkey=file:///etc/pki/rpm-gpg/RPM-GPG-KEY-ZABBIX-A14FE591 gpgcheck=0 [zabbix-non-supported] name=Zabbix Official Repository non-supported - $basearch baseurl=https://mirrors.aliyun.com/zabbix/non-supported/rhel/7/$basearch/ enabled=1 gpgkey=file:///etc/pki/rpm-gpg/RPM-GPG-KEY-ZABBIX gpgcheck=0 |
或官方源(任选其一,不建议使用官方源,如果使用官方源,需要手动设置yum源zabbix-frontend字段enabled=1):rpm -Uvh https://repo.zabbix.com/zabbix/5.0/rhel/7/x86_64/zabbix-release-5.0-1.el7.noarch.rpm
4、安装nginx、php、mysql、zabbix-server、zabbix-web
**注意:**执行下面操作前,先执行yum remove epel-release,卸载掉epel源,因为新版本的zabbix会从epel查找到新的zabbix6.0包组,zabbix-server-mysql要从zabbix源中安装。
yum install wnginx wphp74 wmysql57 -y yum install wphp74-ldap -y yum install zabbix-server-mysql zabbix-web centos-release-scl -y
|-------|-----------------------------------------------------------------------------------------------------------------------------------| | 1 2 3 | yum install wnginx wphp74 wmysql57 -y yum install wphp74-ldap -y yum install zabbix-server-mysql zabbix-web centos-release-scl -y |
5、设置两个软链接
ln -sv /usr/local/mysql/lib/libmysqlclient.so.20 /usr/lib64/libmysqlclient.so.20 ln -sv /usr/local/mysql/lib/libmysqlclient.so /usr/lib64/libmysqlclient.so
|-----|-------------------------------------------------------------------------------------------------------------------------------------------------------------| | 1 2 | ln -sv /usr/local/mysql/lib/libmysqlclient.so.20 /usr/lib64/libmysqlclient.so.20 ln -sv /usr/local/mysql/lib/libmysqlclient.so /usr/lib64/libmysqlclient.so |
6、创建zabbix数据库
默认root登陆密码为空
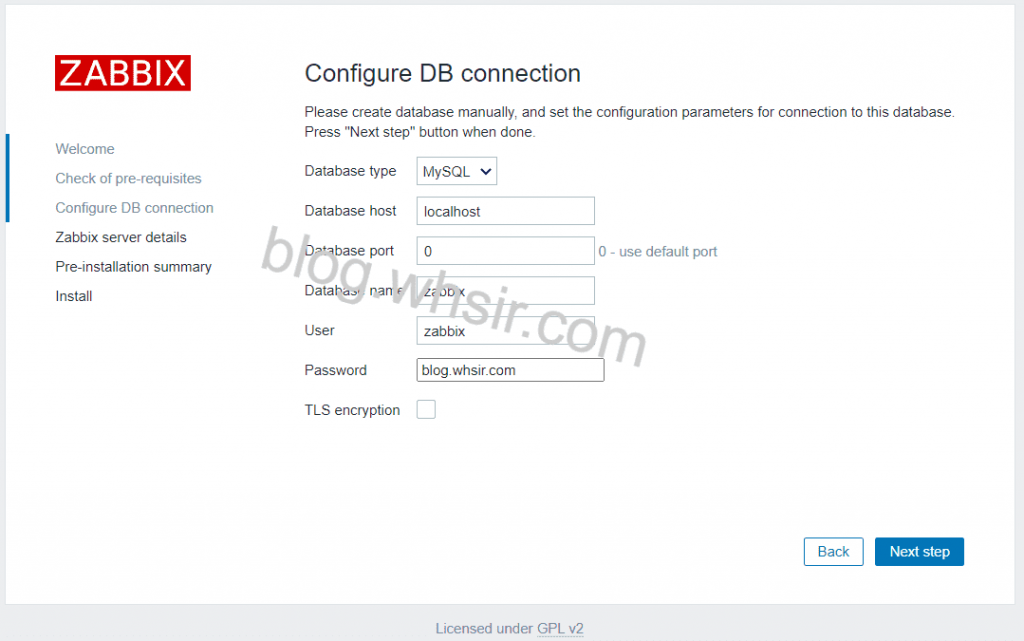
mysql -uroot -p mysql> create database zabbix character set utf8 collate utf8_bin; mysql> grant all privileges on zabbix.* to zabbix@localhost identified by 'blog.whsir.com'; mysql> exit
|---------|------------------------------------------------------------------------------------------------------------------------------------------------------------------------------------------------| | 1 2 3 4 | mysql -uroot -p mysql> create database zabbix character set utf8 collate utf8_bin; mysql> grant all privileges on zabbix.* to zabbix@localhost identified by 'blog.whsir.com'; mysql> exit |
7、导入zabbix数据库
zcat /usr/share/doc/zabbix-server-mysql-*/create.sql.gz | mysql -uzabbix -pblog.whsir.com zabbix
|---|----------------------------------------------------------------------------------------------------| | 1 | zcat /usr/share/doc/zabbix-server-mysql-*/create.sql.gz | mysql -uzabbix -pblog.whsir.com zabbix |
8、配置zabbix-server
sed -i s/"# DBPassword="/DBPassword=blog.whsir.com/ /etc/zabbix/zabbix_server.conf sed -i s/"# DBHost=localhost"/DBHost=127.0.0.1/ /etc/zabbix/zabbix_server.conf
|-----|-------------------------------------------------------------------------------------------------------------------------------------------------------------------| | 1 2 | sed -i s/"# DBPassword="/DBPassword=blog.whsir.com/ /etc/zabbix/zabbix_server.conf sed -i s/"# DBHost=localhost"/DBHost=127.0.0.1/ /etc/zabbix/zabbix_server.conf |
9、启动zabbix-server并设置自启动
systemctl enable zabbix-server systemctl start zabbix-server
|-----|--------------------------------------------------------------| | 1 2 | systemctl enable zabbix-server systemctl start zabbix-server |
10、设置目录权限
chown -R www.www /usr/share/zabbix/ chown -R www.www /etc/zabbix/
|-----|-------------------------------------------------------------------| | 1 2 | chown -R www.www /usr/share/zabbix/ chown -R www.www /etc/zabbix/ |
11、配置php
sed -i s/"max_input_time = 60"/"max_input_time = 300"/ /usr/local/php/etc/php.ini /etc/init.d/php-fpm74 restart
|-----|-----------------------------------------------------------------------------------------------------------------| | 1 2 | sed -i s/"max_input_time = 60"/"max_input_time = 300"/ /usr/local/php/etc/php.ini /etc/init.d/php-fpm74 restart |
12、配置nginx
sed -i s#"root html;"#"root /usr/share/zabbix/;"# /usr/local/nginx/conf/vhost/demo.conf sed -i s/"#include enable-php74.conf;"/"include enable-php74.conf;"/ /usr/local/nginx/conf/vhost/demo.conf /etc/init.d/nginx restart
|-------|------------------------------------------------------------------------------------------------------------------------------------------------------------------------------------------------------------------------------| | 1 2 3 | sed -i s#"root html;"#"root /usr/share/zabbix/;"# /usr/local/nginx/conf/vhost/demo.conf sed -i s/"#include enable-php74.conf;"/"include enable-php74.conf;"/ /usr/local/nginx/conf/vhost/demo.conf /etc/init.d/nginx restart |
13、安装配置zabbix-agent
yum install zabbix-agent -y systemctl enable zabbix-agent systemctl start zabbix-agent
|-------|----------------------------------------------------------------------------------------| | 1 2 3 | yum install zabbix-agent -y systemctl enable zabbix-agent systemctl start zabbix-agent |
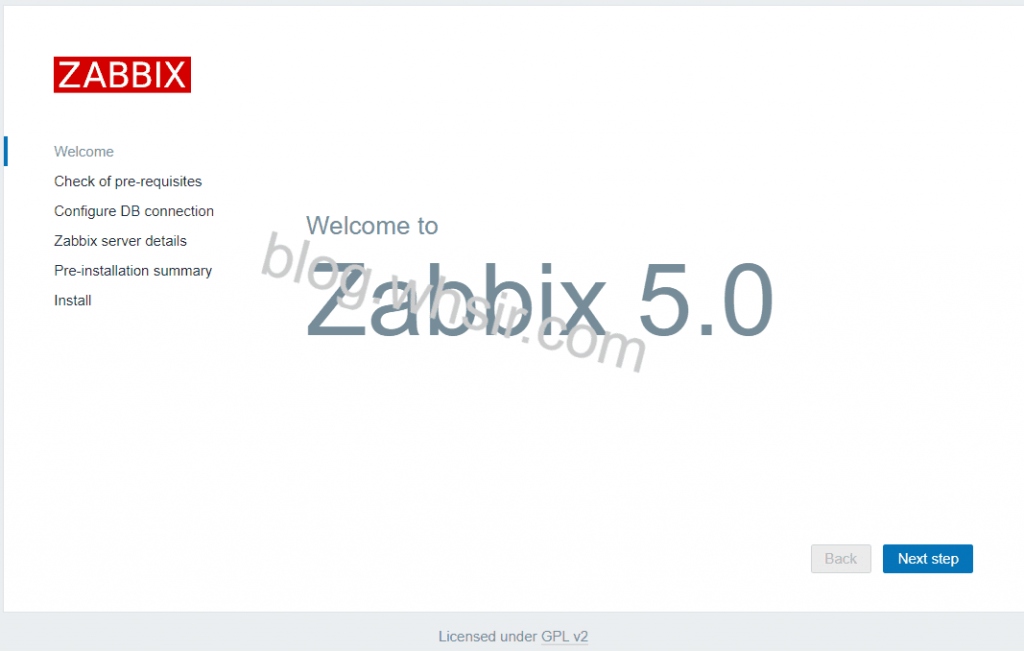
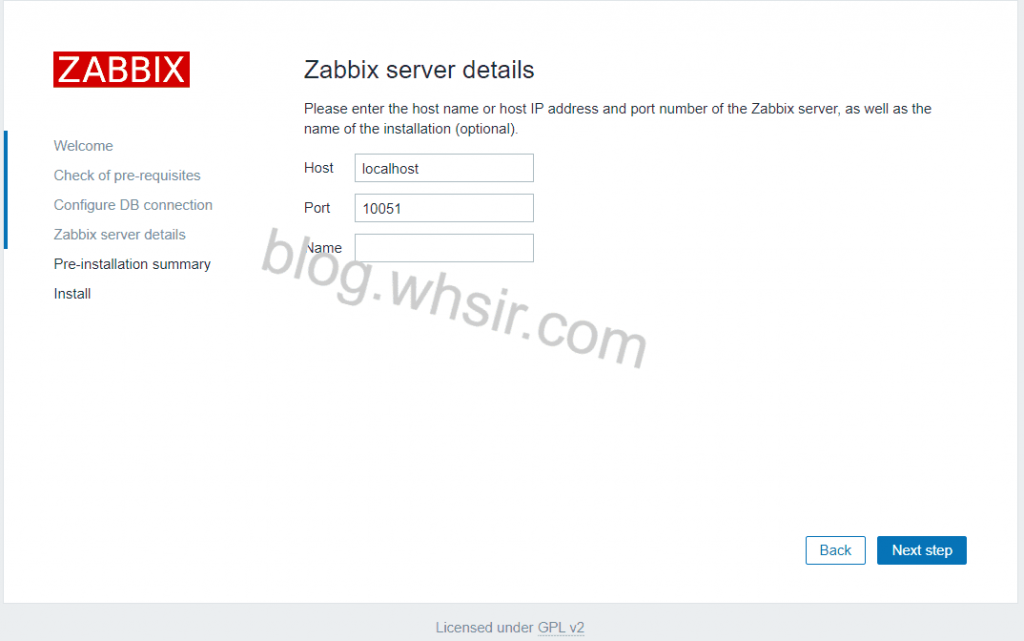
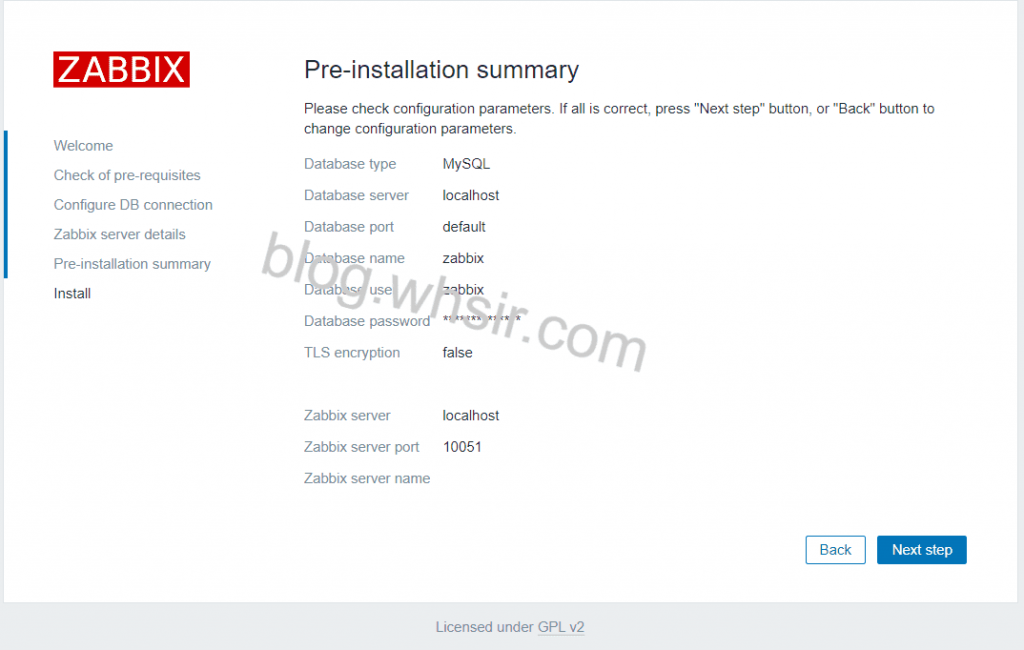
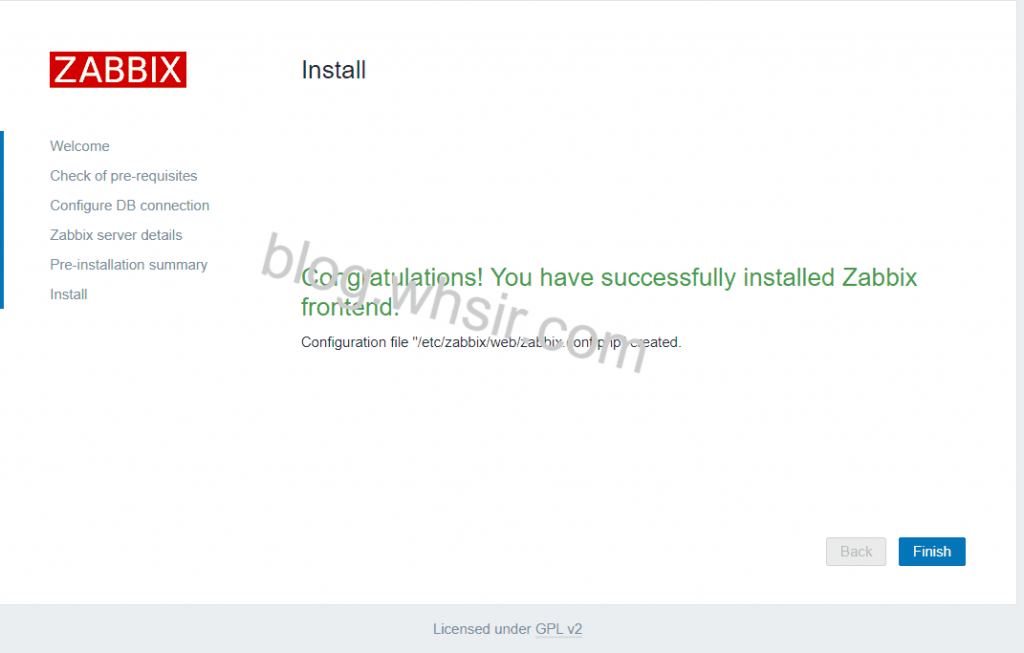
14、访问http://IP进行安装






 51工具盒子


![[原创]cachefly CDN自定义优选节点IP接入网站](https://img1.51tbox.com/static/2024-10-28/LtQQMMCvTCZq.jfif)


