VSCode通过Remote Development实现连接服务器进行代码编写和文件操作
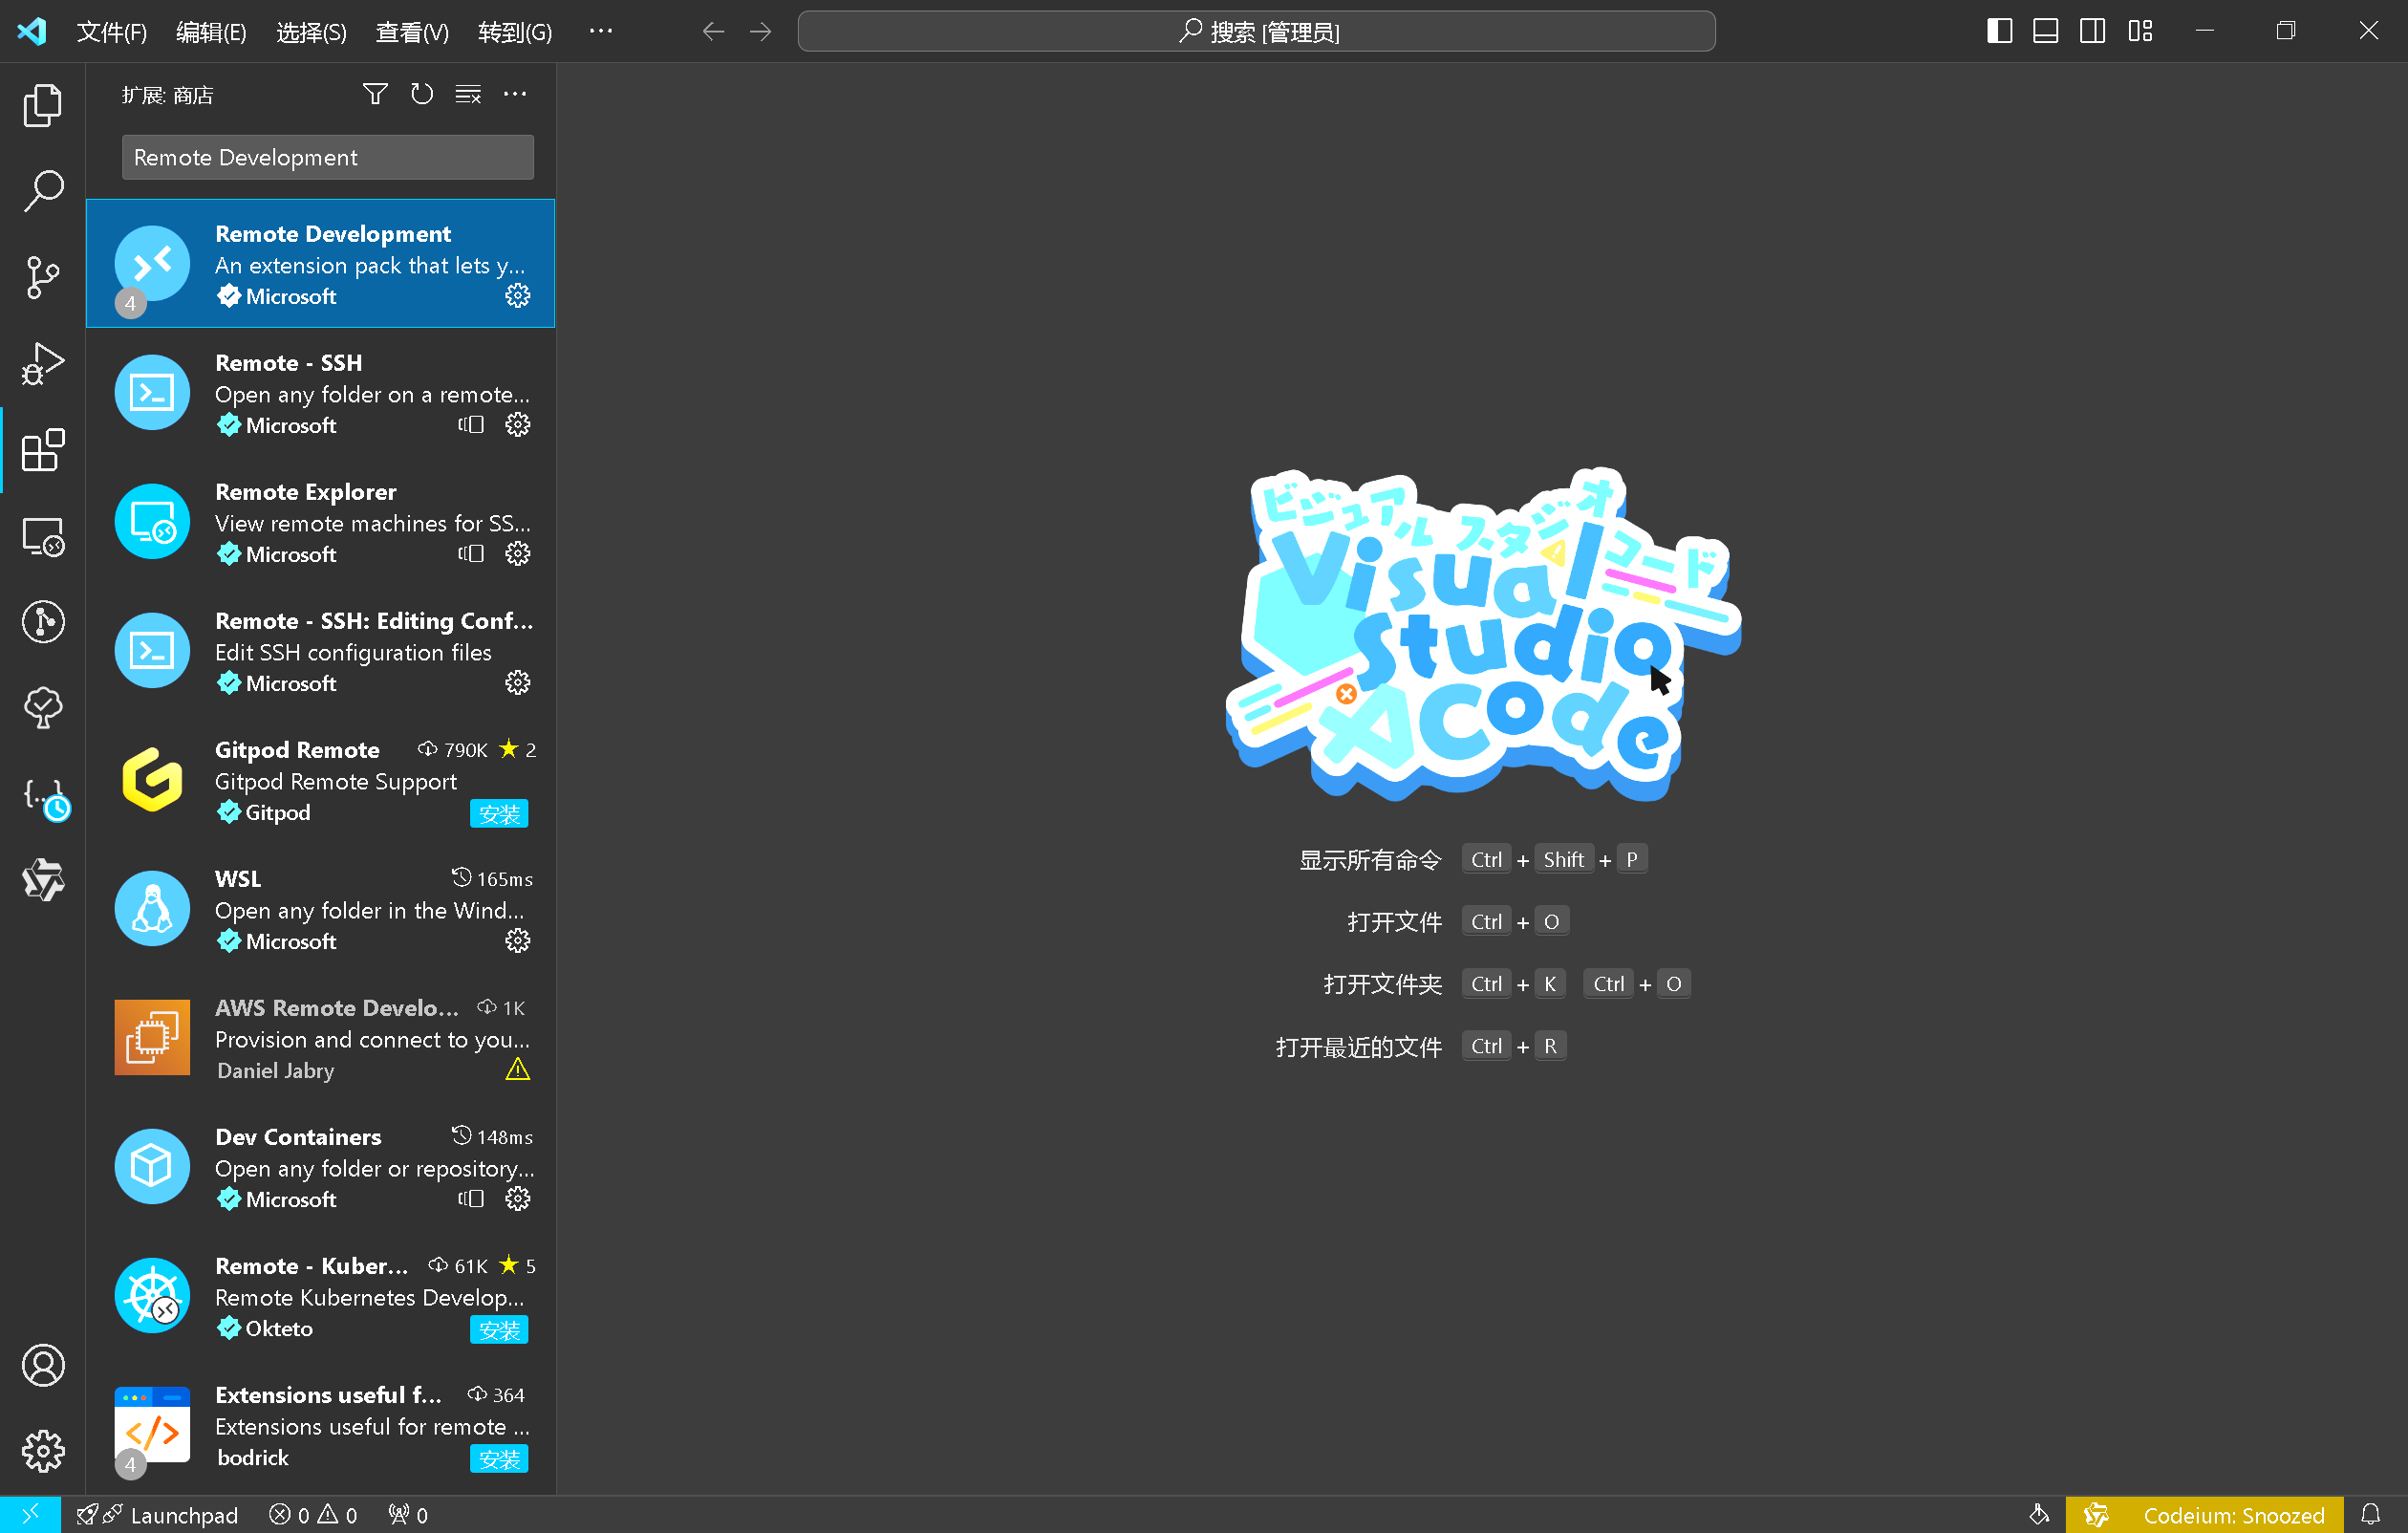
安装Remote Development,Remote - SSH扩展 {#安装Remote-Development,Remote-SSH扩展}
打开VSCode。
转到扩展视图,搜索并安装"Remote Development""Remote - SSH"扩展包
连接到远程服务器:
- 打开VSCode的命令面板(
Ctrl+Shift+P或Cmd+Shift+P)。 - 输入并选择"Remote-SSH: Connect to Host..."命令。
- 输入你的Armbian服务器的SSH地址,格式通常是
username@hostname或username@ip_address。
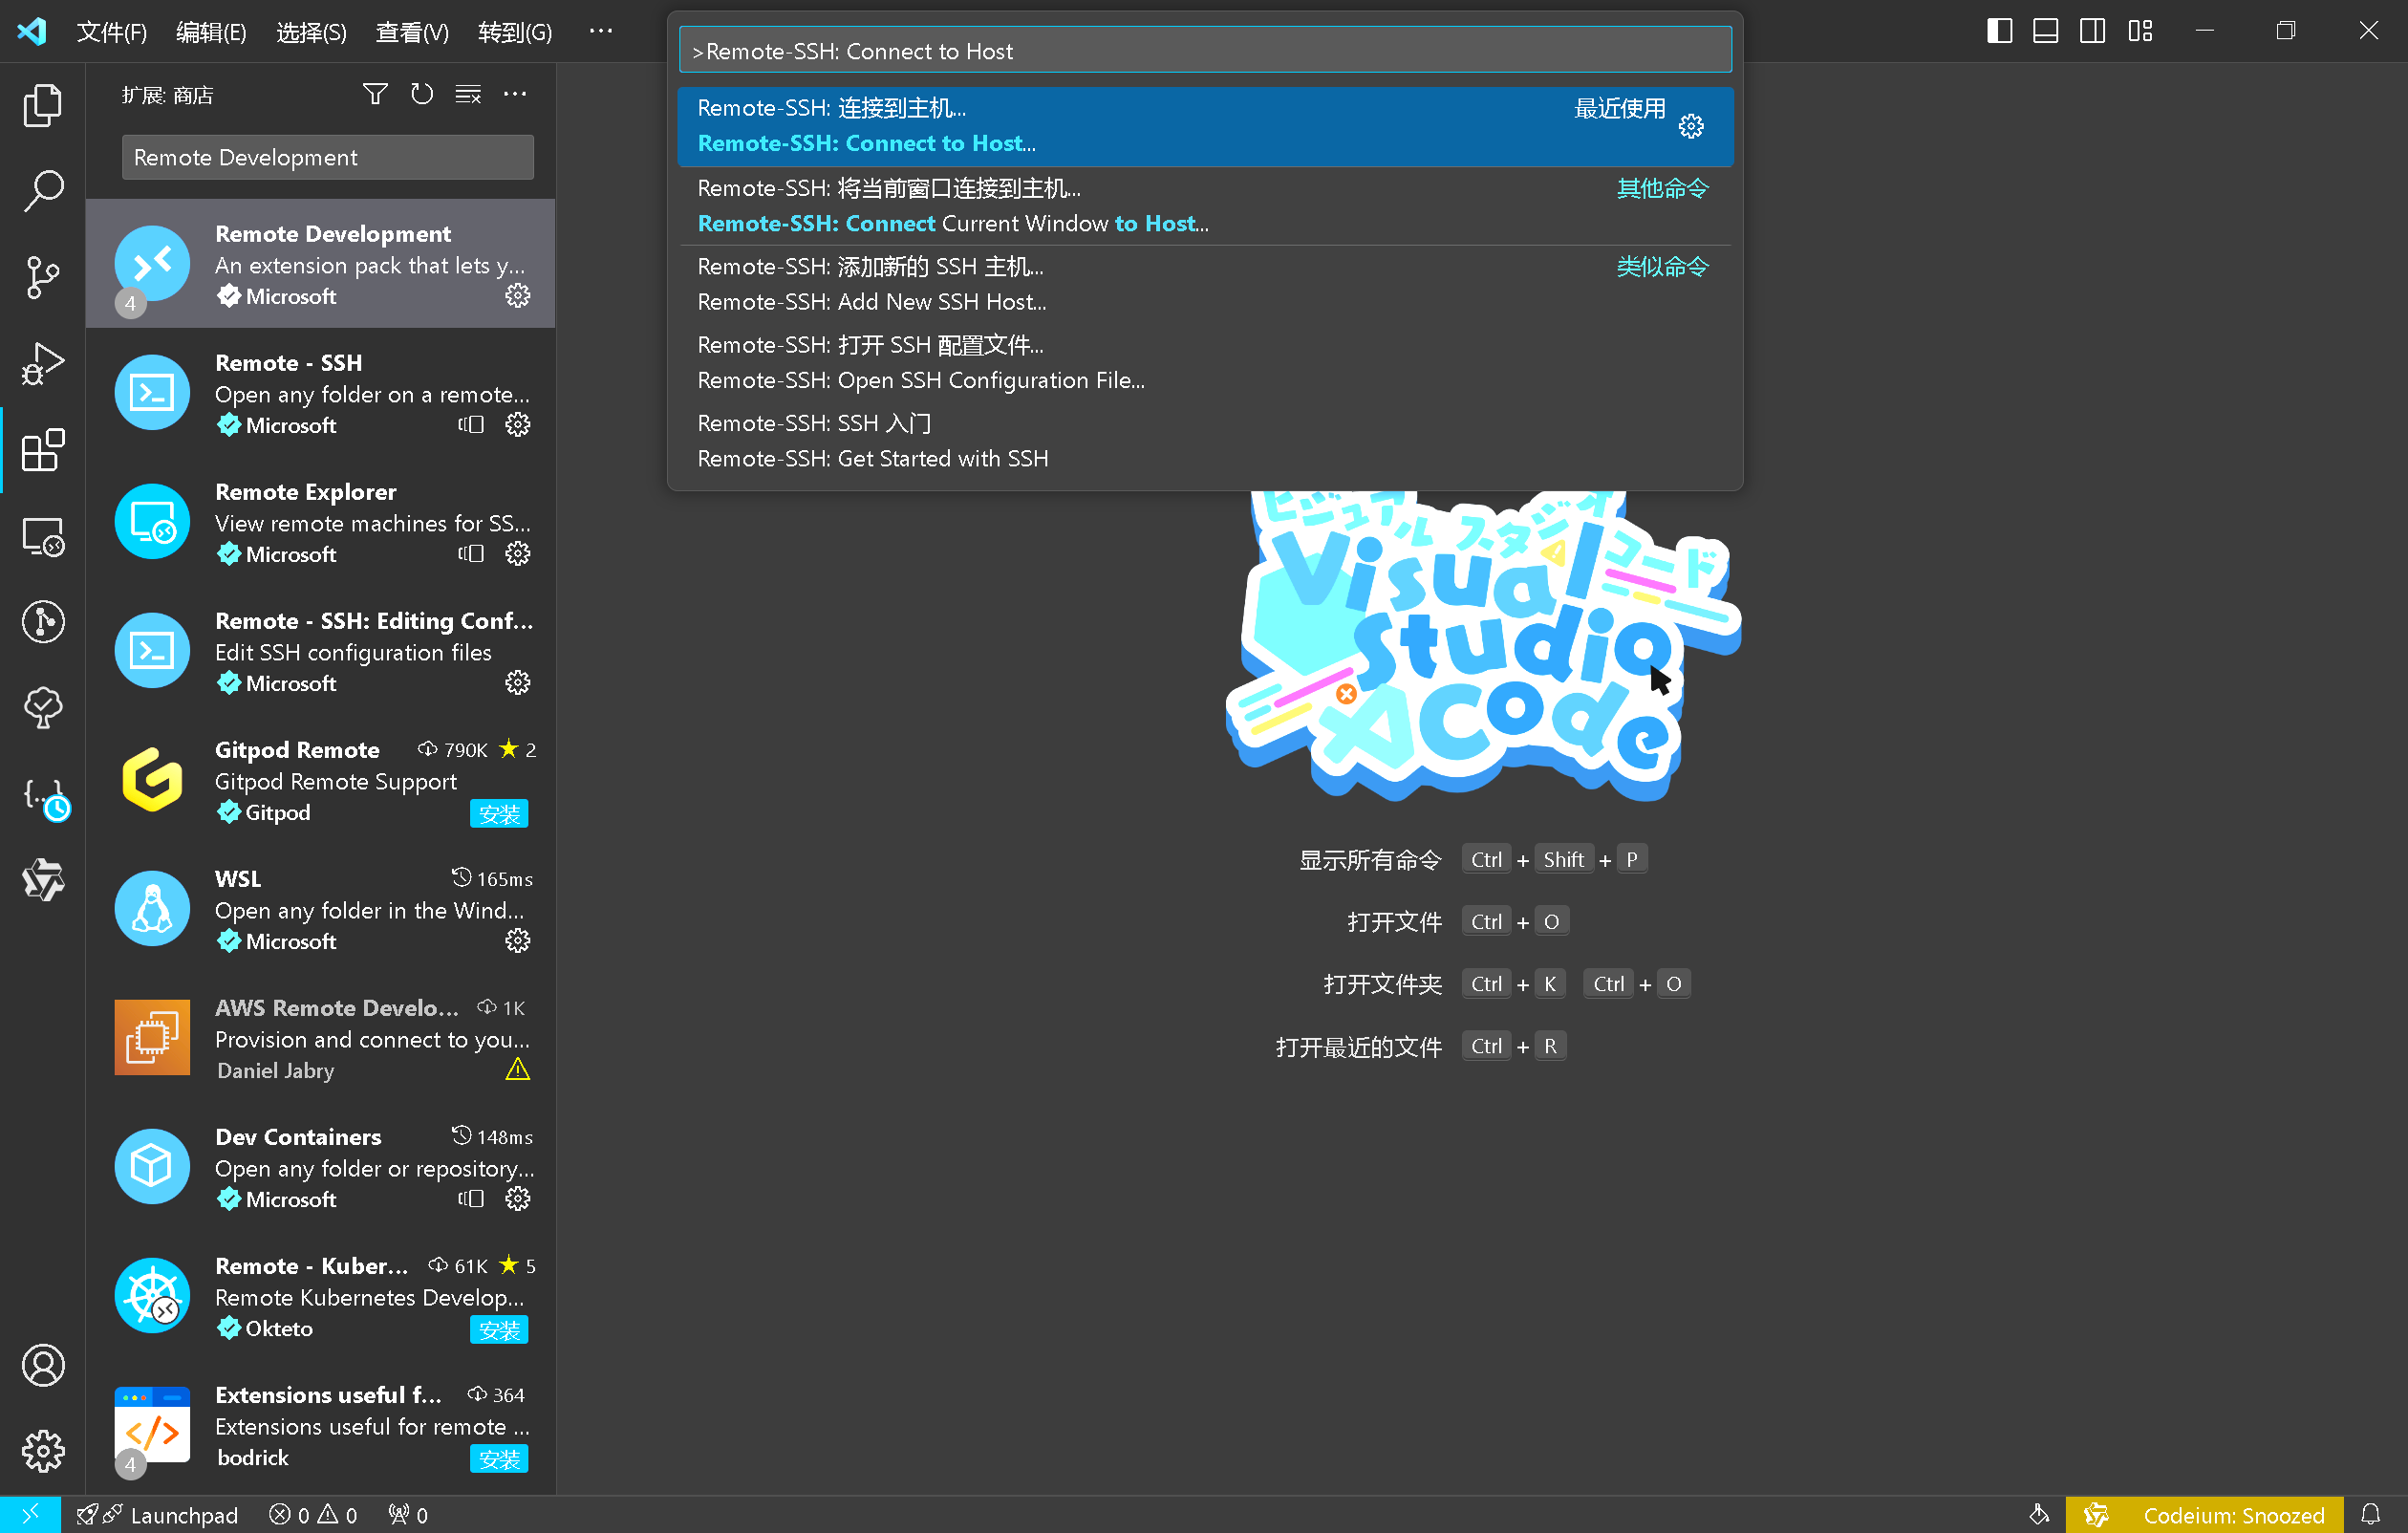
添加新的主机为username@ip_address:port,eg.[email protected]:2000
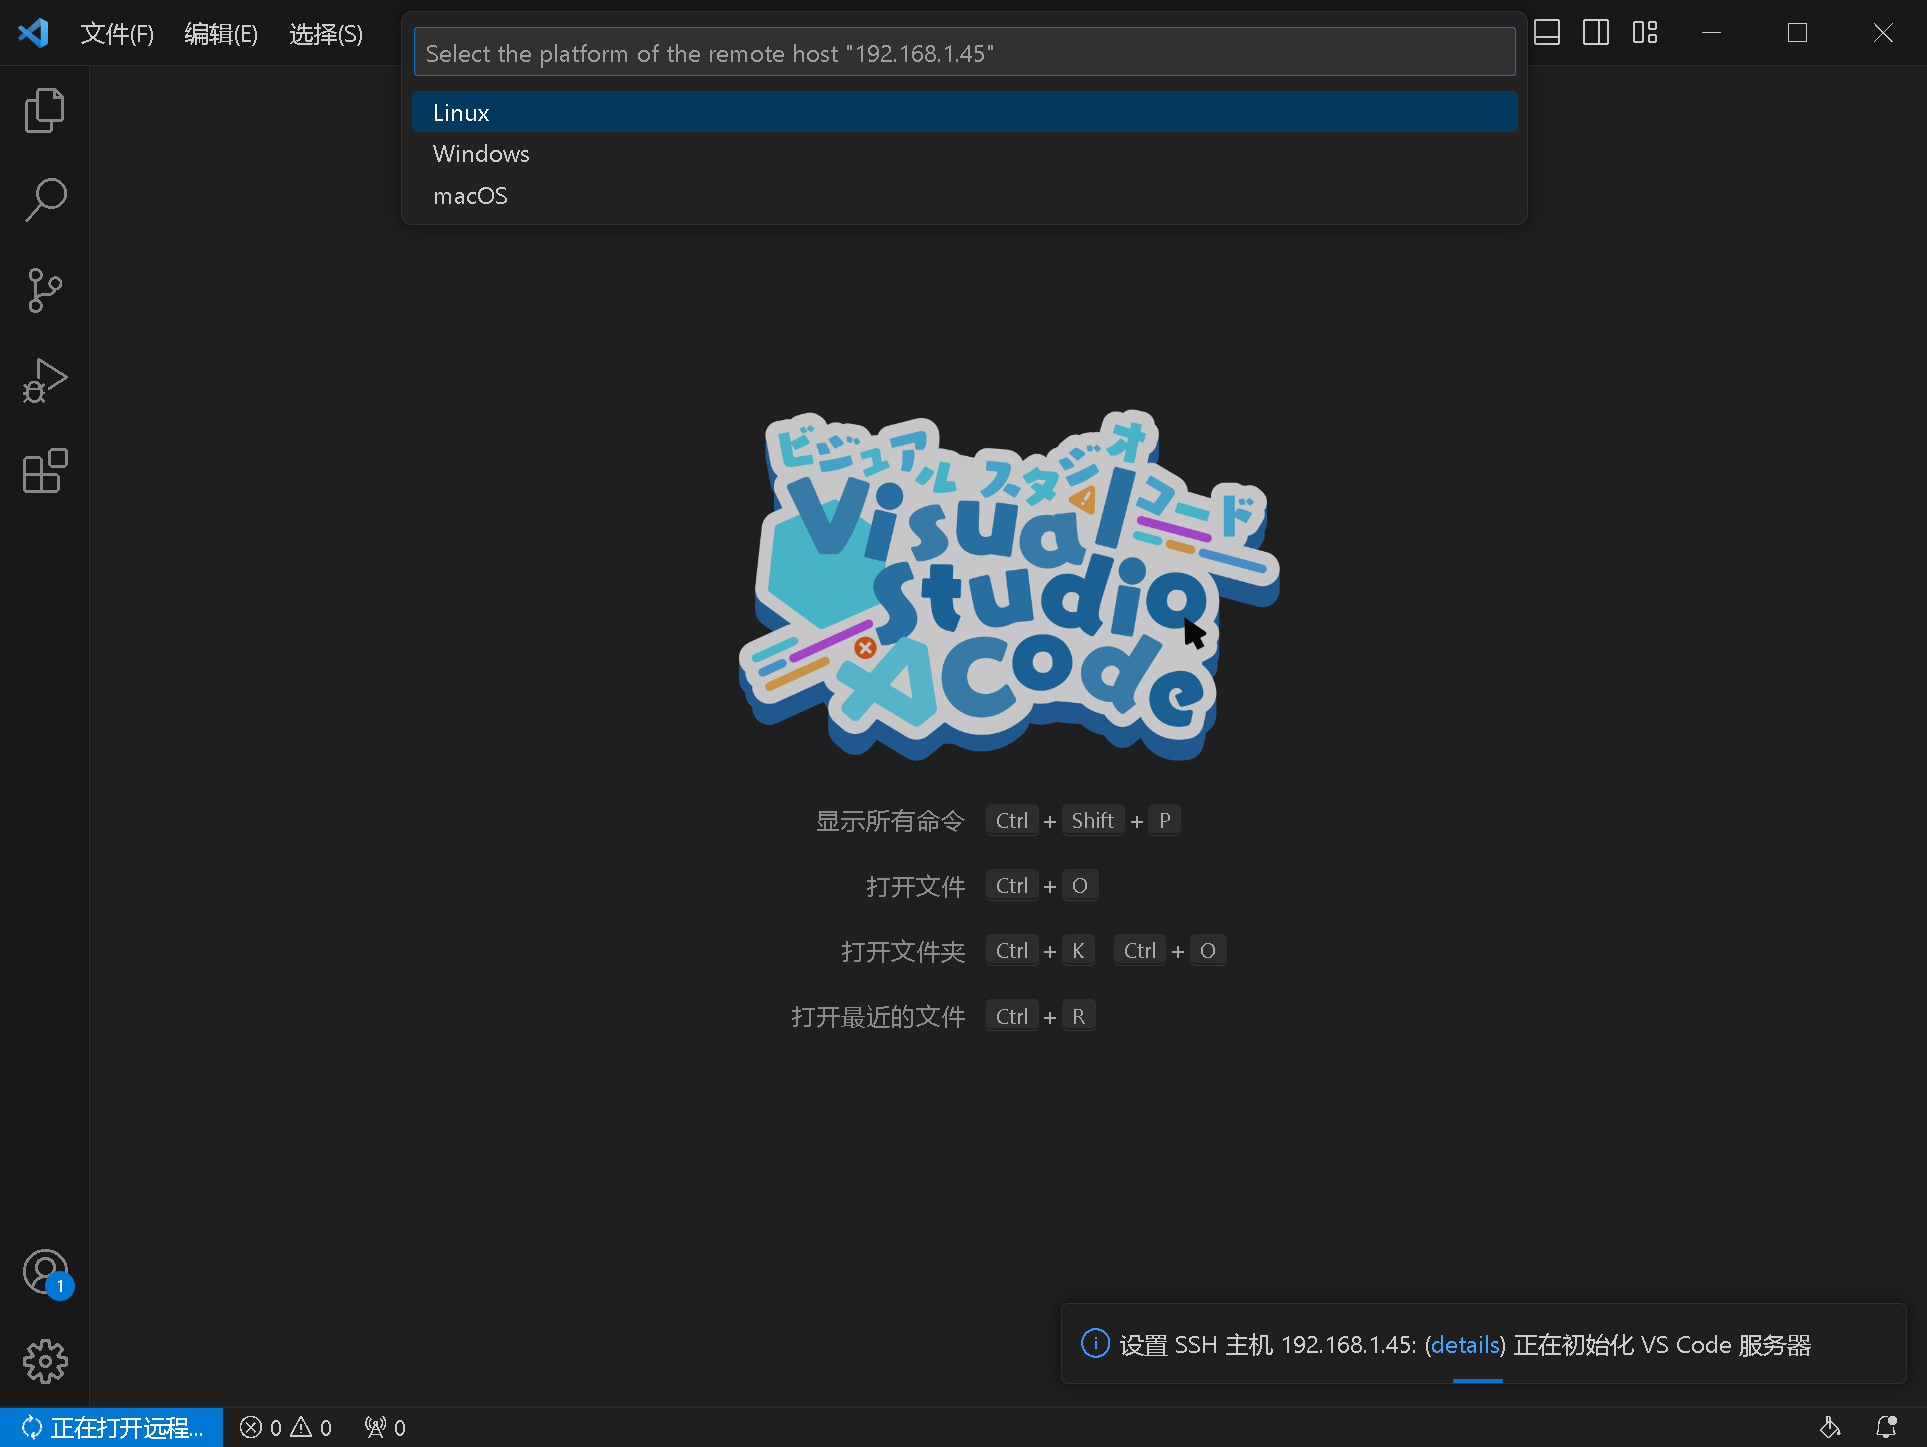
选择对应系统,输入ssh密码即可。
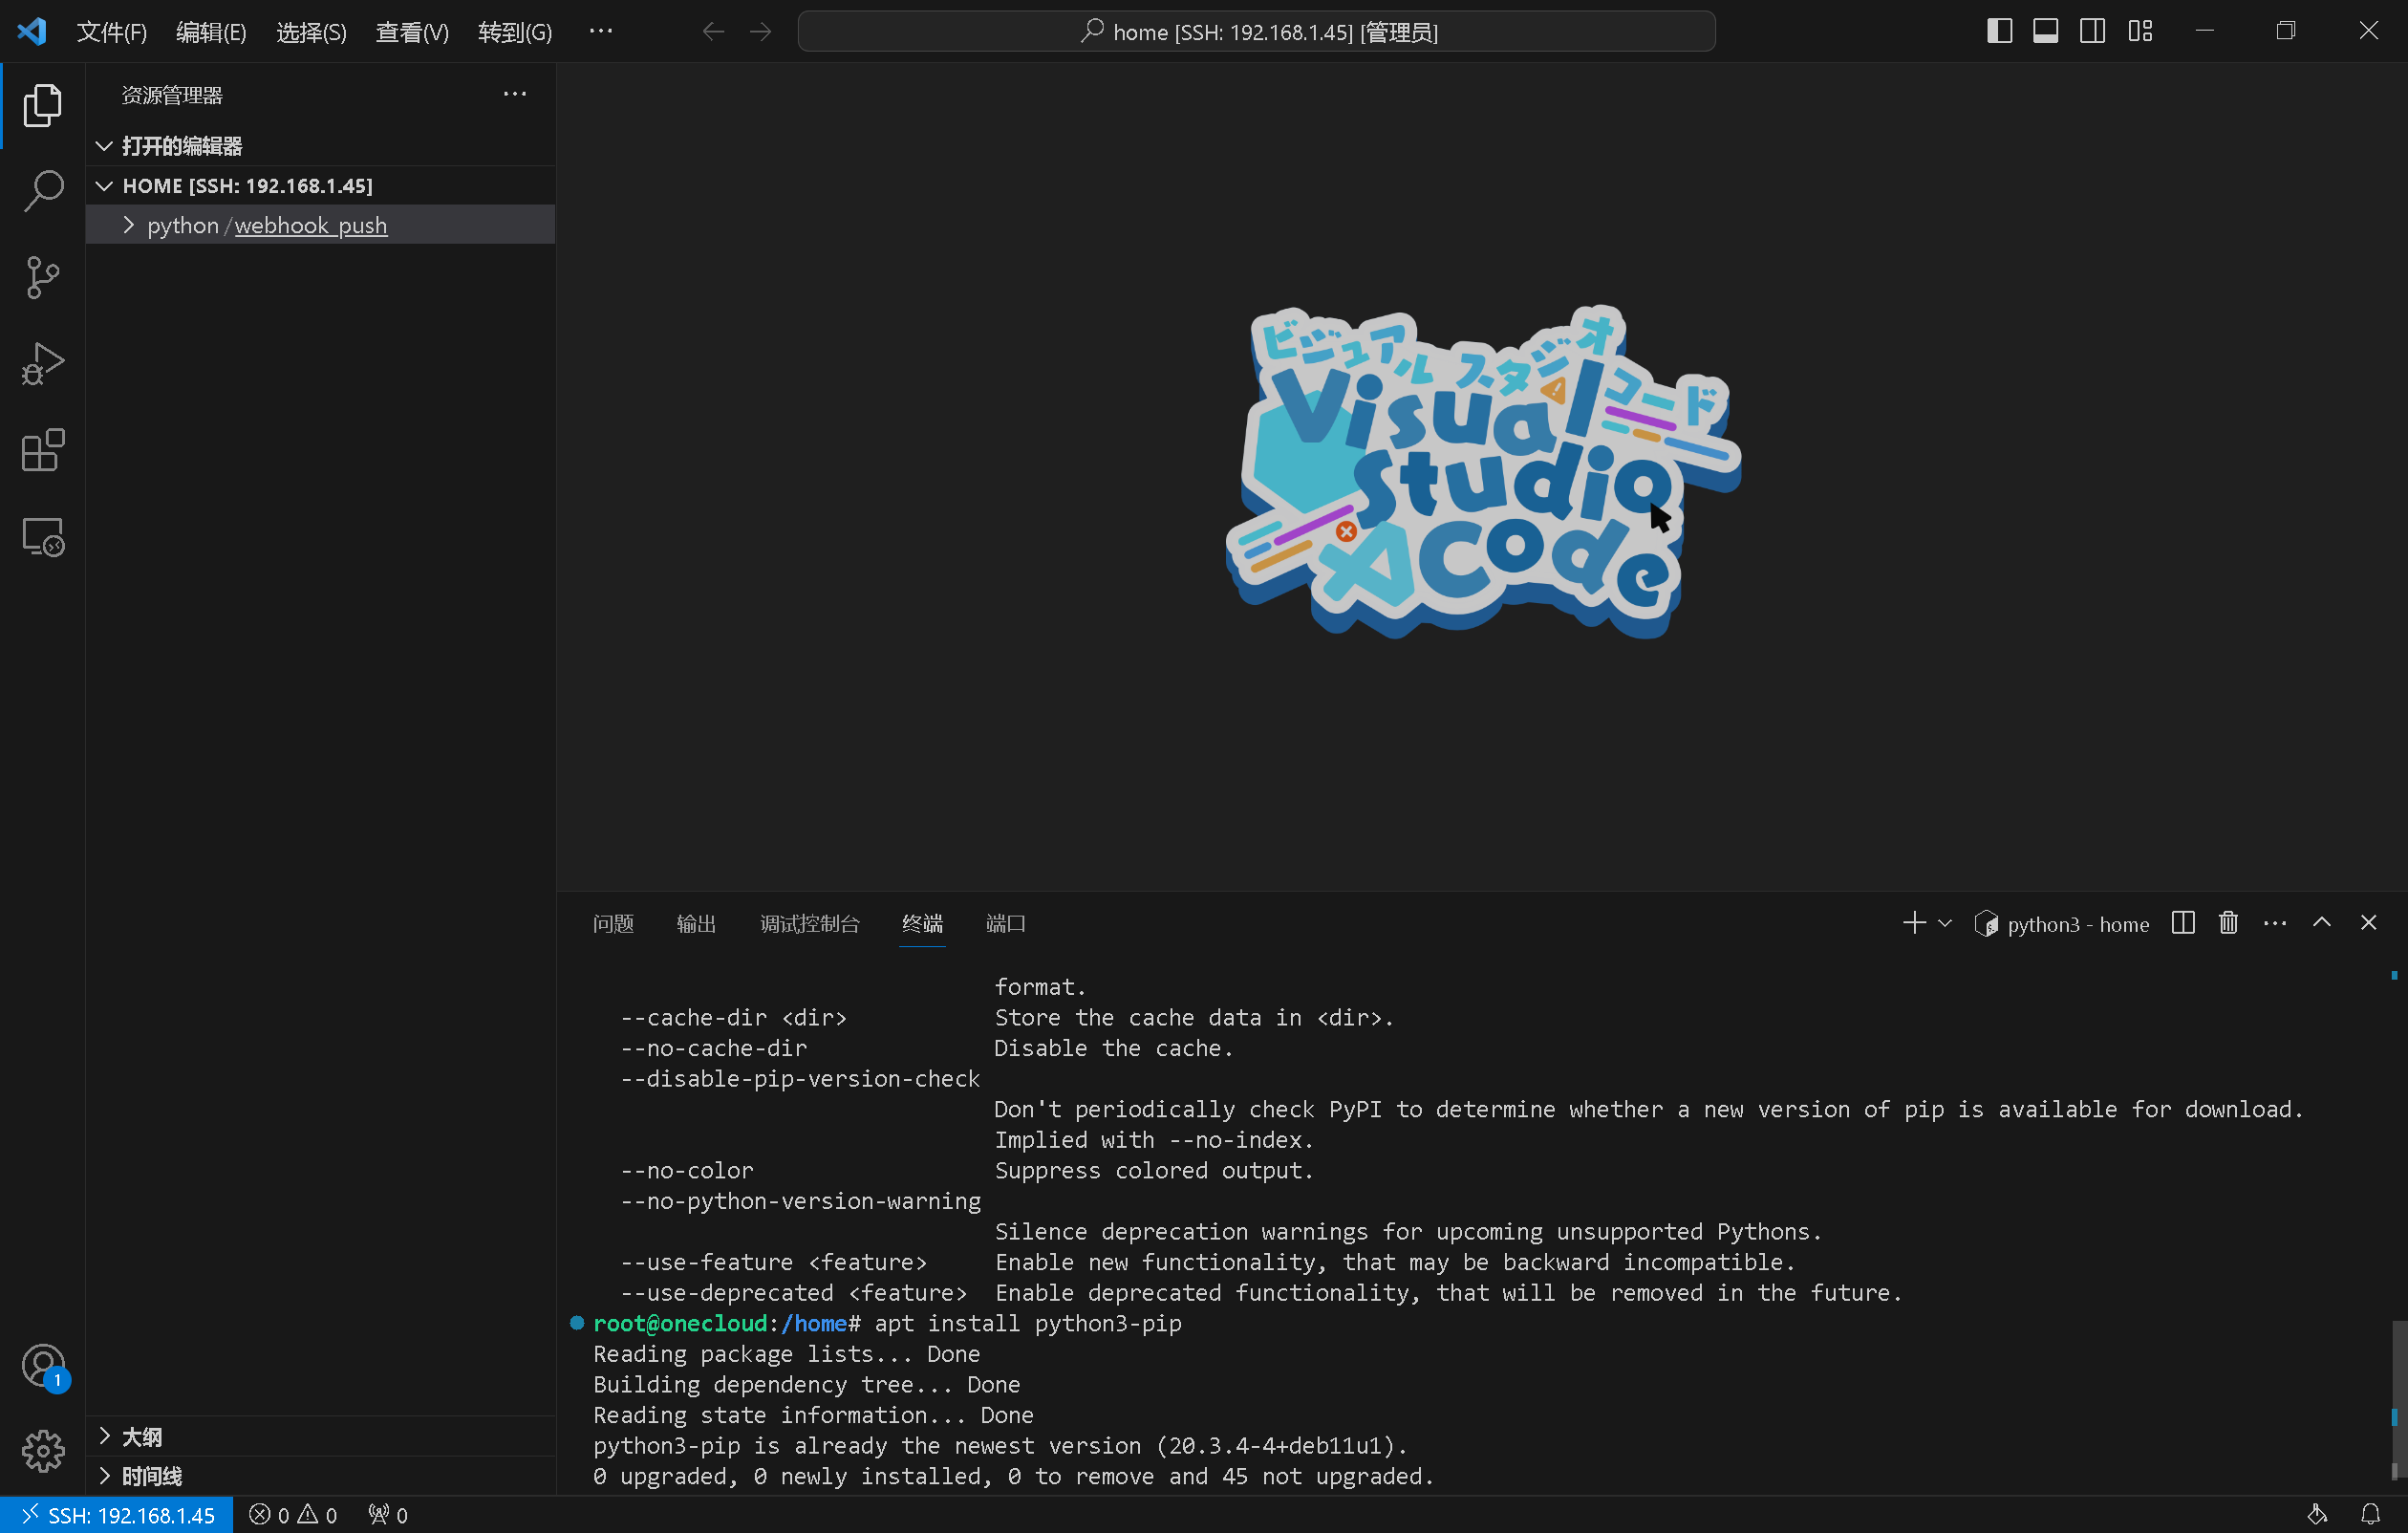
使用起来更加方便,不用再使用vim和nano写代码了。
Tailscale 异地组网 {#Tailscale-异地组网}
当你去了学校而服务器还在家的时候,你可以尝试使用 Tailscale 异地组网连接到你的服务器
首先在你的电脑上安装TailscaleTailscale · Best VPN Service for Secure Networks对应版本并注册账号。
然后在Armbian上安装
|---------------|-----------------------------------------------------------------------------------------------------------------------|
| 1 2 3 | curl -fsSL https://tailscale.com/install.sh | sh 或者使用镜像 curl -fsSL https://ts-mirror.xedge.cc/install.sh | sh |
安装完成后,启动 Tailscale 服务:
|-----------|----------------------|
| 1 | tailscale up |
访问终端提供的 URL 链接,在浏览器中登录你的 Tailscale 账户,并将设备添加到你的账户中。
配置访问局域网:
为了使连接到 Tailscale 的设备能够使用内网 IP 访问家庭局域网,你需要在你的 ARMbian 设备上开启 IP 转发:
|---------------|--------------------------------------------------------------------------------------------------------------------------------------------------------------------------|
| 1 2 3 | echo 'net.ipv4.ip_forward=1' | sudo tee -a /etc/sysctl.conf echo 'net.ipv6.conf.all.forwarding=1' | sudo tee -a /etc/sysctl.conf sudo sysctl -p /etc/sysctl.conf |
接下来,添加子网路由到 Tailscale 网络中。例如,如果你的局域网 IP 段是 192.168.1.0/24,运行:
|-----------|--------------------------------------------------------------------------------------|
| 1 | tailscale up --advertise-routes=192.168.1.0/24 --advertise-exit-node --reset |
advertise-routes宣告一个或多个 IP 地址范围(子网)
advertise-exit-node设置 Tailscale 节点作为"出口节点"
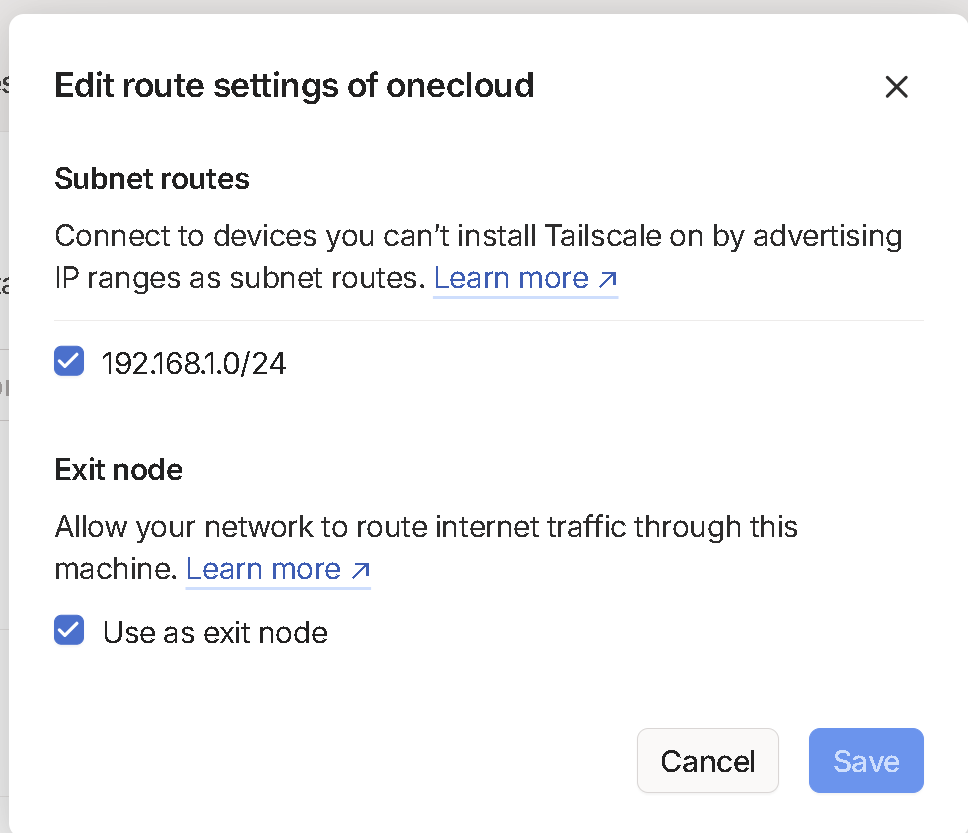
登录到 Tailscale 的管理控制台,找到对应设备,打开Edit route settings勾选网段即可。
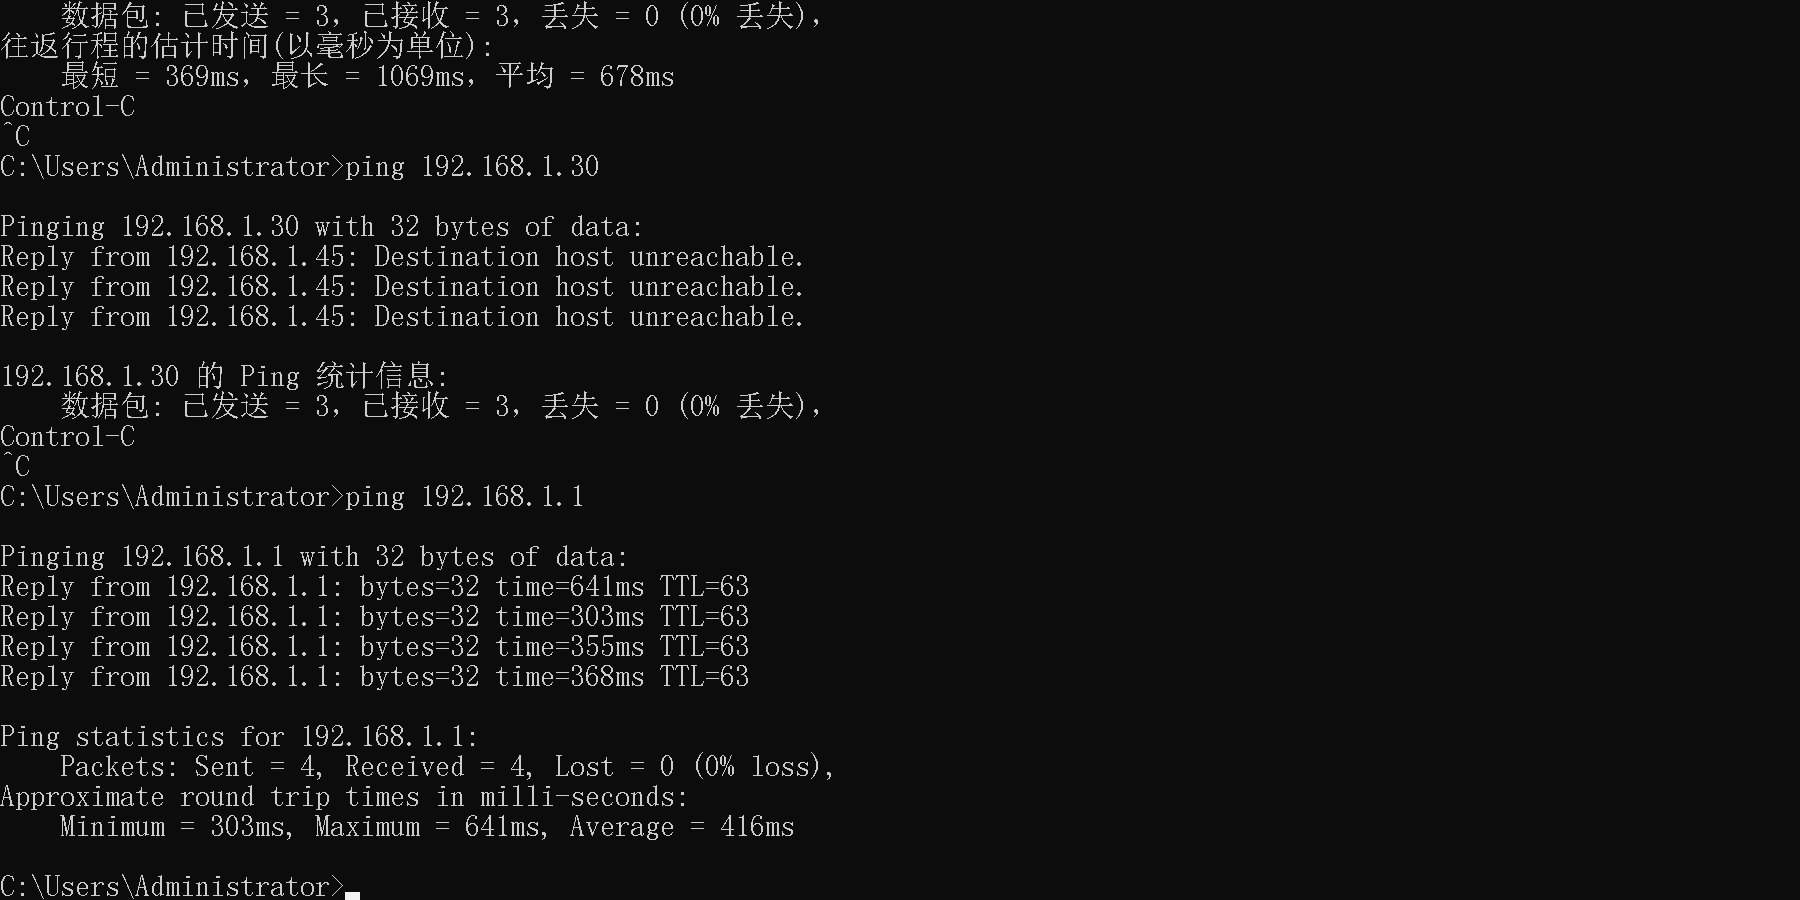
然后就可以直接访问子网设备
使用Djiango框架 {#使用Djiango框架}
|-----------|----------------------------|
| 1 | pip install django |
下载过慢可以对pip换源
|-----------|----------------------------------------------------------------------------------|
| 1 | pip config set global.index-url https://pypi.tuna.tsinghua.edu.cn/simple |
创建一个新的 Django 项目和一个应用 {#创建一个新的-Django-项目和一个应用}
|-----------|------------------------------------------------|
| 1 | django-admin startproject webhook_push |
这个命令用于创建一个新的Django项目。
startproject 是 django-admin 的一个子命令,用于生成项目的初始结构。
dingtalk_project 是您为新项目指定的名称。这个命令会在当前目录下创建一个名为 dingtalk_project 的新目录,并在其中生成一些基础文件和目录,包括 manage.py 脚本和项目的基本配置文件。
|-----------|-------------------------|
| 1 | cd webhook_push |
这个命令用于改变当前工作目录到 webhook_push 目录。
执行此命令后,您将位于新创建的项目目录中,这是进行后续操作的合适位置。
|-----------|-------------------------------------------------|
| 1 | python3 manage.py startapp dingtalk_app |
- 这个命令用于在项目中创建一个新的应用。
startapp是manage.py脚本的一个子命令,用于创建应用的基础结构。dingtalk_app是您为新应用指定的名称。这个命令会在webhook_push目录下的webhook_push子目录中创建一个新的应用目录dingtalk_app,以及应用所需的基础文件,如models.py,views.py,urls.py等。
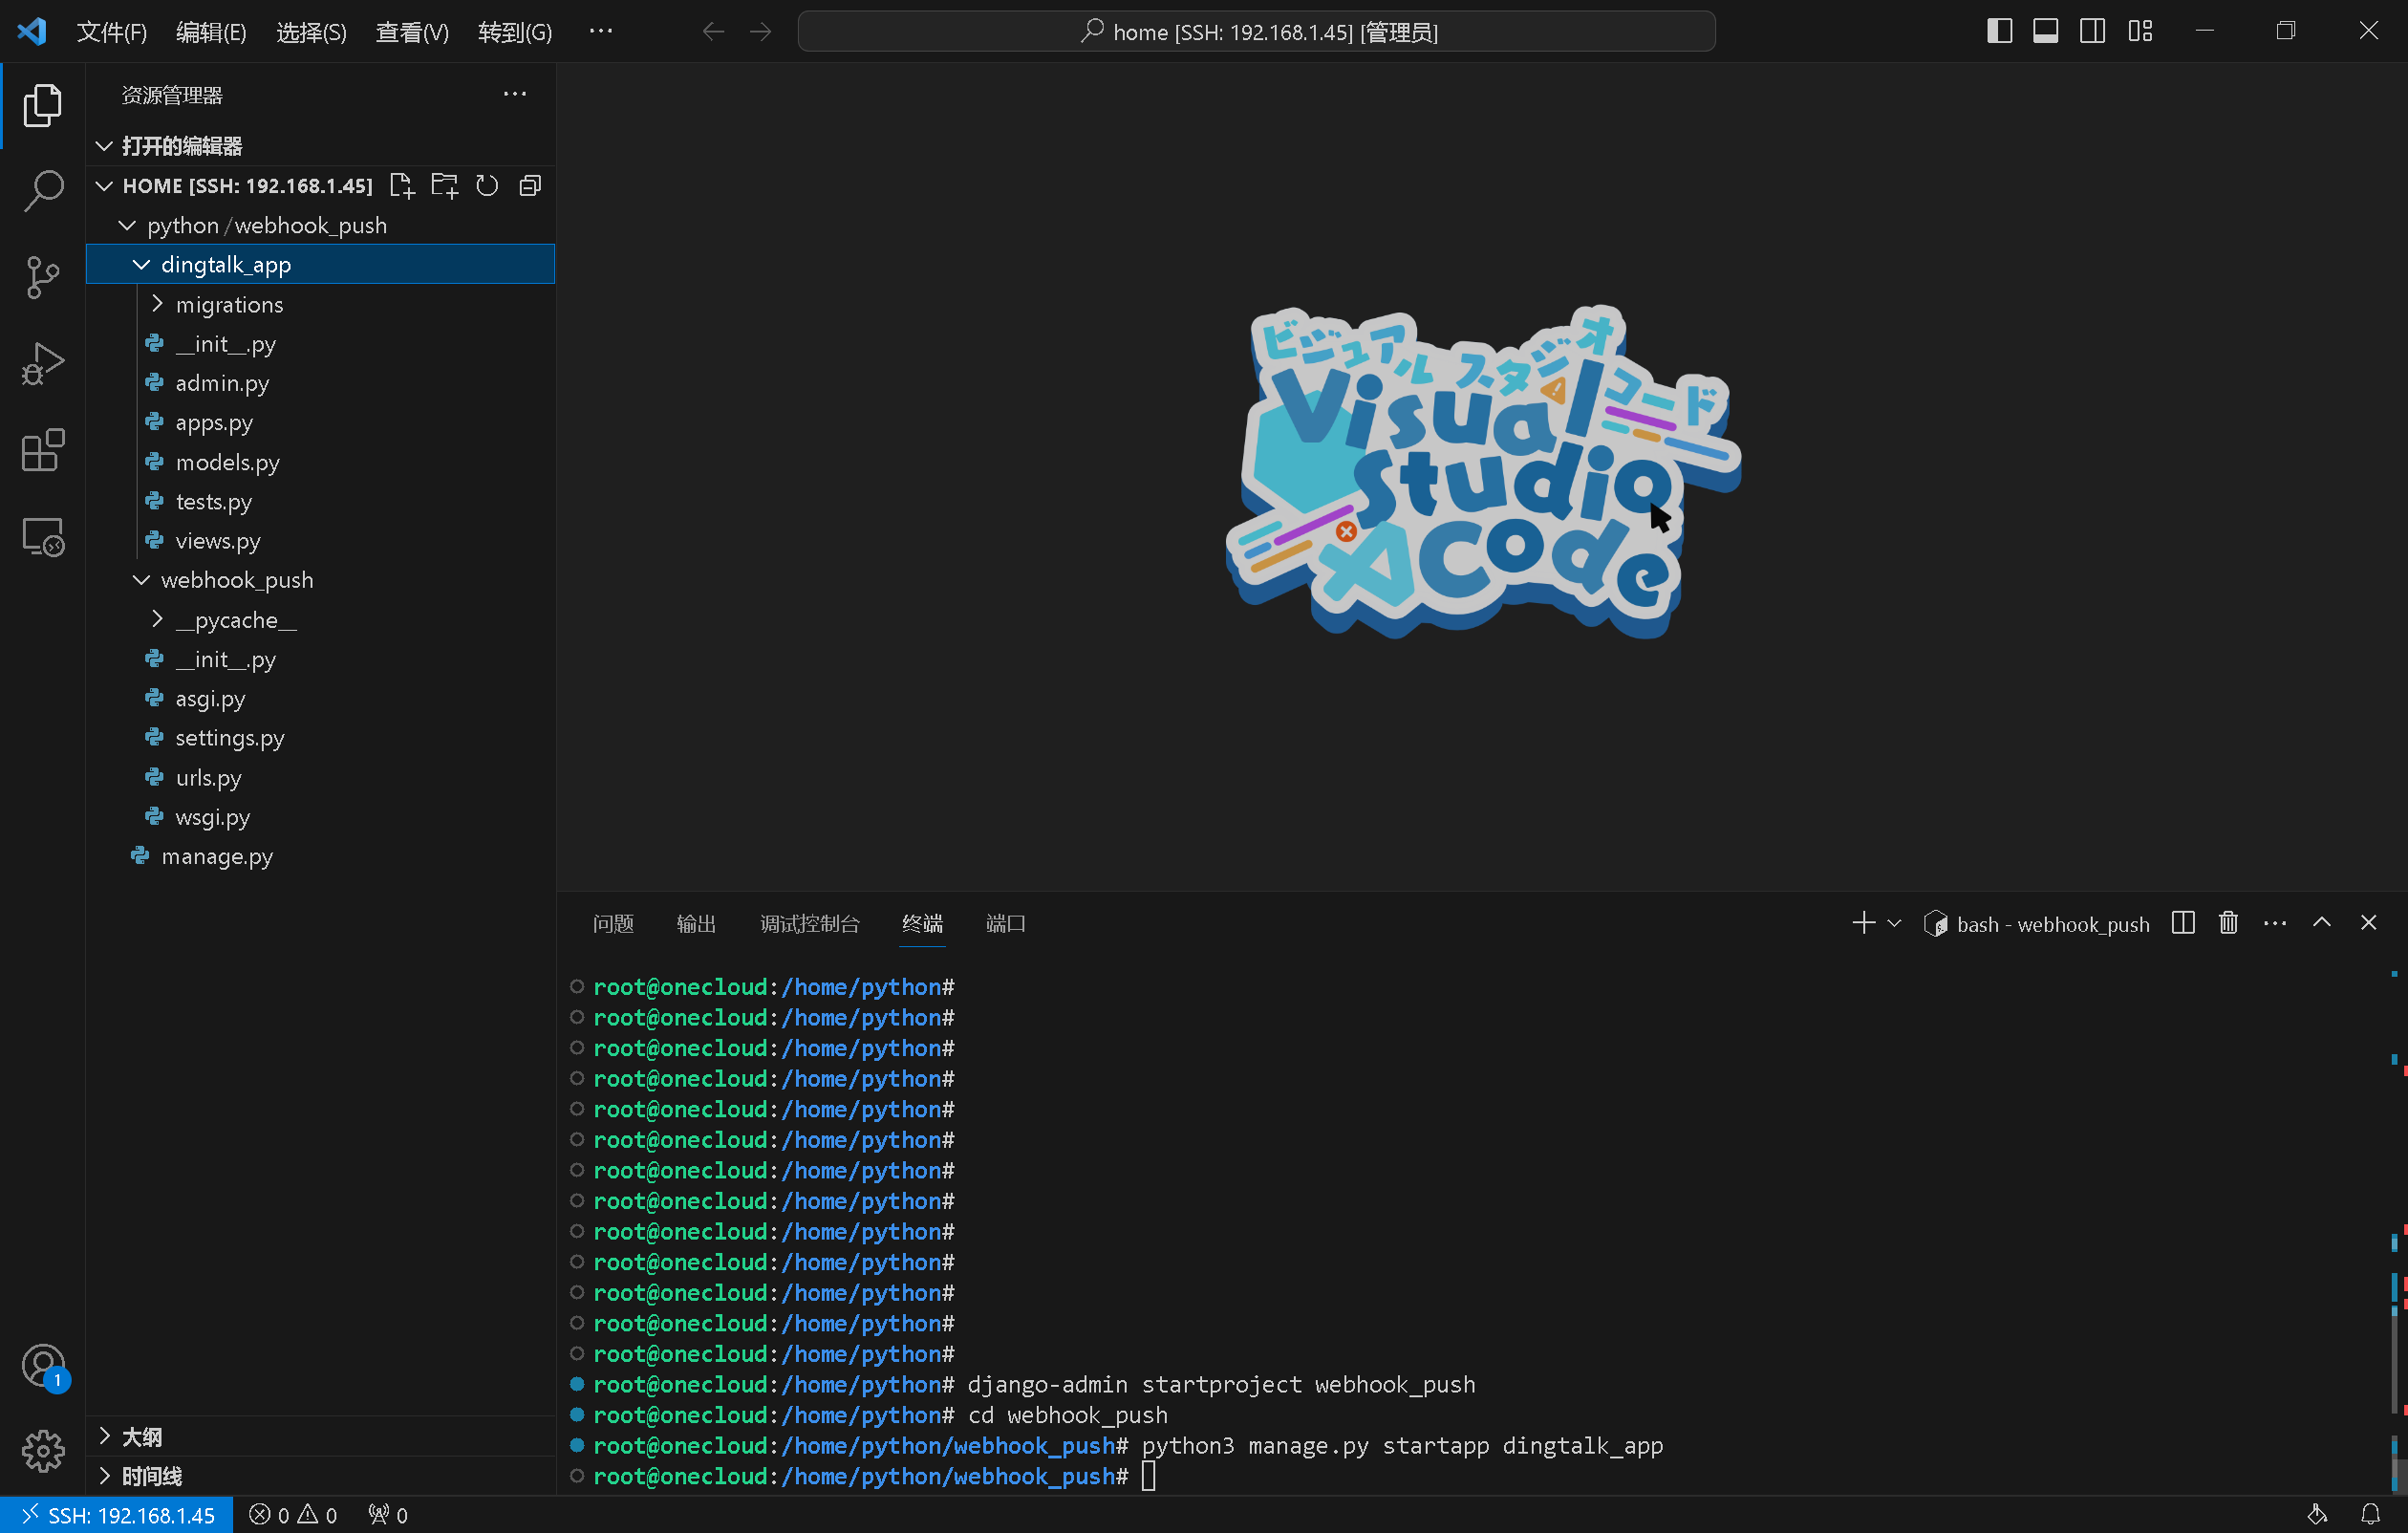
然后,编辑 webhook_push/settings.py 文件,将新创建的应用添加 到 INSTALLED_APPS 列表中:
|-------------------|------------------------------------------------------------|
| 1 2 3 4 5 | INSTALLED_APPS = [ # ... # 其他... 'dingtalk_app', ] |
在 dingtalk_app 应用中创建一个视图来处理消息发送。编辑dingtalk_app/views.py 文件:
|------------------------------------------------------------------------------------------|------------------------------------------------------------------------------------------------------------------------------------------------------------------------------------------------------------------------------------------------------------------------------------------------------------------------------------------------------------------------------------------------------------------------------------------------------------------------------------------------------------------------------------------------------------------------------------------------------------------------------------------------------------------------------------------------------------------------------------------------------------------------------------------------------------------------------------------------------------------------------------------------------------|
| 1 2 3 4 5 6 7 8 9 10 11 12 13 14 15 16 17 18 19 20 21 22 23 24 25 26 27 28 29 30 | from django.http import JsonResponse import requests DINGTALK_WEBHOOK_URL = 'YOUR_WEBHOOK_URL_HERE' def send_dingtalk_message(webhook_url, message): headers = {'Content-Type': 'application/json'} data = { "msgtype": "text", "text": { "content": message } } response = requests.post(webhook_url, json=data, headers=headers) return response def send_message(request): if request.method == 'POST': data = request.POST message = data.get('message', '') if not message: return JsonResponse({'error': 'No message provided'}, status=400) response = send_dingtalk_message(DINGTALK_WEBHOOK_URL, message) if response.status_code == 200: return JsonResponse({'status': 'Message sent successfully'}, status=200) else: return JsonResponse({'error': 'Failed to send message'}, status=response.status_code) else: return JsonResponse({'error': 'Invalid request method'}, status=405) |
创建 dingtalk_app/urls.py 文件,添加路由以指向你的视图函数。
|---------------------|--------------------------------------------------------------------------------------------------------------------------------------------|
| 1 2 3 4 5 6 | from django.urls import path from . import views urlpatterns = [ path('send_message/', views.send_message, name='send_message'), ] |
在主 urls.py 文件(在 webhook_push/webhook_push/urls.py)添加对 dingtalk_app 应用的引用。
|-----------------------|-------------------------------------------------------------------------------------------------------------------------------------------------------------------------------------------------------|
| 1 2 3 4 5 6 7 | from django.contrib import admin from django.urls import include, path urlpatterns = [ path('admin/', admin.site.urls), path('api/', include('dingtalk_app.urls')), # 包含dingtalk_app的URL配置 ] |
在允许前,记得执行应用迁移 ,创建超级用户
你位于Django项目的根目录下,然后运行以下命令:
|-----------|-----------------------------------|
| 1 | python3 manage.py migrate |
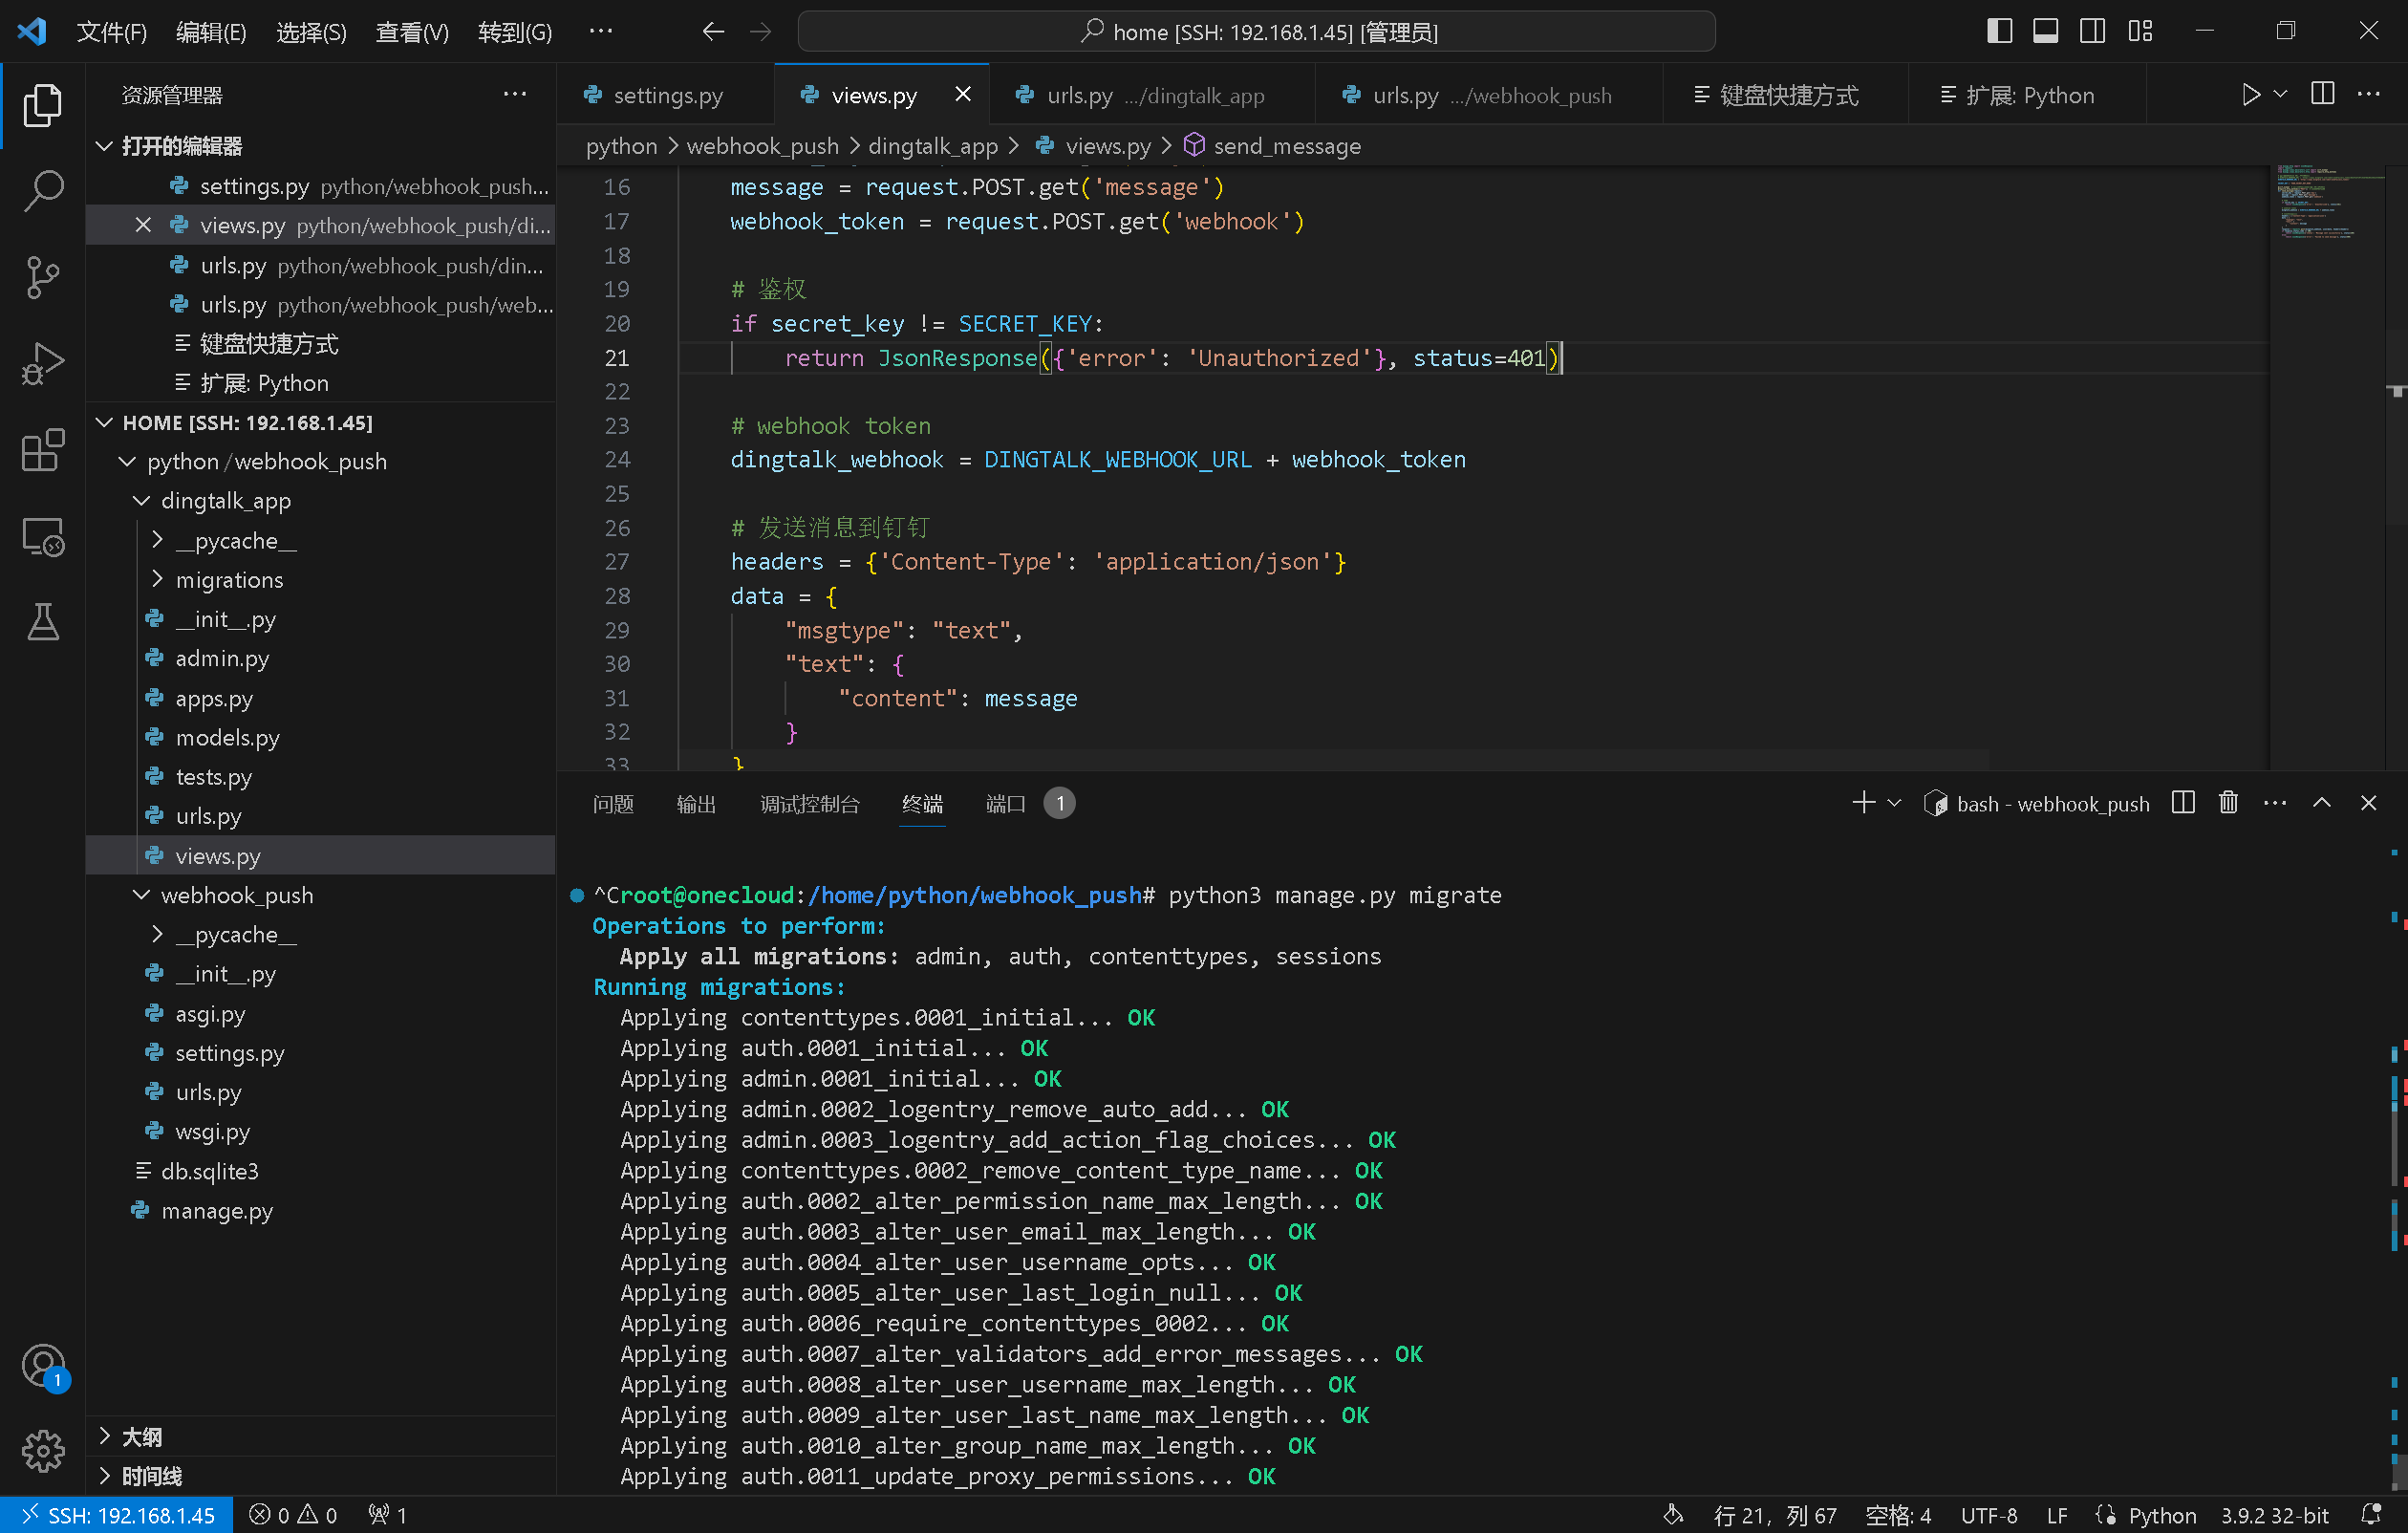
如果你想使用Django的管理后台,你需要创建一个超级用户账户。运行以下命令来创建超级用户:
|-----------|-------------------------------------------|
| 1 | python3 manage.py createsuperuser |
然后启动
|-----------|-------------------------------------|
| 1 | python3 manage.py runserver |
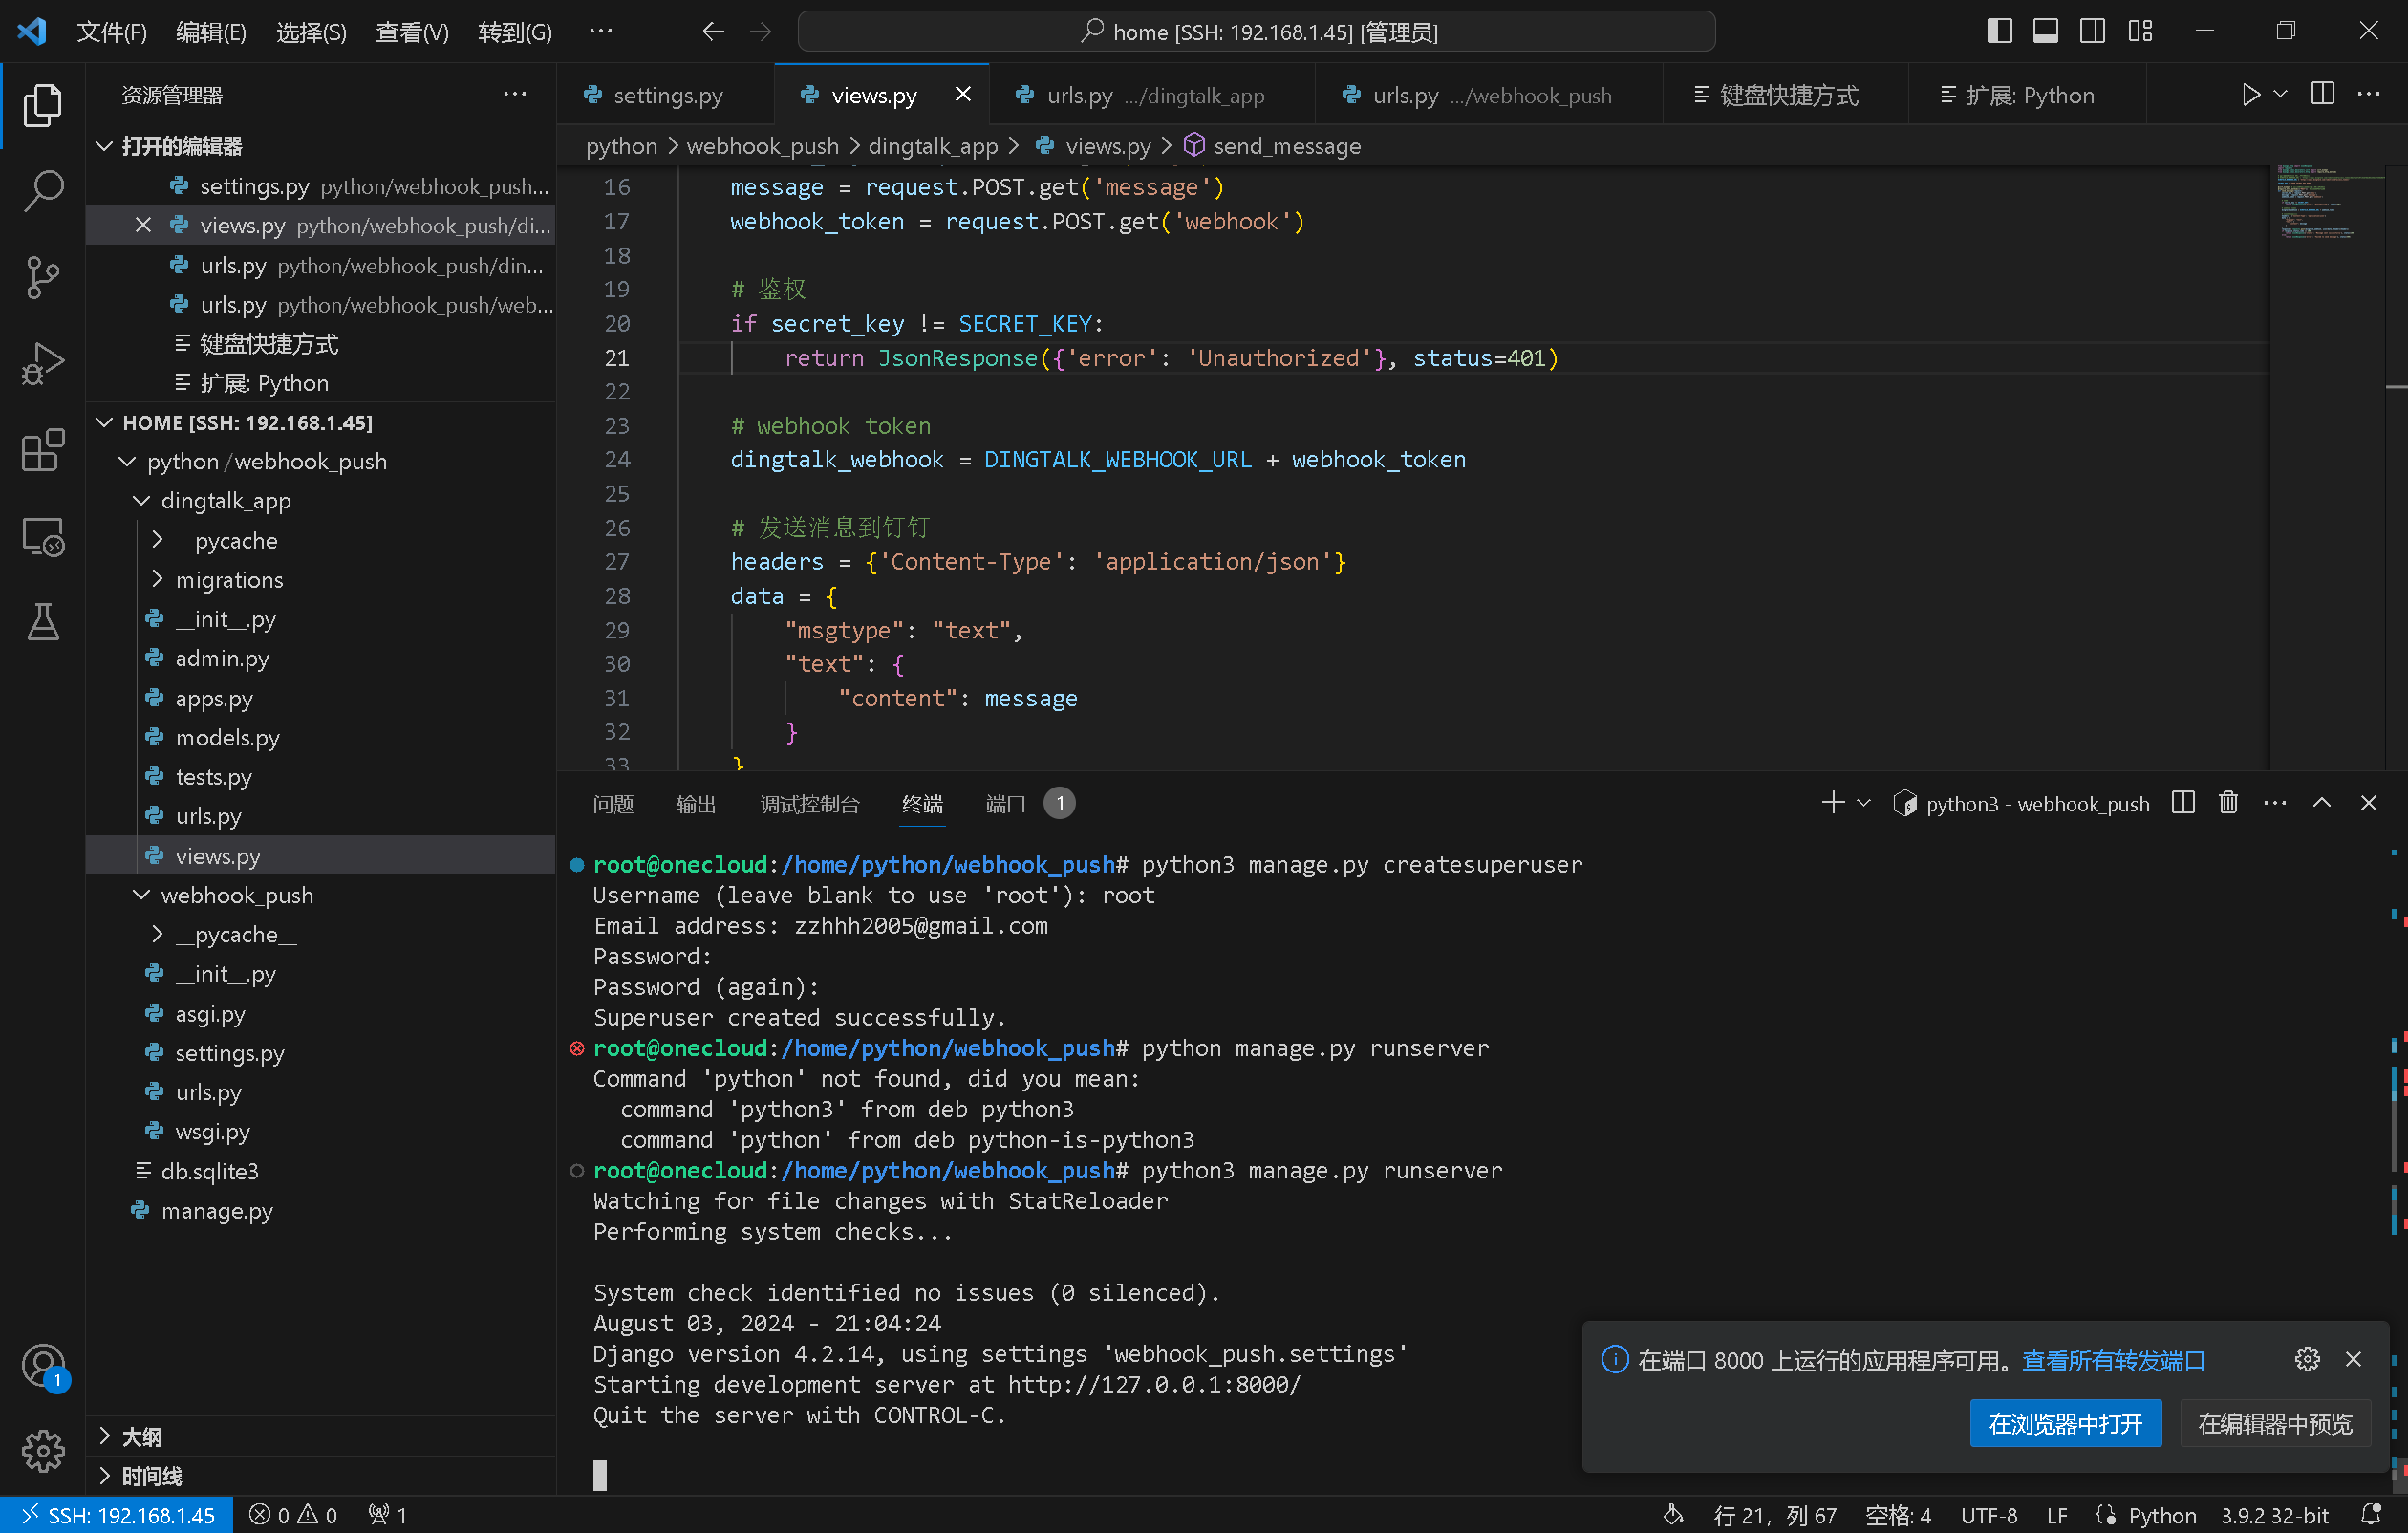
然后VSCode会自动转发端口,可以在本地查看。
转发端口后可以在本地测试
|-----------|-----------------------------------------------------------------------------------------------------------------------------------------------------|
| 1 | curl -X POST http://localhost:8000/api/send_message/ -d "key=YOUR_SECRET_KEY&message=Hello from Django! :)&webhook=***********************" |
可以写一个sh脚本启动服务
|------------------------------------------------------------------|--------------------------------------------------------------------------------------------------------------------------------------------------------------------------------------------------------------------------------------------------------------------------------------------------------------------------------------------------------------------------------------------------------------------------------------------------------------------------------------------------------------------------------------------------------------------------------------------------------------------------------------------------------------------------------------------------------------|
| 1 2 3 4 5 6 7 8 9 10 11 12 13 14 15 16 17 18 19 20 21 22 | #!/bin/bash # 确保日志目录存在 mkdir -p /home/python/webhook_push/logs # 启动Django服务器,并将输出重定向到日志文件 nohup python3 /home/python/webhook_push/manage.py runserver 0.0.0.0:2000 > /home/python/webhook_push/logs/django.out 2>&1 & echo "Django server started at port 2000!!!" >> /home/python/webhook_push/logs/django.out # 等待日志文件写入 sleep 2 # 等待直到Django服务器启动并监听端口2000 while ! nc -z localhost 2000; do echo "Waiting for Django server to start..." sleep 1 done echo "Django server is running..." >> /home/python/webhook_push/logs/django.out # 发送测试信息 curl -X POST http://localhost:2000/api/send_message/ -d "key=YOUR_SECRET_KEY&message=Django for webhook-push was started :)&webhook=*************" |
 51工具盒子


